Showing posts with label lindy's embossing powder. Show all posts

Mar 4, 2019

Mixed media Steampunk canvas and Video Tutorial for Lindy's

Hey gang!
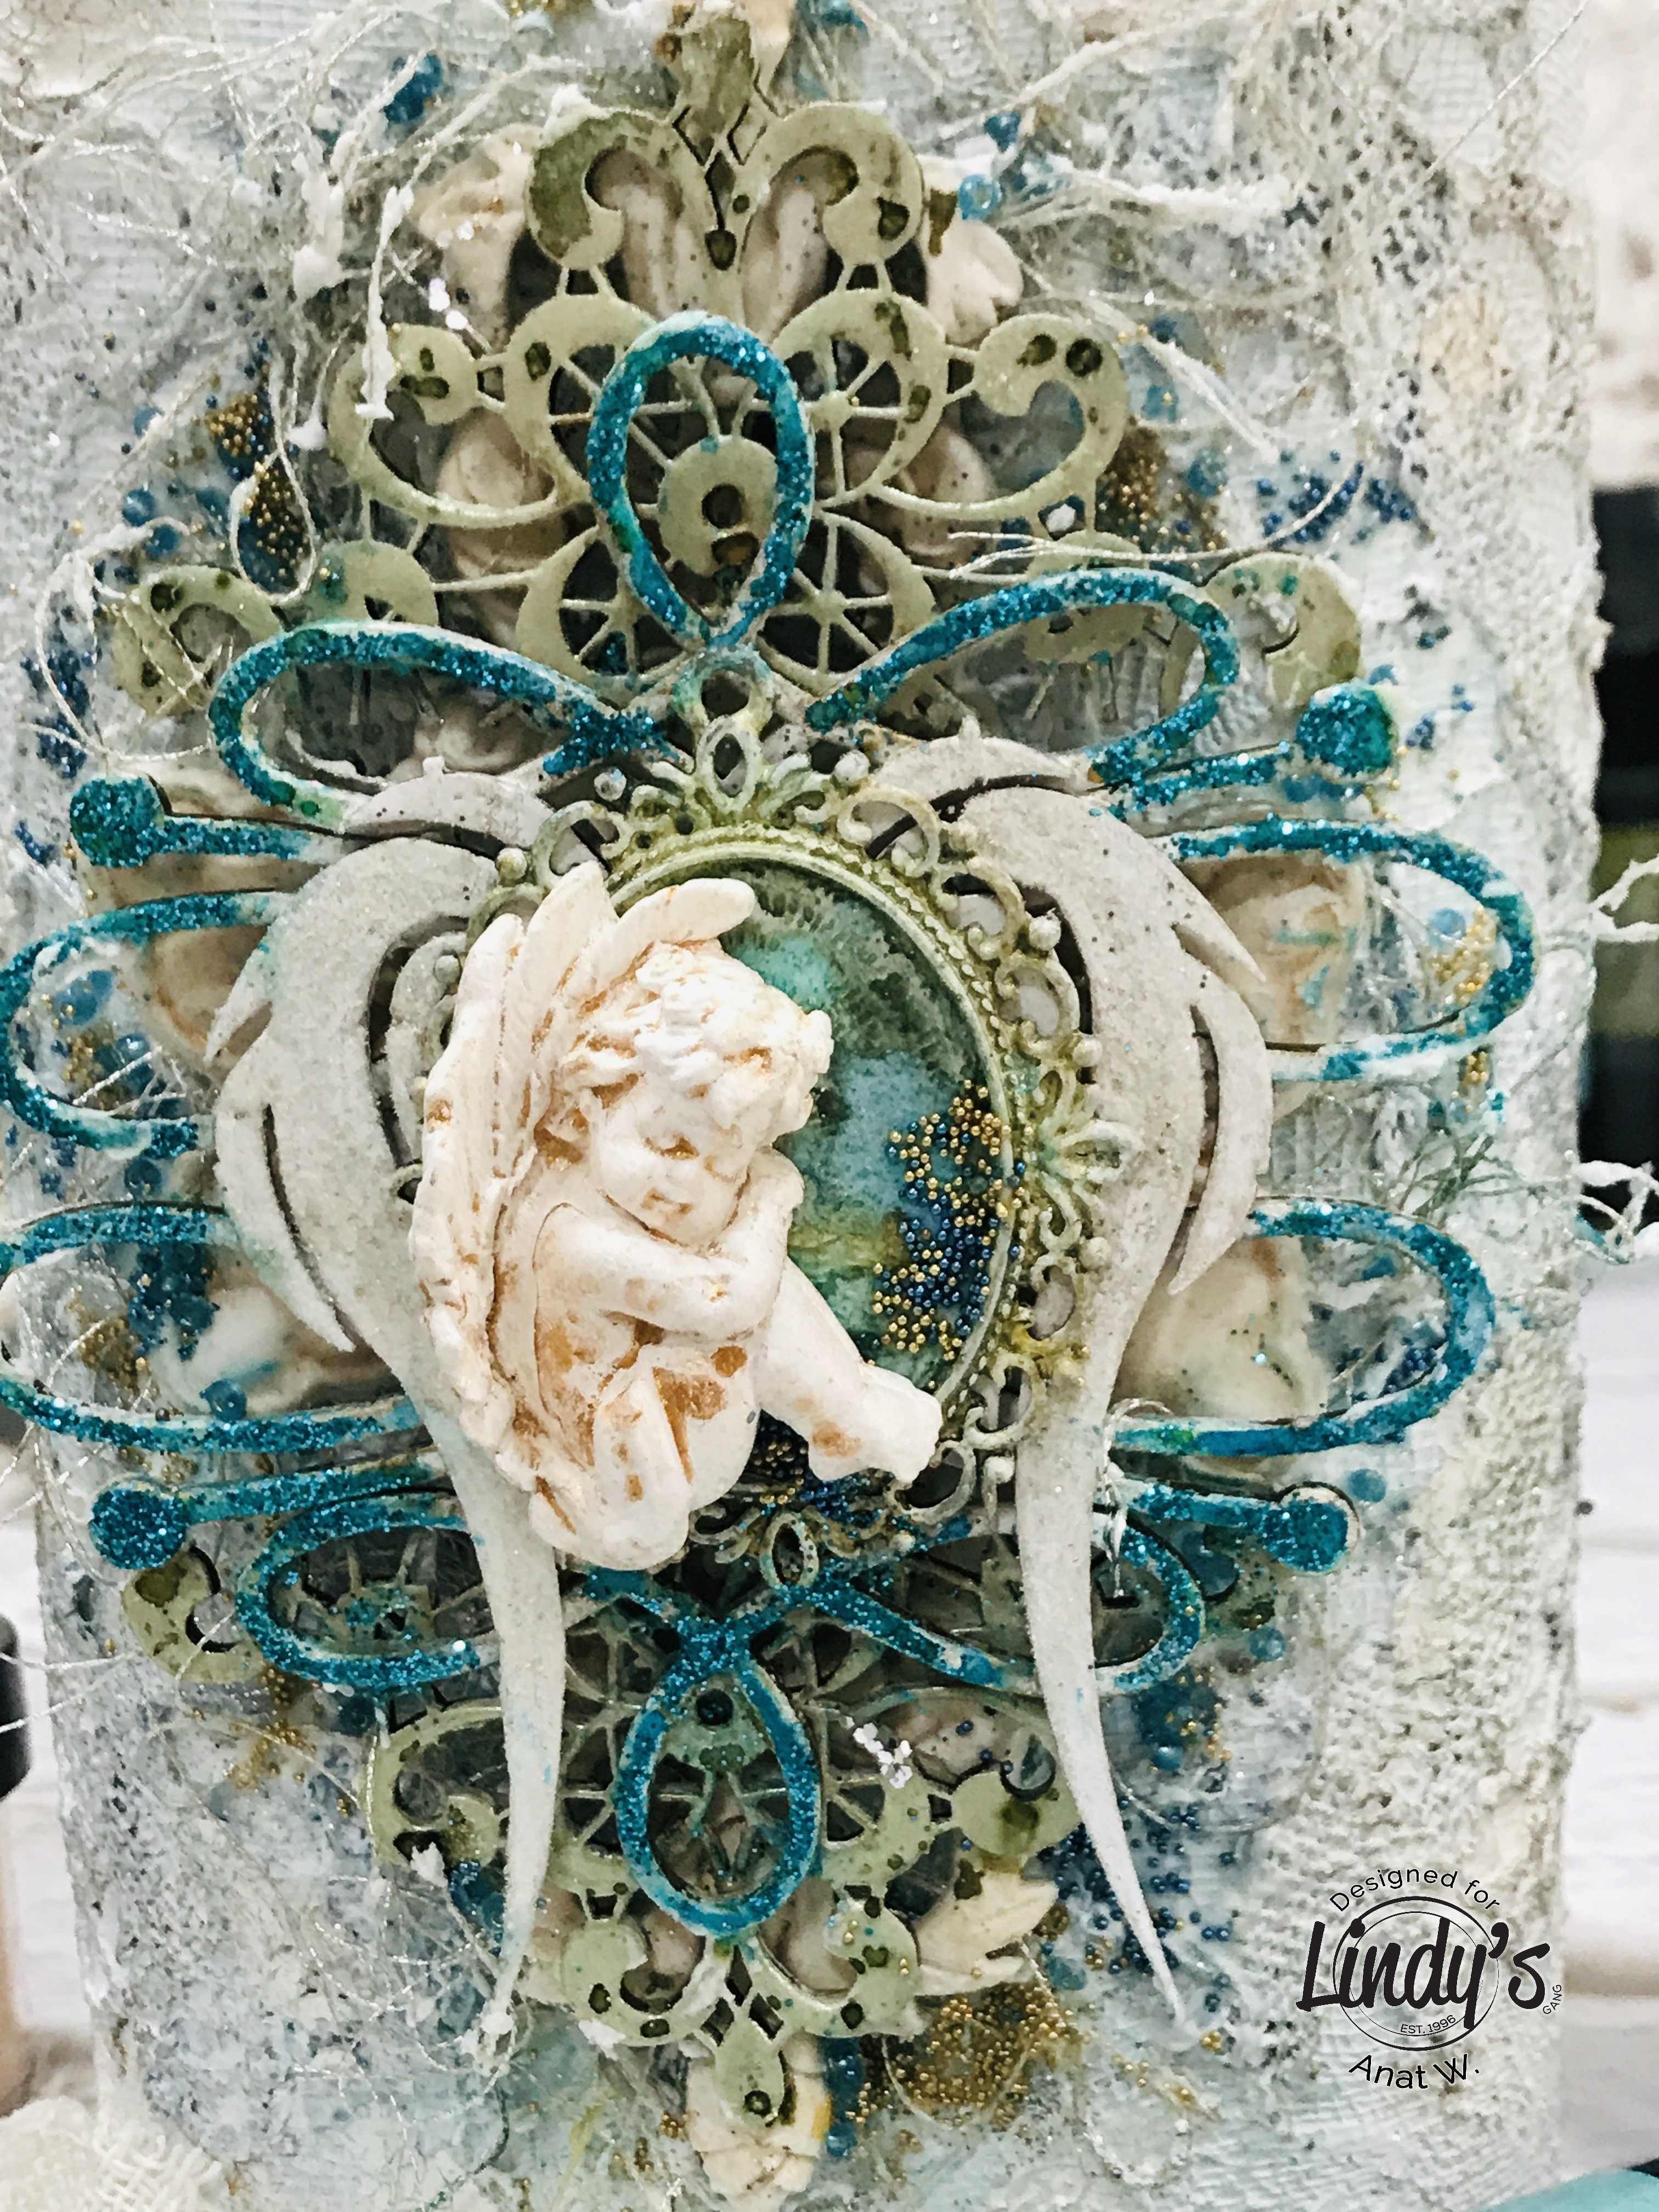
Here with my new Mixed media, Steampunk project and step by step Video tutorial using amazing Lindy’s Embossing Powders, new Squirts, new megical shakers and Sprays.


I created this gorgeous rust technique when I made my inspirational project for Lindy’s November 2018 Challenge. I liked it so much and thought I will be delighted to show you how I create this rust effect with Lindy’s.

Basic Process:
  1. Assemble the main composition with Dusty Attic Steampunk Chippies
  2. Cover the cluster with Black Gesso
  3. Create resist effect with a Stamp, embossing dabber and Cesar's Gold Embossing powder
  4. Color the canvas with Ethereal Emerald Vintage Spray and the cluster with Loonie Toonie Teal Squirt and Tawny Torquoise Vintage Spray
  5. Spread Clear crackle paste
  6. Add Graphite texture paste
  7. Add Ethereal Emerald Vintage Spray
  8. Mix Oktoberfest magical Shaker with a bit of water and add it to the cluster.
  9. Add to the canvas Splats of Time Trave Teal and Cowabunga Copper Sprays
You can see all steps at the video tutorial I have made for you all:


Some more photos for your inspiration:


Lindy's products:
Dusty Attic products:
Other products:
Dusty Attic Chipboards, Golden Black Gesso, Finabair Clear Crackle Paste, Finnabair Graphite texture paste,  Finnabair Mechanicals, Vitage embellishments from my stash


Thanks for stopping by!
xoxo


Feb 4, 2019

Video tutorial - How to Creat amazing Gems using Lindy's Embossing Powders

Hello dear  friends!
Here with you today to share my first video tutorial for Lindy's - Yay!
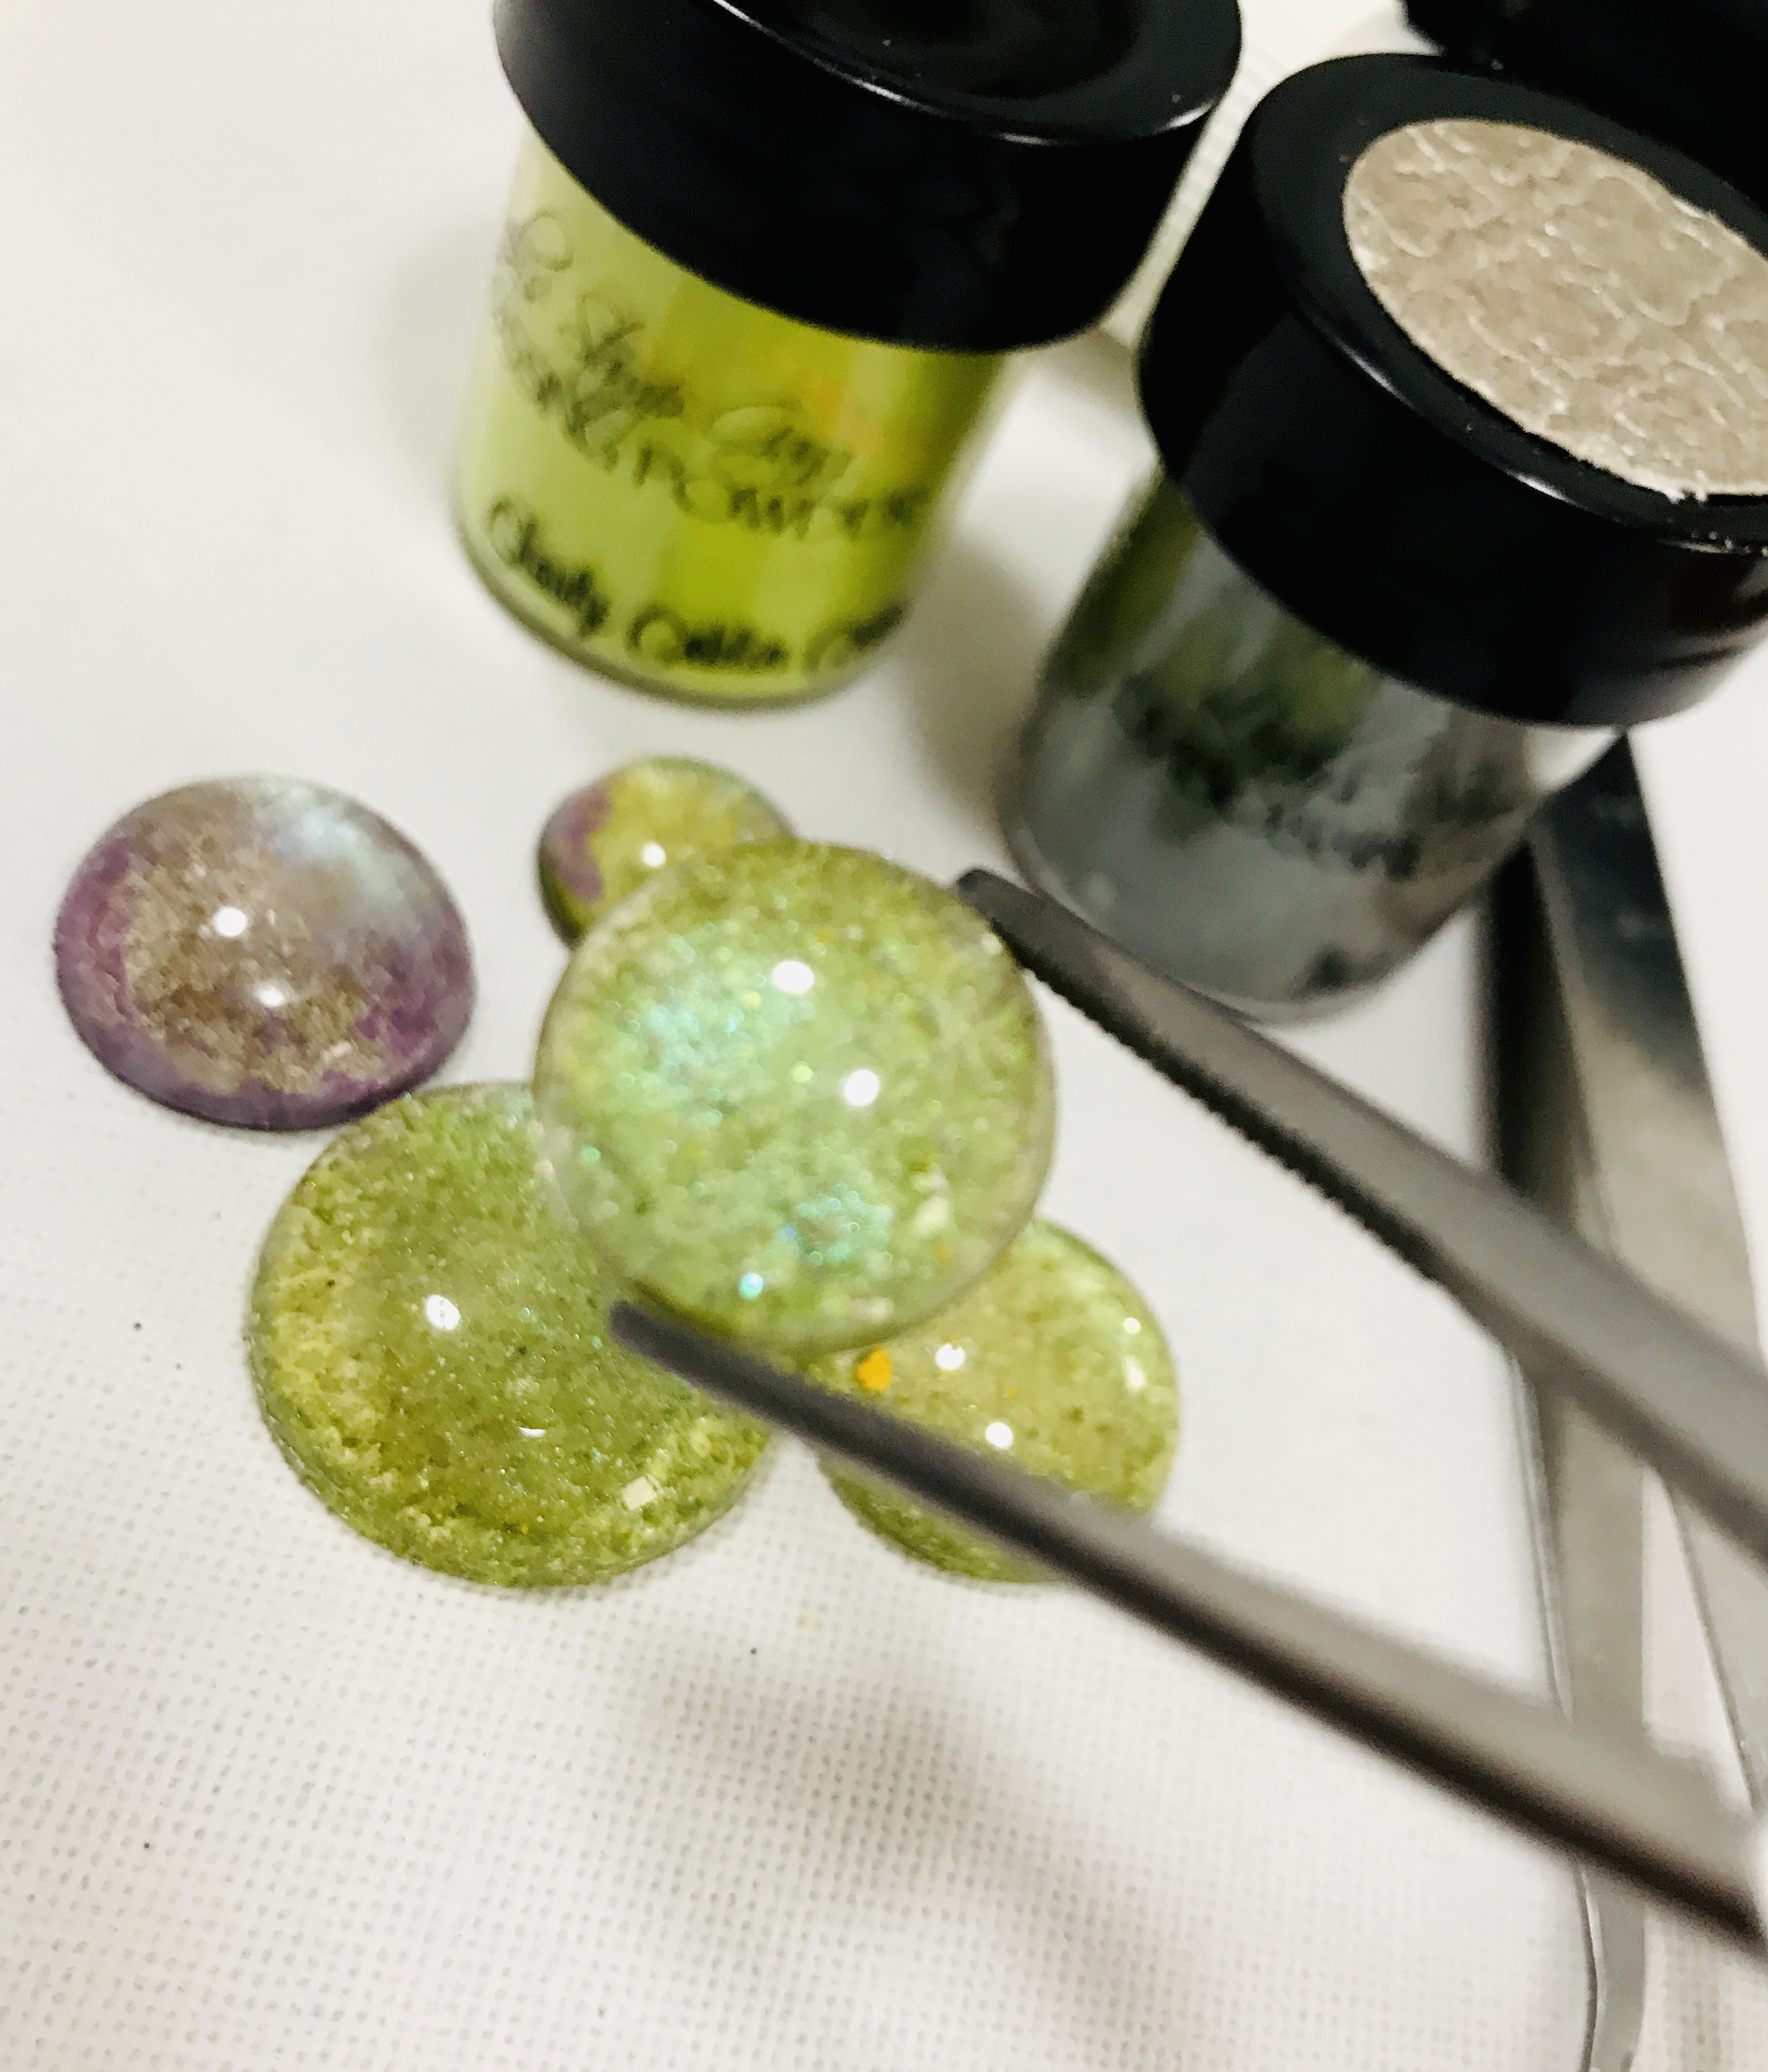
the video is a Lindy's technique: How to Creat amazing Gems using Lindy's Embossing Powders


In this tutorial I'm showing how to make the amazing gems I used in the project below, made for Lindy's January Challenge.


Lindy's embossing powders are two-toned powders and that's what gives the gems the unique Chameleon Bright and Shimmering look.
Some of Lindy's EP are transparent so if you use one on top of the other, like I did, you get more tones!
And you still can see underneath. You can see in the next photo the gems not only have the tones atributed by the embossing powder but also reflect the grungy colors of the spray on the project.


This give us the possibility to make a bunch in advance and use the same Gems in different project styles.

What you need is:  a good embossing pad or dabber, some pebbles and at least two of Lindy's Embossing Powders.

Link to process video: 


Lindy’s Products

As promissed in the video here's a list of the best EPs for this technique:
Hope you’ve enjoyed my video tutorial.
Thank you for stopping by!
xoxo

Jan 7, 2019

Celebrate this - my first project for Dusty Attic

Hello Crafty friends! 
I'm so excited to be here for the first time today, to share with you my altered hoop with my photo on it.


In my first project I wanted to introduce my self and for that I didn't only used my own picture but also used some of my favorites stuff: altered hoop with lace fabric - I use this combination a lot but that's the first time I color it! I dyed it with Lindy's Afternoon Delight Denim  Spray as I love Jeans for it's versatility and compfort. After drying I added Finnabair's Vintage gold Metalic Wax and a bit of texture paste through a stencil.
In the main compostition I used more lace and fabric, paper elemets which I fussy cut from Dear Diary Mintay papers and specially: gorgeous Boho feathers, Ginkgo Biloba folliage , ATC Frame #6, Geo Tribal Motif #2 and Celebrate this from Mini Captions #10.

I colored the chipboards in different ways: Boho feathers - Lindys Mission Bells Brown  Spray, Ginkgo Biloba folliage - Lindy's Cockelbells Coral and Mission Bells Brown  Sprays, ATC Frame #6 - Lindy's Twilight Jade Slate Embossing powder and Finnabair's Vintage gold Metalic Wax, Geo Tribal Motif #2 - Lindy's Ghouly Goblin Green EP and Celebrate this - Lindy's Bling Y Blond Spray and Finnabair's Vintage gold Metalic Wax.

After I aranged and adherded all elements to the hoop I added Finnabair's Gold Glass Glitter and Finnabair's Gold Micro beads.
Last step was to add splats of white gesso diluated wit water.

I hope you enjoy and I would love to hear from you in the comments bar of my blog.


Dusty Attic products used:


DA1732 - Boho feathers
DA1524 - ATC Frame #6

Thanks for stopping by
xoxo


Jan 2, 2019

Believe - Altered little tin for Lindy's Color Challenge

Hello dear friends and Happy new Year!
I'm here today to share one more Challenge for the brand new year - it is the Lindy's Stamp gang Color Challenge. Yes in 2019 I continue in Lindy's but this year I will be making Video Tutorial instead of Photo step by Step isn't it wonderful?!


Nenhum texto alternativo automático disponível.
The rules in the Challenge changed a little bit so please read them and pay attention.
We would love you to Join us!

In my altered object I used only Lindy's Sprays and Embossing powder! Look how we get higlight and shimmer playing with Lindy's don't need anything else to color it. 

Those are Lindy's products used in my project: 
Aloha avocadoFlat Spray


Thanks for Stopping by
xoxo


Dec 26, 2018

Altered Winter tin using amazing Lindy's

Hey gang!

Can't beleive wer'e already in December! And wow that's my last Step by Step for 2018.
For this busy days I've created a project you can make quickly to give it as a present or use as your home decor!
I have altered a formula baby metal tin using some of the most amazing Lindy's Sprays and Embossing powders. Upcycling is great for it's value for our world and also due to it's unexpensive expenses.

I gathered what I was going to use

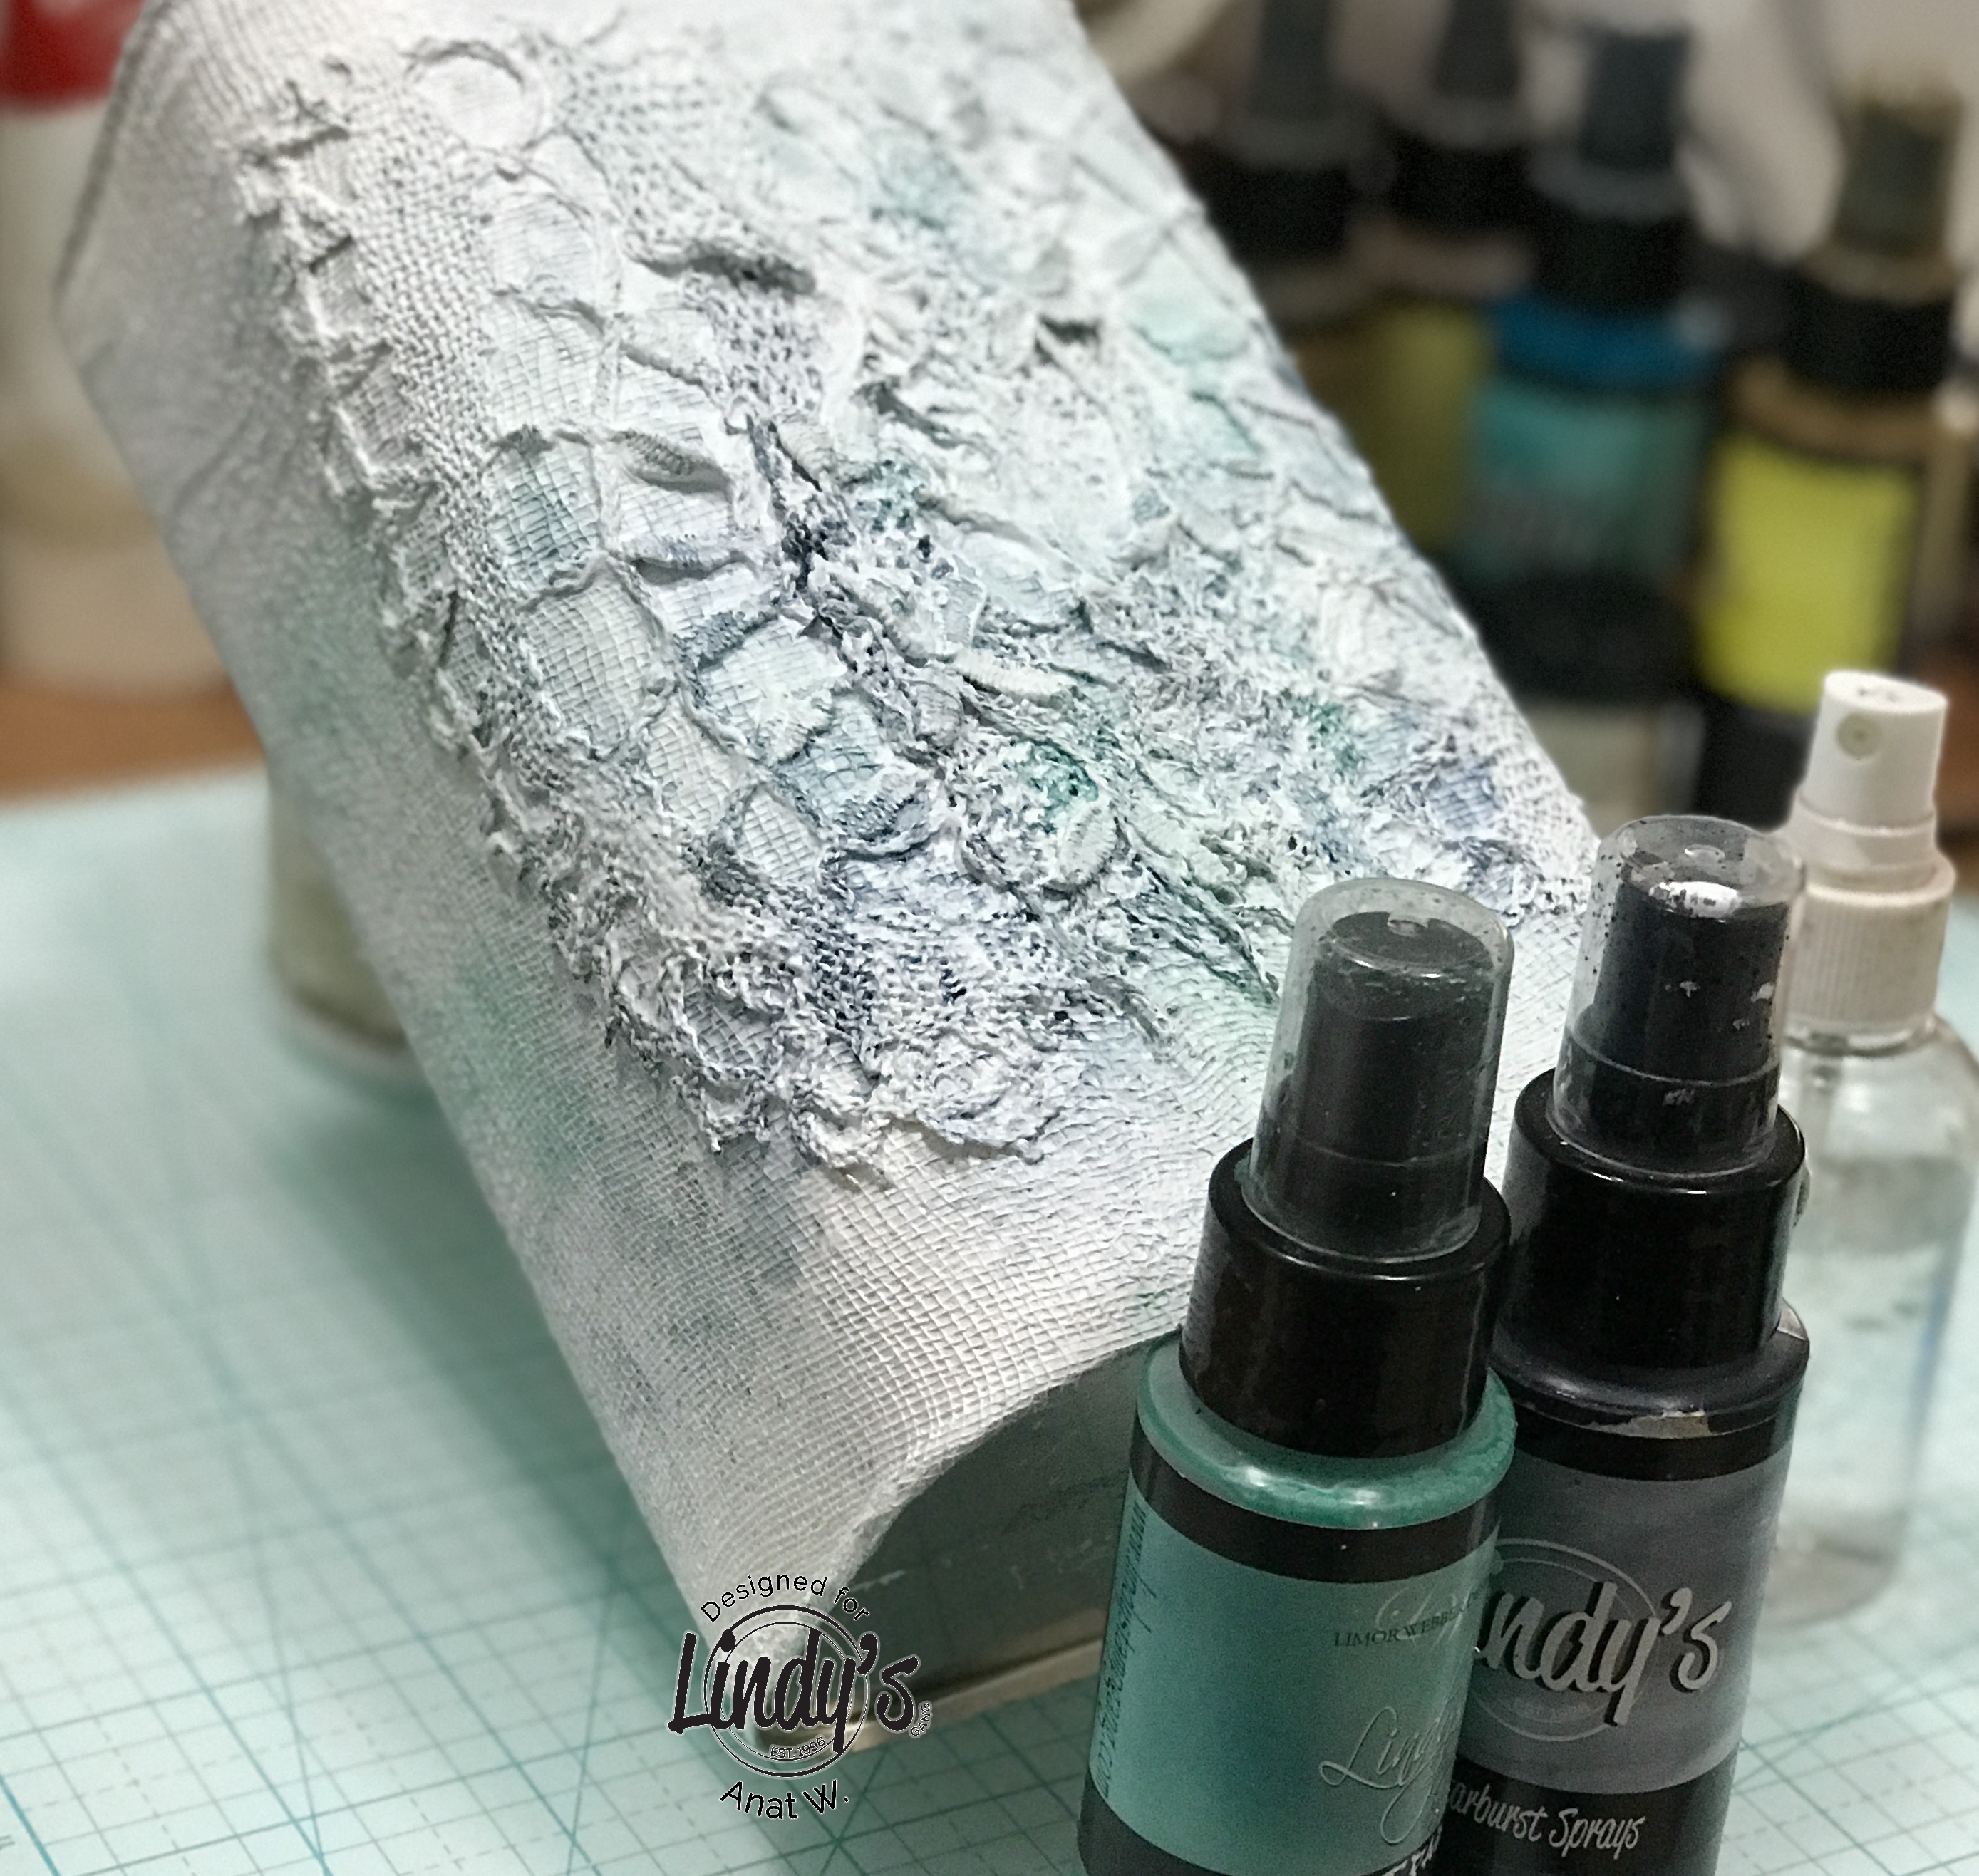
First step was to brush the tin with white gesso, adhere a cheese cloth to intire surface and brush on top a good layer of white gesso. For adhering the cheese cloth the white gessofunction is as glue and a primer.
In the center a piece of vintage lace was added the same way.

Now it is needed to start adding color, I added: Whale watch blue Spray and C'est la vie Cerise Spray
I wanted to reach a light shades and to get this effect I sprayed some water and moved it around.

You can dry it with a heat gon or let it dry and work on the embellishments.
I gave all embelishments a coat of white gesso.

I heat embossed some of the chipboards with Reindeer moss green EP.

And others with Purely white EP.

I color the small metal frame with: Golden sleigh bells Spray, Sassy sapphire Spray and Treasure sland aqua Spray

And my favorite tecnique to color clay prints is to spray them with Medieval gold Spray

Now that every thing is colored and dry It's time to adhere all embellishments in the center of the tin.
When this was dry (I like to give it a night to dry) I added to the surface a bit of Medieval gold Spray with water only to make it less white and a lot shimmery. I Added teal glitter on some of the chipboards, white glitter on others and silver glitter around the cluster. I also addes gold and blue micro beads.

Let it dry and the piece is ready!

Here are some close-ups:


Lindy’s Products:

Other Products:
  • Finnabair White gesso and Heavy body gel, Dusty Attic chipboards, different toppings –  microbeads, glitter and more.
Hope you’ve enjoyed this post!
Thank you for stopping by!
xoxo,