Showing posts with label lindys stamp gang. Show all posts

Sep 22, 2020

Art Journaling with Shakers for Lindy's stamp gang

Hey Gang!
It’s Anat here with a fun Video tutorial creating an Art Journal Spread. To create the spread I've used 2 shakers, 1 magical and 2 sprays .


So let's start...

Basic Process

  • Glue 2 pages together from each side
  • Prime the pages with Clear Gesso
  • Add texture with modeling paste and stencil
  • When the paste is already dry, add color with: Guten Tag Teal, Lederhosen Laurel Shakers
  • Add a bit of Jana's Jade Magical
  • To accentuate the gears add Blazzing Black Spray
  • For highlighting the texture add a layer of Dry Brush White Heavy Gesso
  • Color some paper die-cuts with Cowabunga Copper Spray. Add on top Show Stopper Copper Magical.
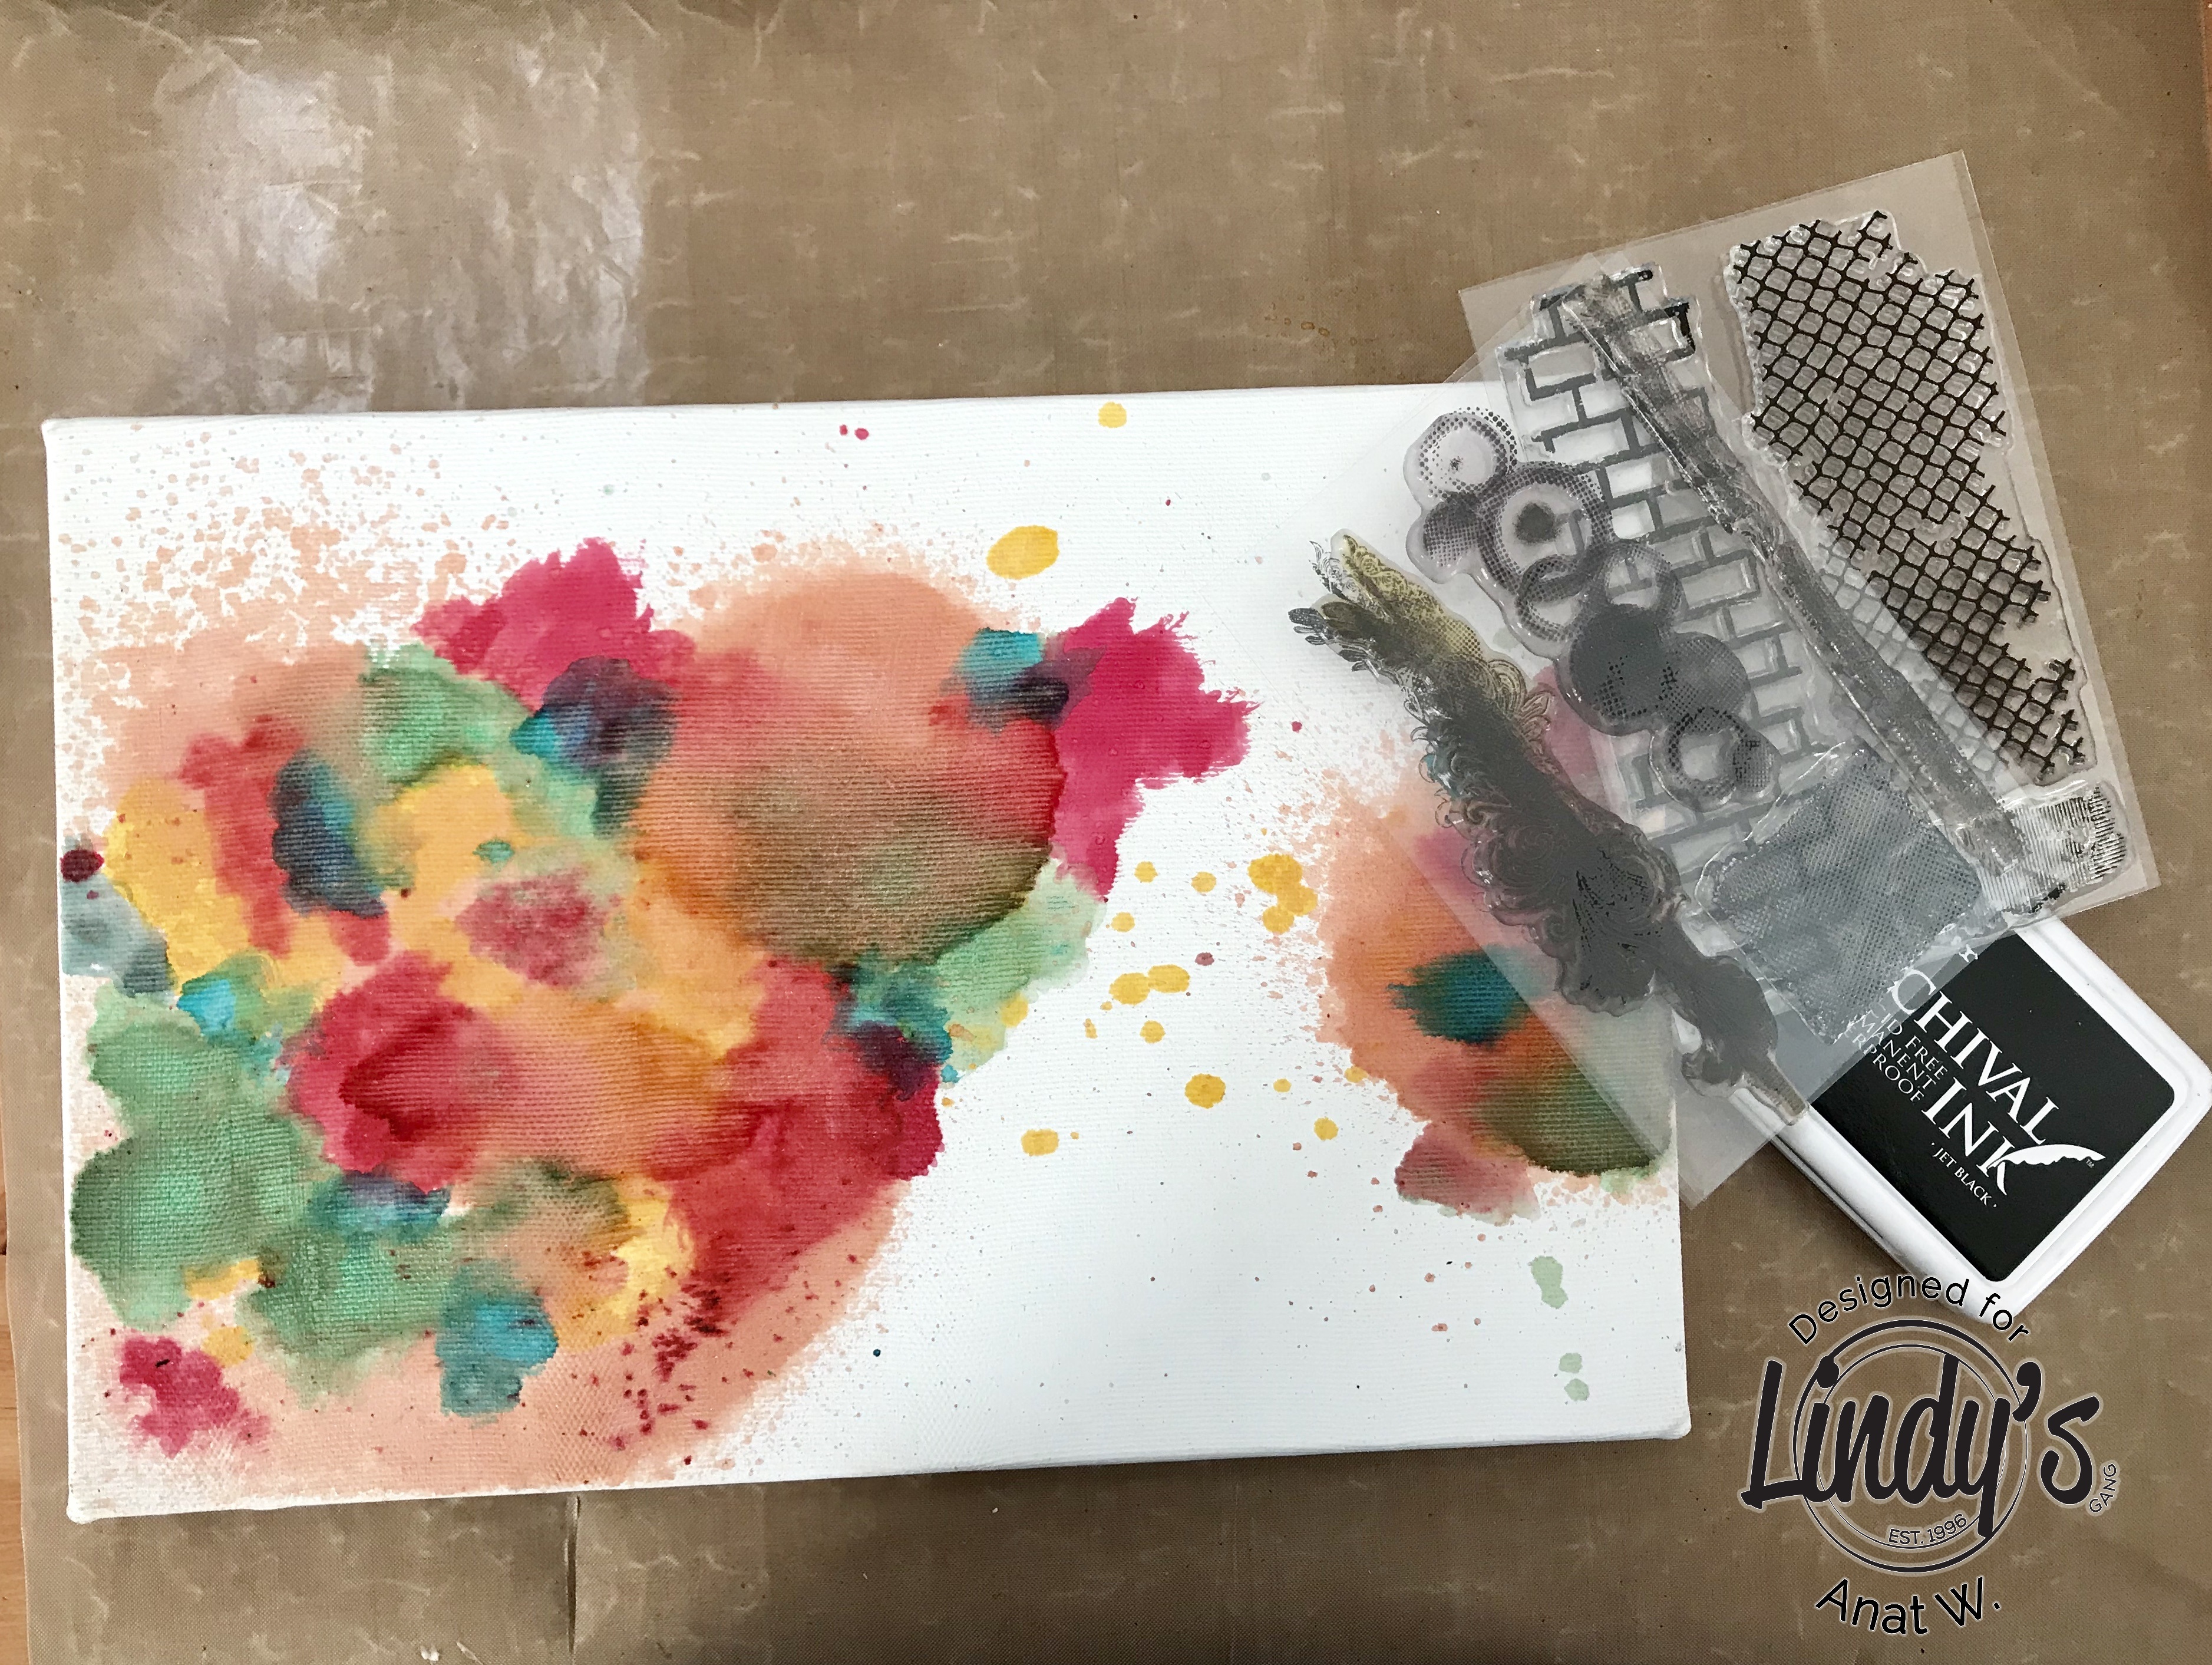
  • Add stamping using Black Archival Ink
  • Distress the embellishment using vintage photo ink
  • Time to glue the embellishment to the spread
  • Add white splashes
  • Off the camera I added Micro beads and self adhesive jewels
Watch here the step by step video tutorial:


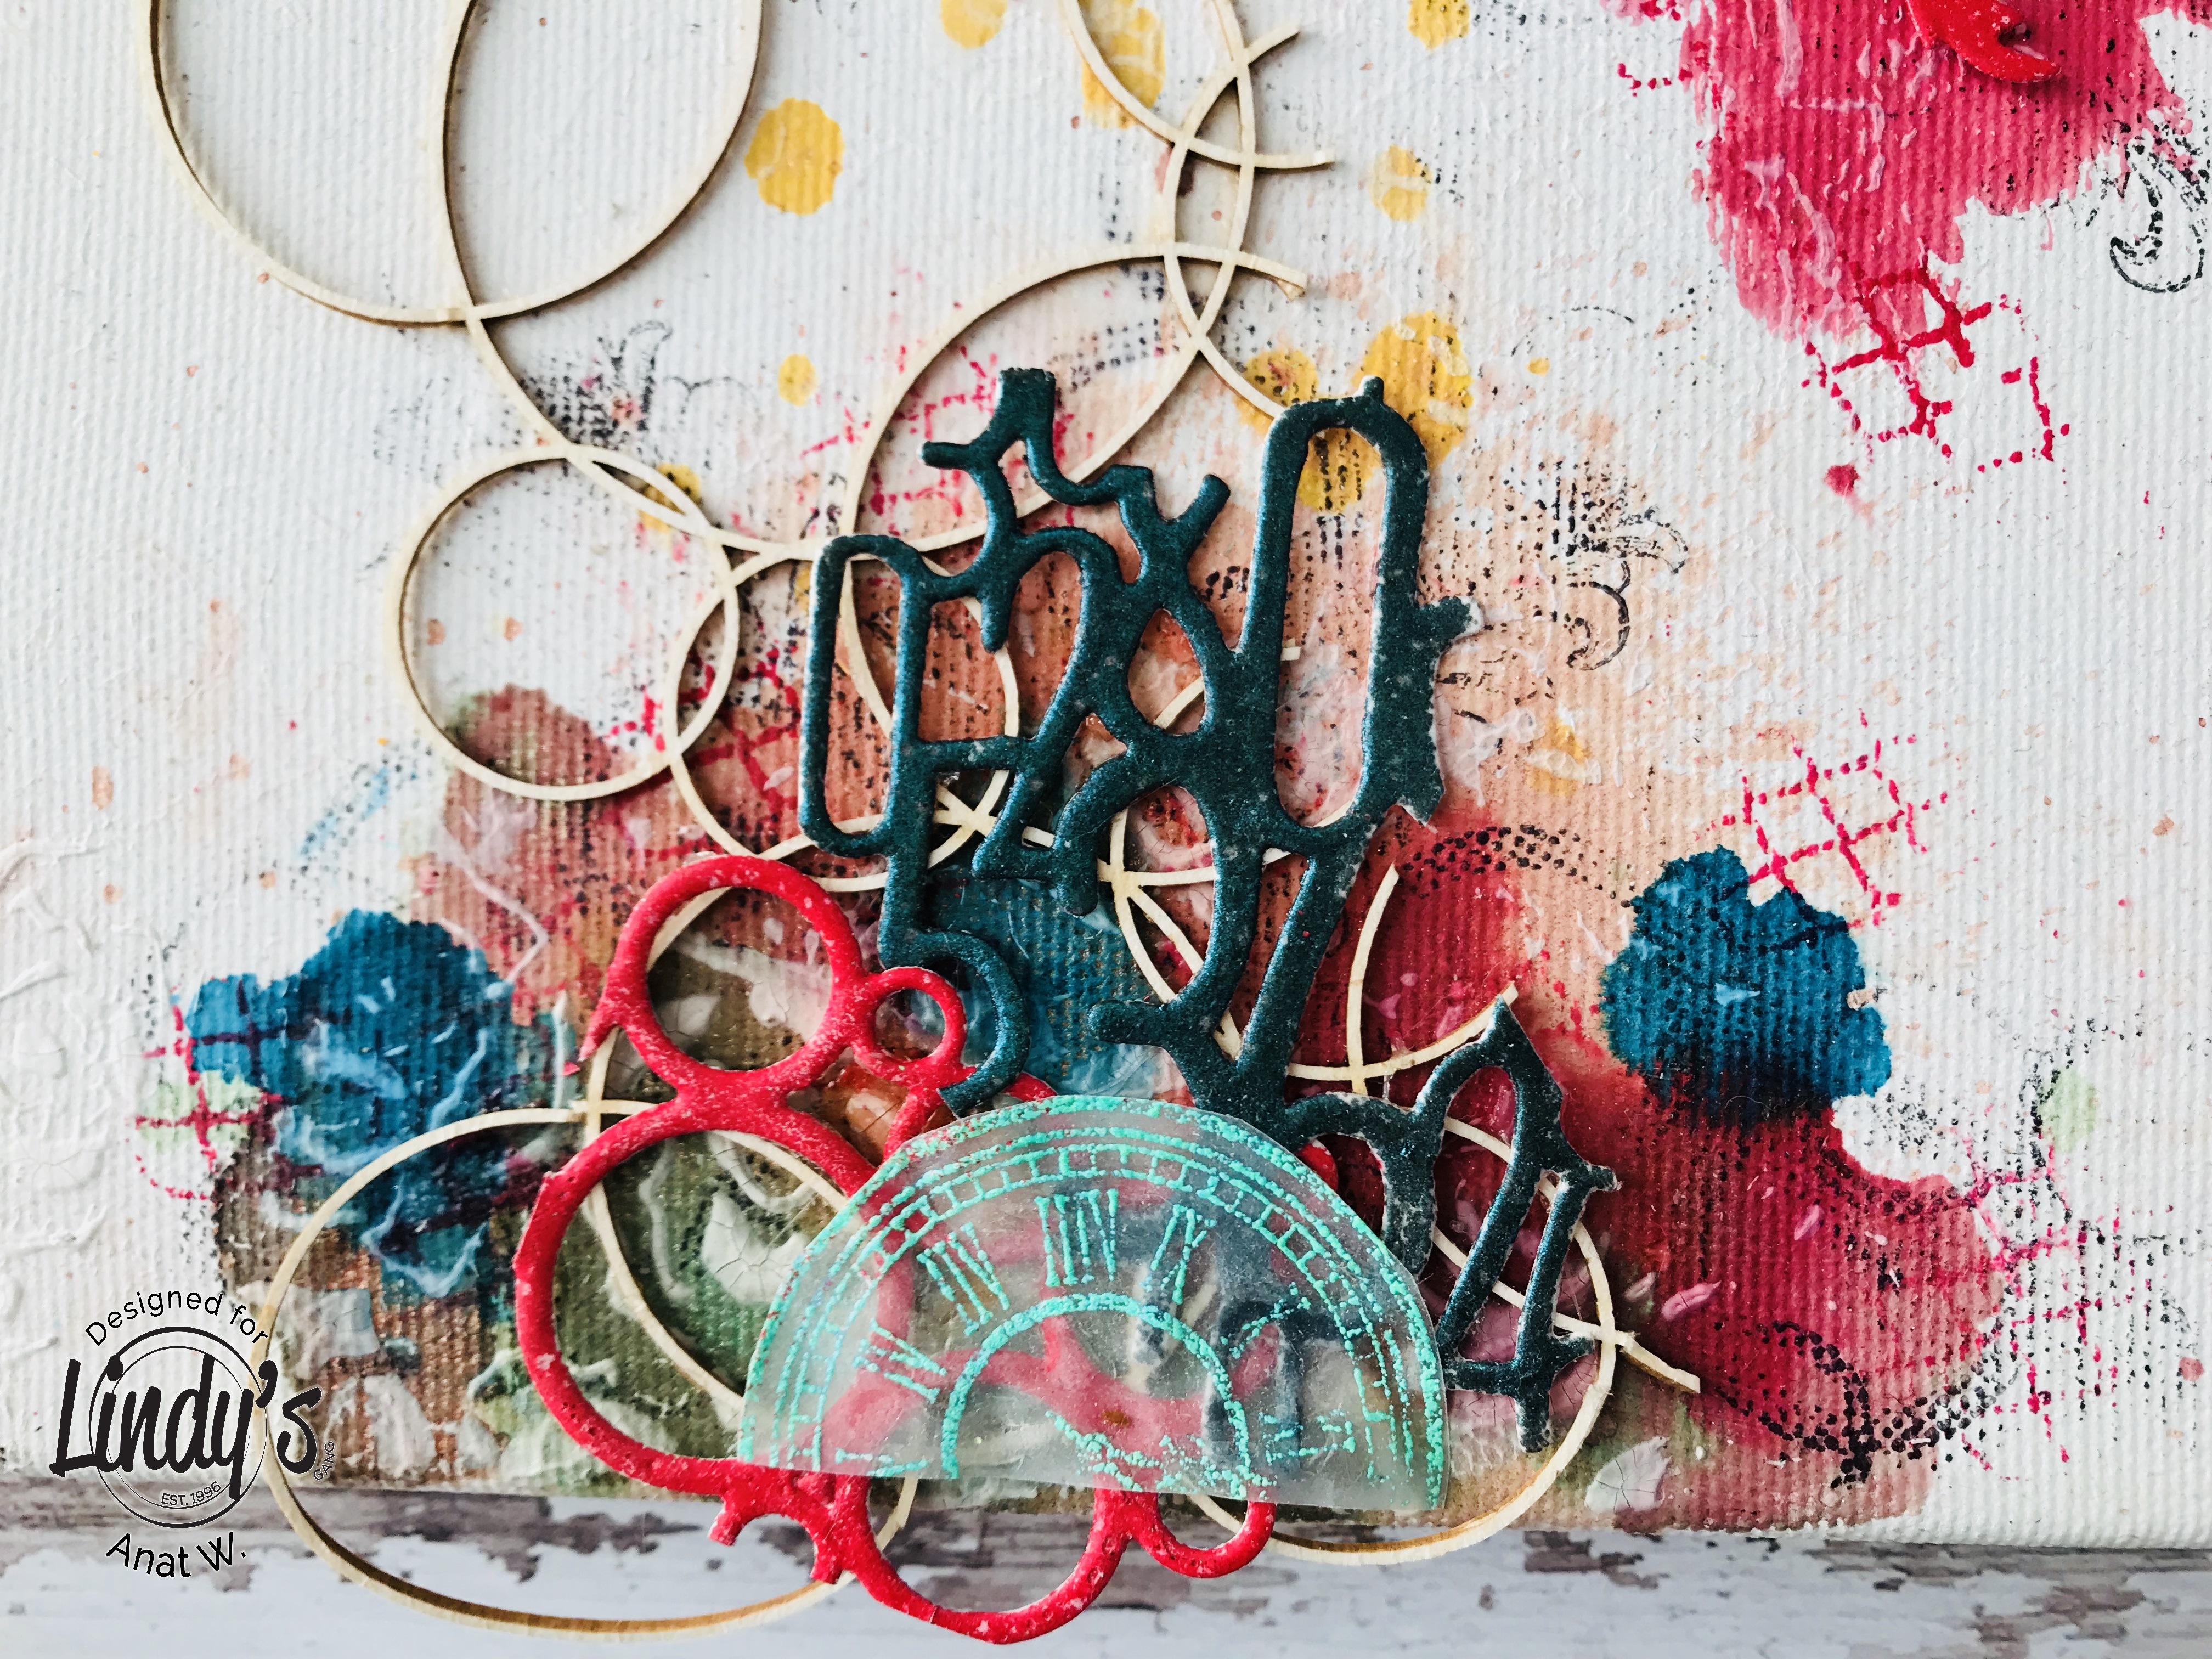
I have some close-ups for you, to better see the details:


Lindy’s Products

Other products
  • Finnabair Art Daily words You Need sticker pad, Finnabair White heavy Gesso, Finnabair Clear Gesso, Mimi cut dies, Archival Black ink, Carabelle Stamps
Thanks for stopping by!
xoxo

Nov 2, 2019

Thinking of You cards Set

Hello Lindy's Lovers!

Bring on Lindy's Stamp Gang November’s Challenge!


I’ve used  here:
On the right card:

 - craft cardstock
- Beaver Tail Brown and Emerald Eh Squirts
- Rusty Lantern Lime spray
On the left card:

- Black cardstock
- 
Beaver Tail Brown and Loonie Toonie Teal squirts

- Bling-y-Blonde Spray
On both: Sassy Saphire, Guten Tag Teal and Desert moon turquoise Embossing Powders


 Hope you like them and waiting forward to see your creations.

Thanks for Stopping by!
xoxo

Feb 8, 2019

Reverse Canvas for Dusty Attic

Hello dear Dusty FANattics!
I am so excited to share another project as a Dusty Attic Design Team Member.


I have created this reversed canvas, as a frame, featuring the amazing Entangled Heart chipboard and some more of the gorgeous Dusty Attic chipboards (see below). 
I have covered the chippies with 3 new Lindy's Starburst Squirts, added beautiful 49&market' flowers, Pebbles, Art Stones and Micro beads.
On the frame I used a tecnique I love which adds  every project gorgeous texture: the Frame laterals were covered with pieces of different fabric lace, I applied to the center crackle paste and let it dry and crack over night.
I colored the frame with the same colors I used on the chippies, this time diluating with water to get a pastel colors and let the chippiesn stand out. 
After drying I added 2 layers of dry brush white gesso.

The chippies I used are:


The squirts I used are those:


Thanks for stopping by!
xoxo


Dec 1, 2018

House shape Wooden drawer For Lindy's Challenge


Hello my dear crafty friends!

Today is the first day of a new month and this means a new Color challenge over at Lindy's Gang Blog.
I love this month's color palette - Christmas shades and a light Blue, gorgeous combination!


Here is the color palete

Color of the month is: Poinciana Red Flame

I decided to alter a small Wooden drawer in House shape with amazing lindy’s and a lot of Snow. 

Most of chibpoards are from Dusty Attic, the snowflakes are Scrapiniec!


Join us in the last Challenge of  2018

Thanks for Stopping By 
xoxo


Oct 30, 2018

Sweet like candy canvas - Step by Step for Lindy's

Hi Gang!
I'm so happy to share with you a canvas I made with my daughter's photo.
I decided to go for a colorful palette as she is a kid and I wanted a bright and joyful result.

Basic Process

So  join me in the Step by Step process:

 
All products are set so let's Start:

First step was coloring in the areas of the canvas where the photo and embellishments will sit.
 I used five gorgeous sprays: Rizzo's Rowdy Red Flat, Grab a Guy Gold Shimmer, Jack in the Pulpit Teal Shimmer, Time Travel Teal Shimmer and Cowabunga Copper Shimmer.

Next, I stamped with archival black and color inks.

You can see it here

My favorite technique to color paper die-cuts is embossing. As you can see, I used a few Embossing Powders: Desert Moon Turquoise EP, Midnight Teal EP, Midnight Pewter EP, Caesar's Gold EP and Cuckoo Clock Cardinal EP

I needed a few more embellishments stamped and hot embossed, this time I used Cuckoo Clock Cardinal EP and Sassy Sapphire EP.

I added thin chipboard circles and left them with their natural color

As I can't do without some texture I added it with modeling paste through a stencil

Time to put everything together with gel medium. 
As the picture matting, I've chosen some papers and a couple of matching tags. 
As you can see when I've got to this point I decided to change the canvas direction.
And this is what I came with! I love the result and I hope you do too!


So give it a go – it’s easier than you think!

Here are some extra photos so you can see all the details.


LINDY’S PRODUCTS

OTHER PRODUCTS
  • Chipboards, Decoart Modeling Paste, Prima Stencil, assorted dies,  Stamps and Inks