Dec 30, 2019

Glitter, Gleam and Shine for New year


Hello mixed media souls!
So happy to be here in the penultimate (second last) day of 2019.
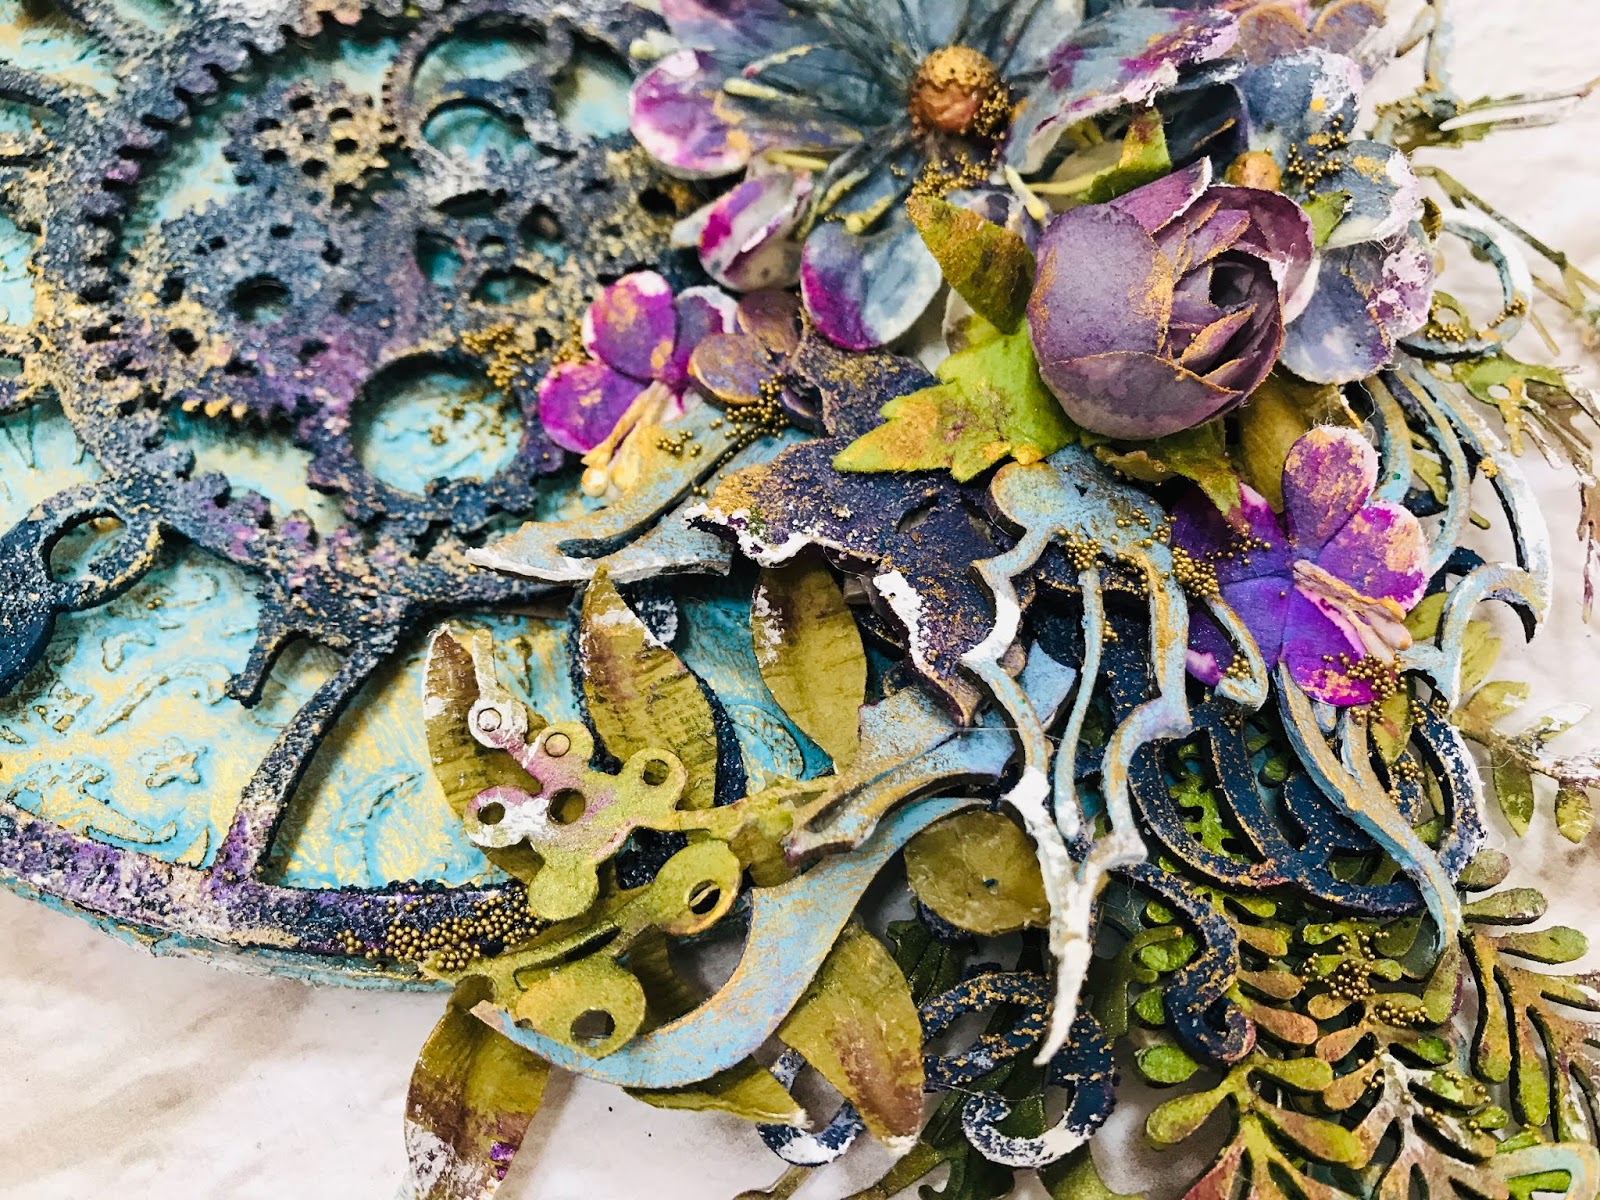
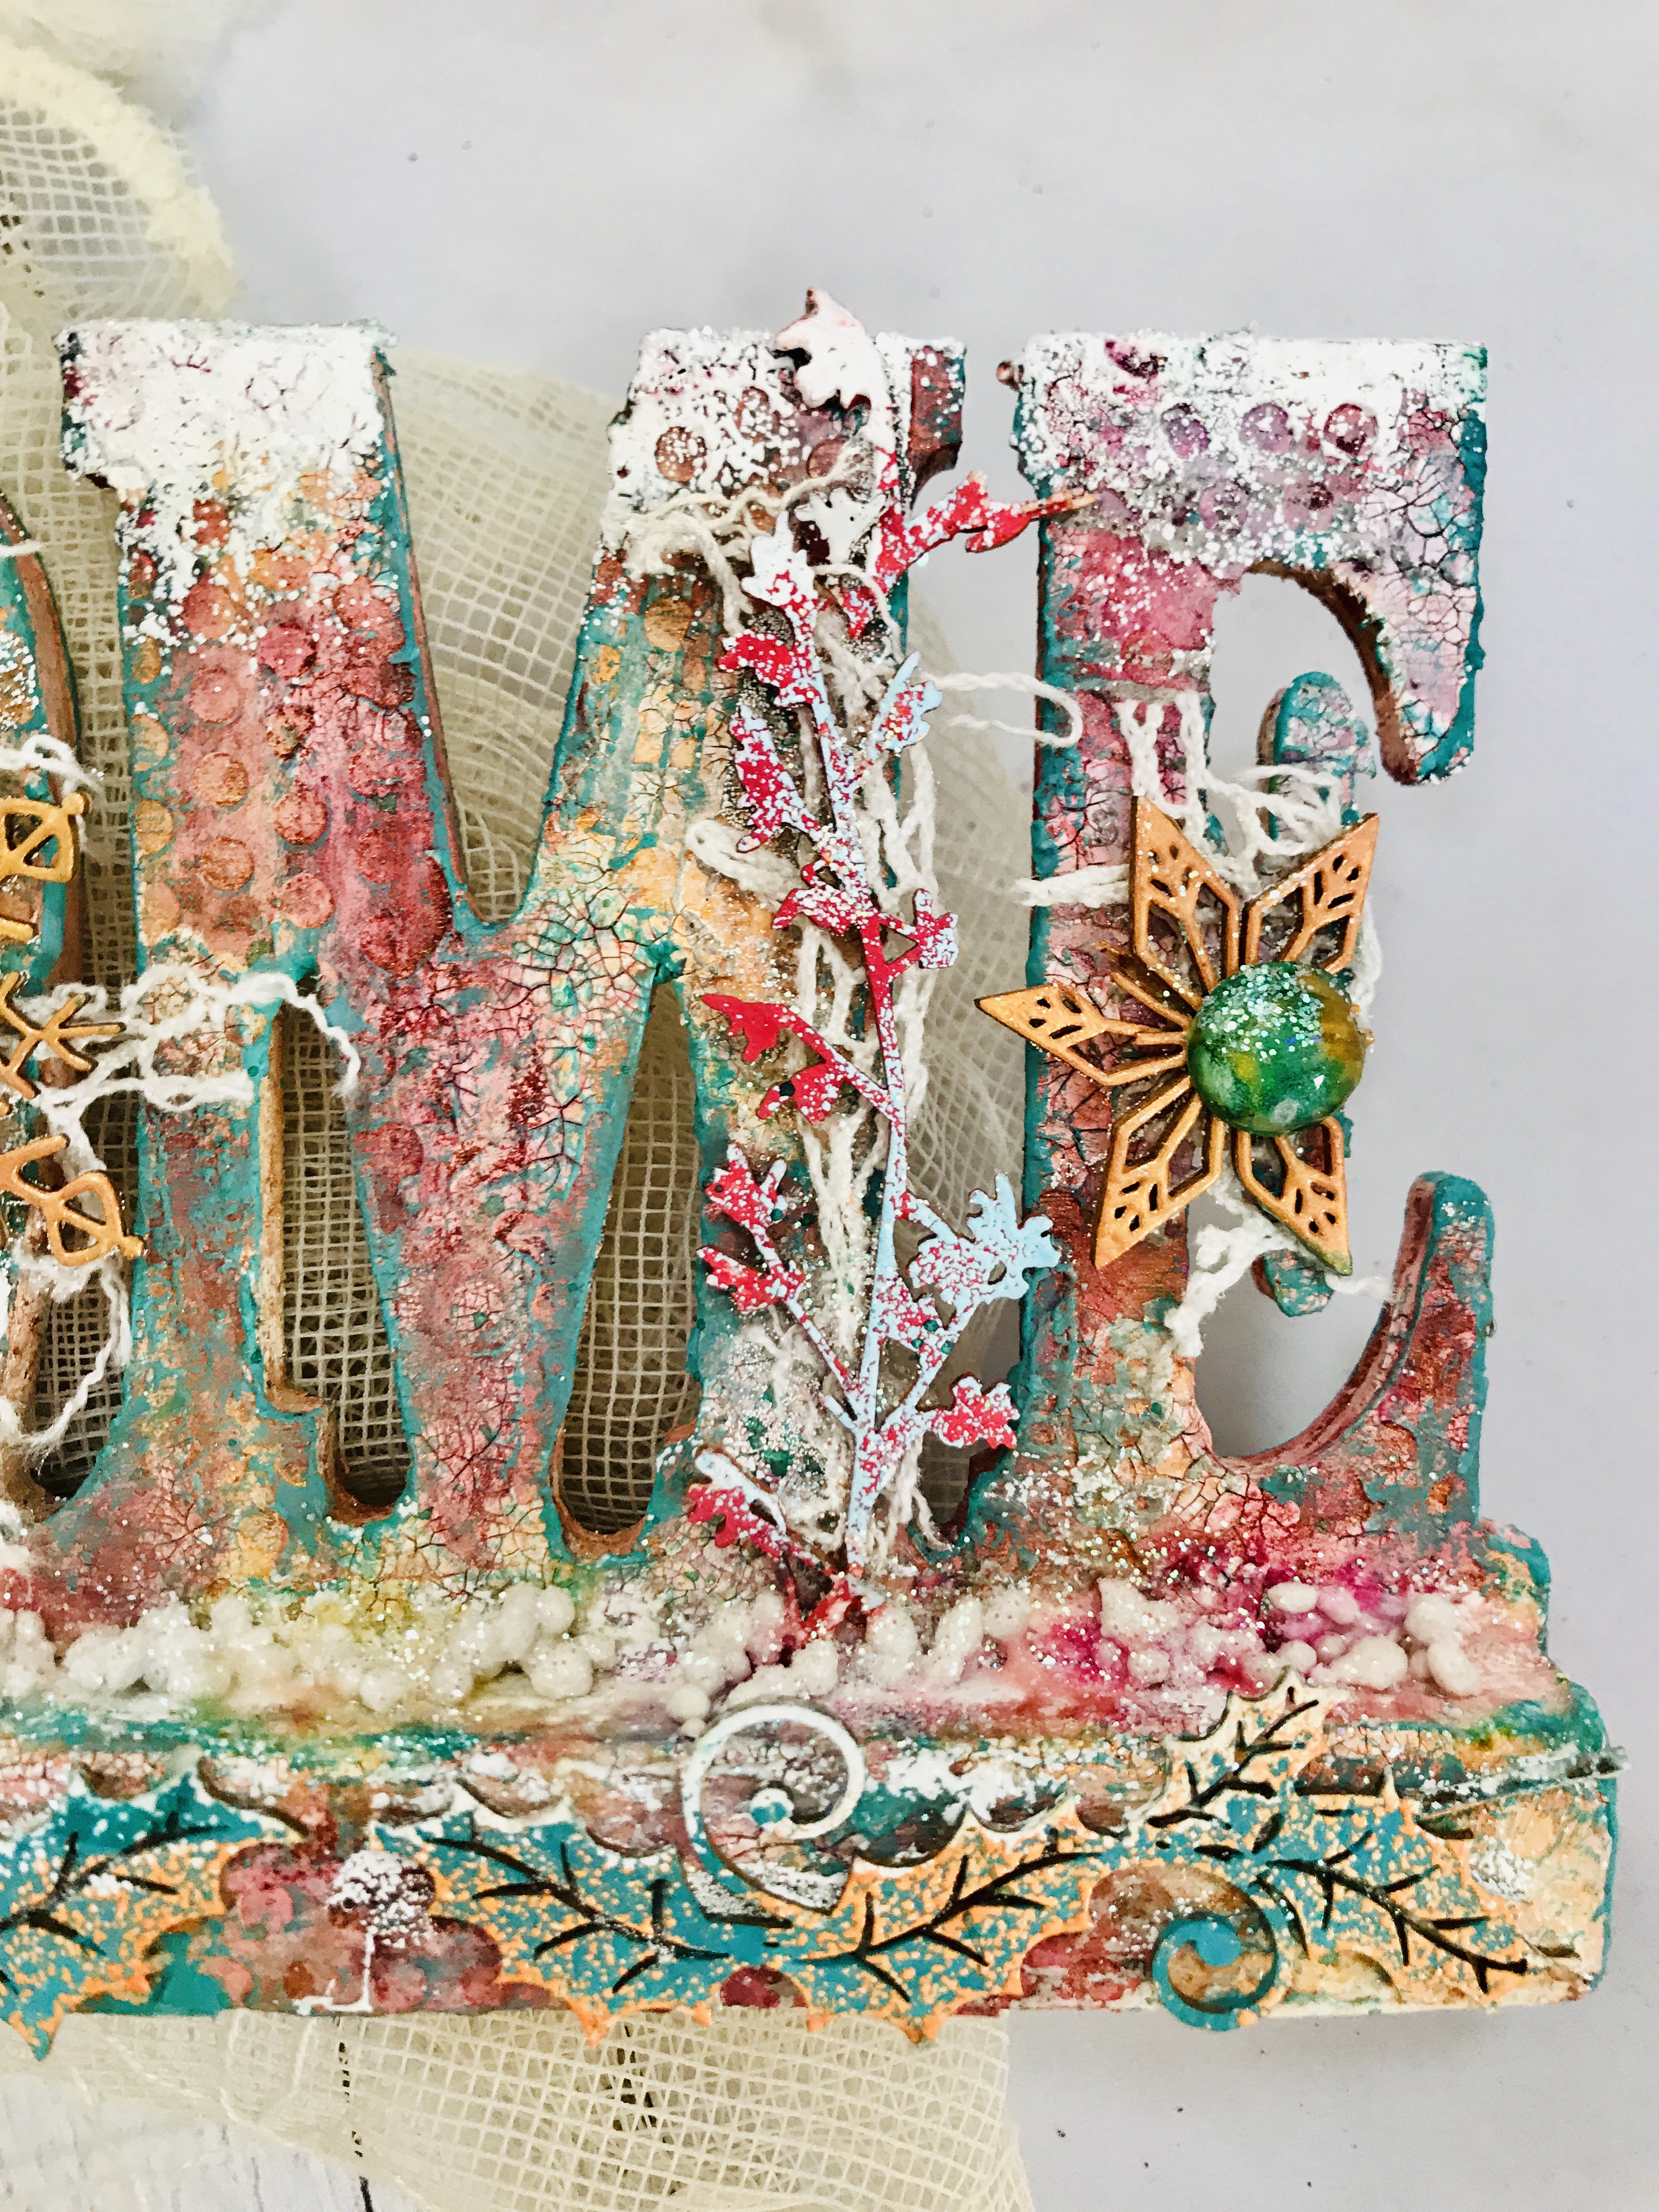
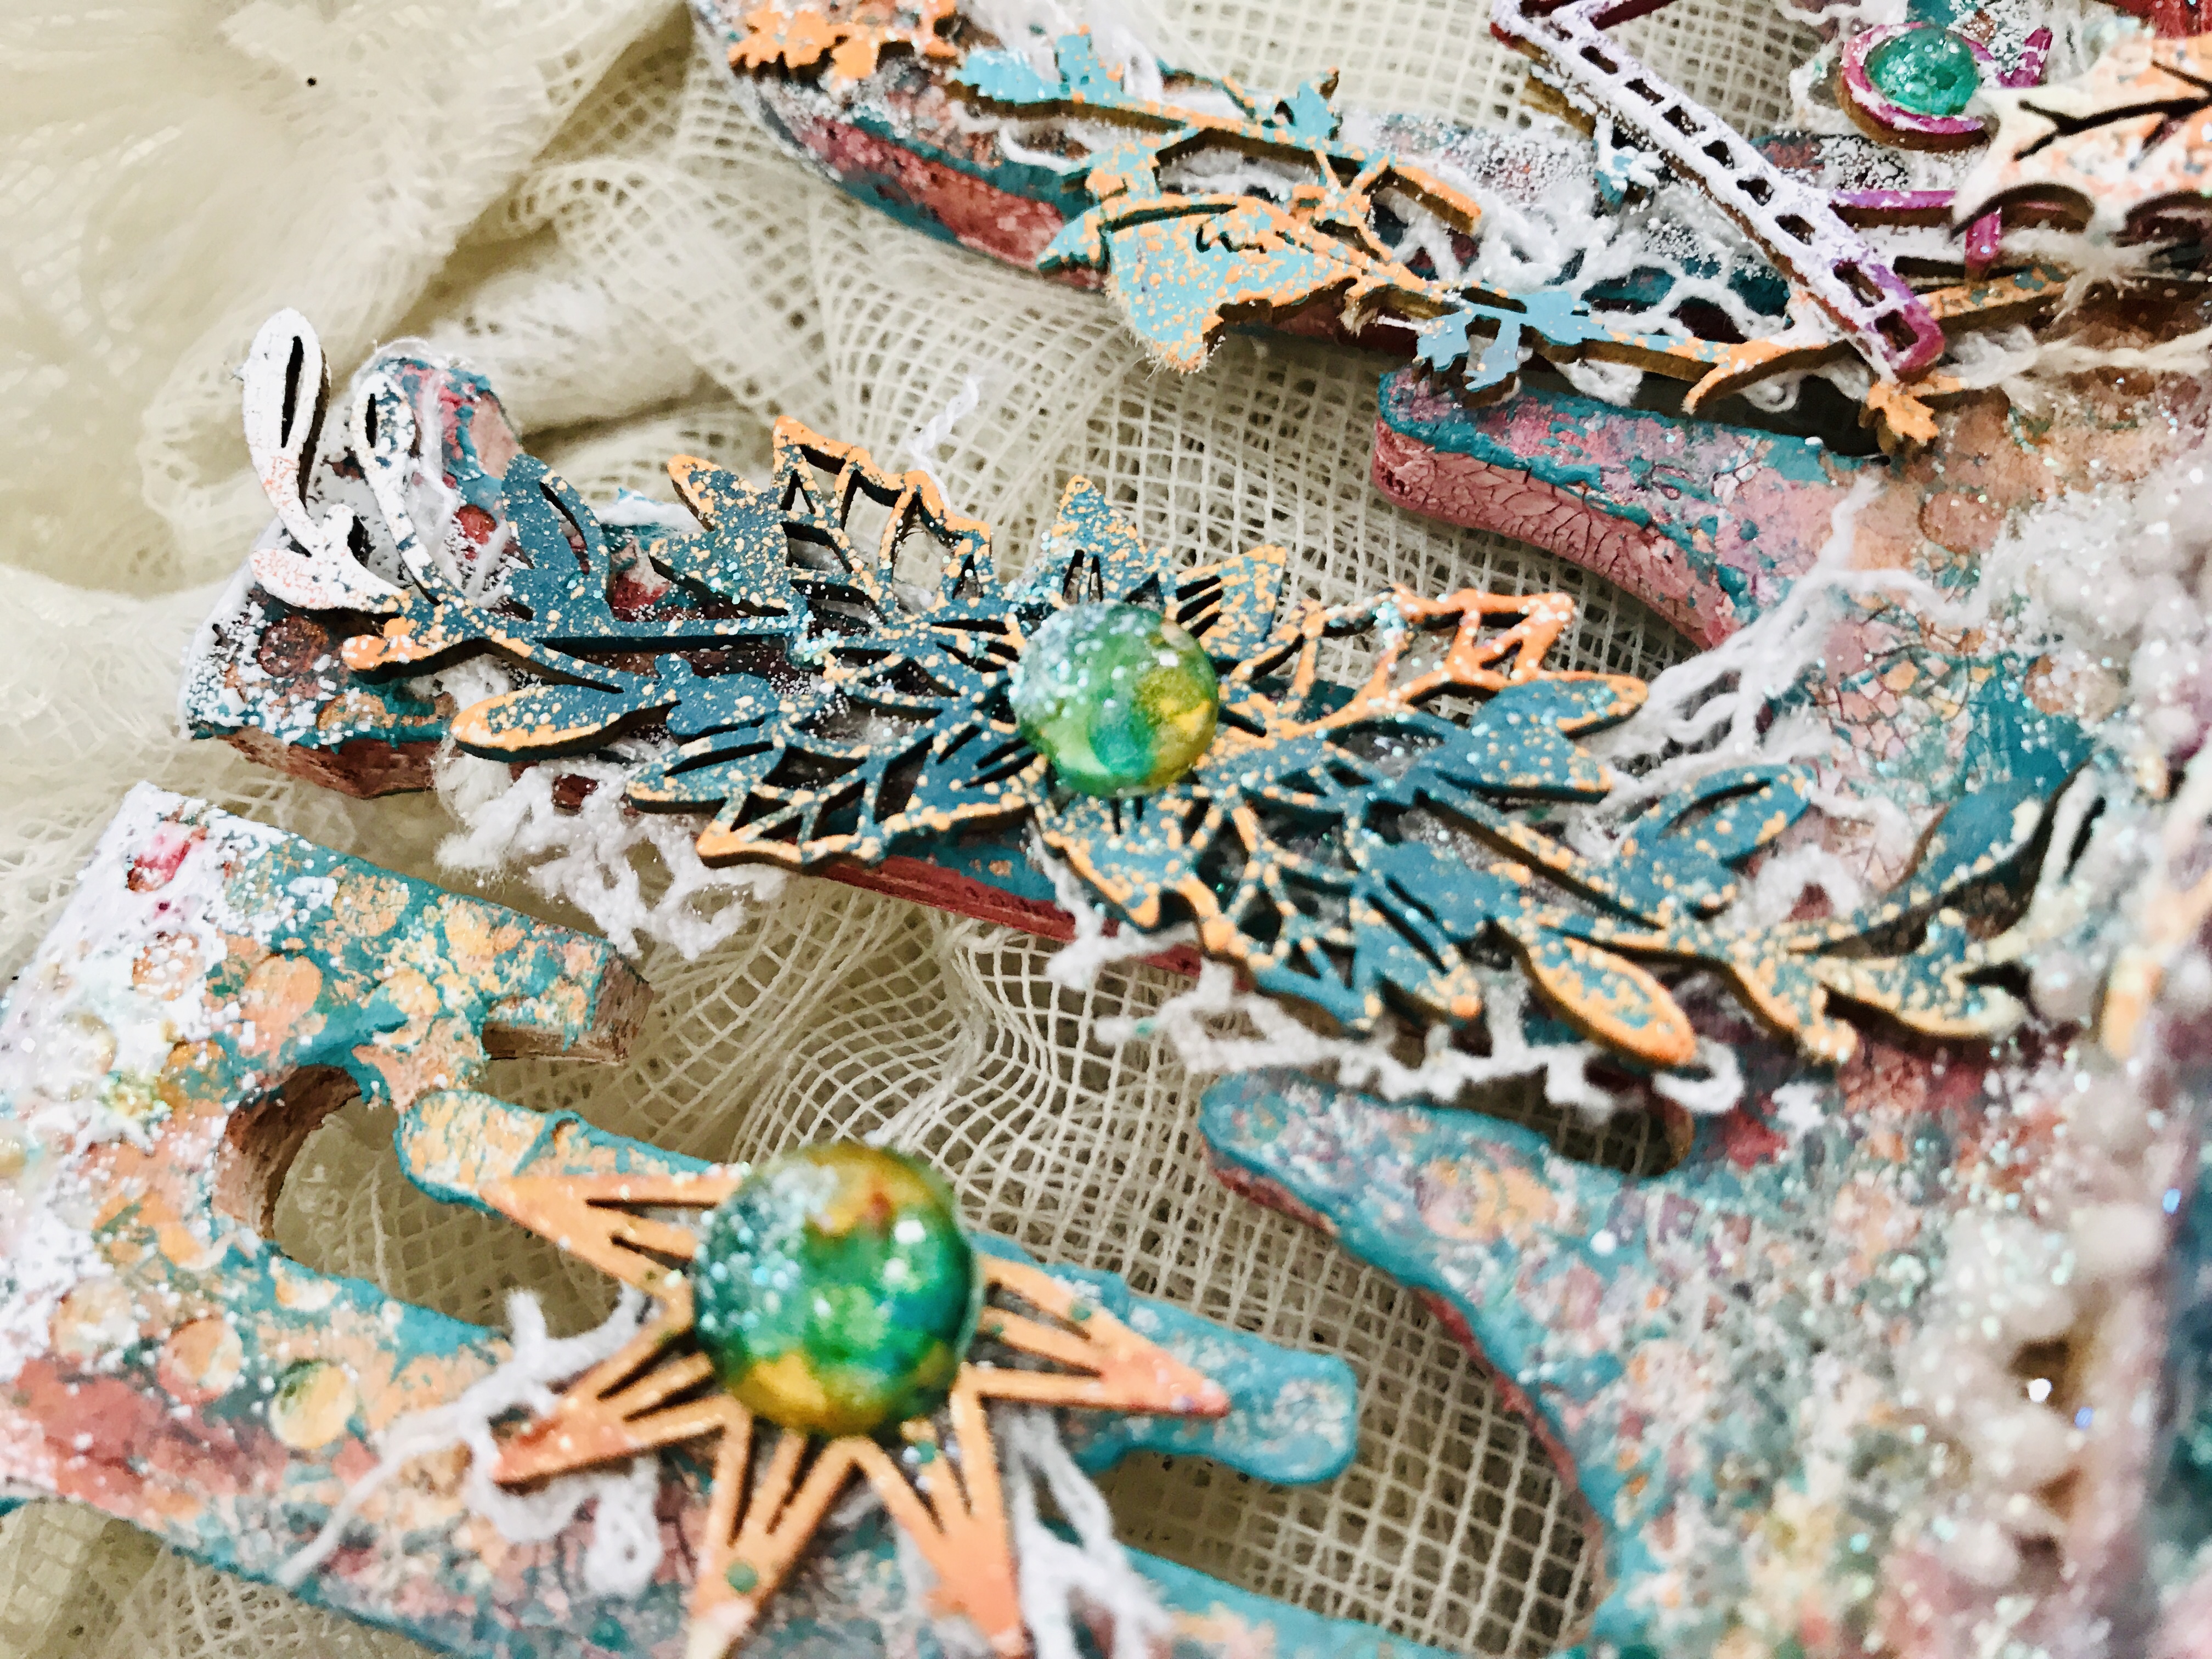
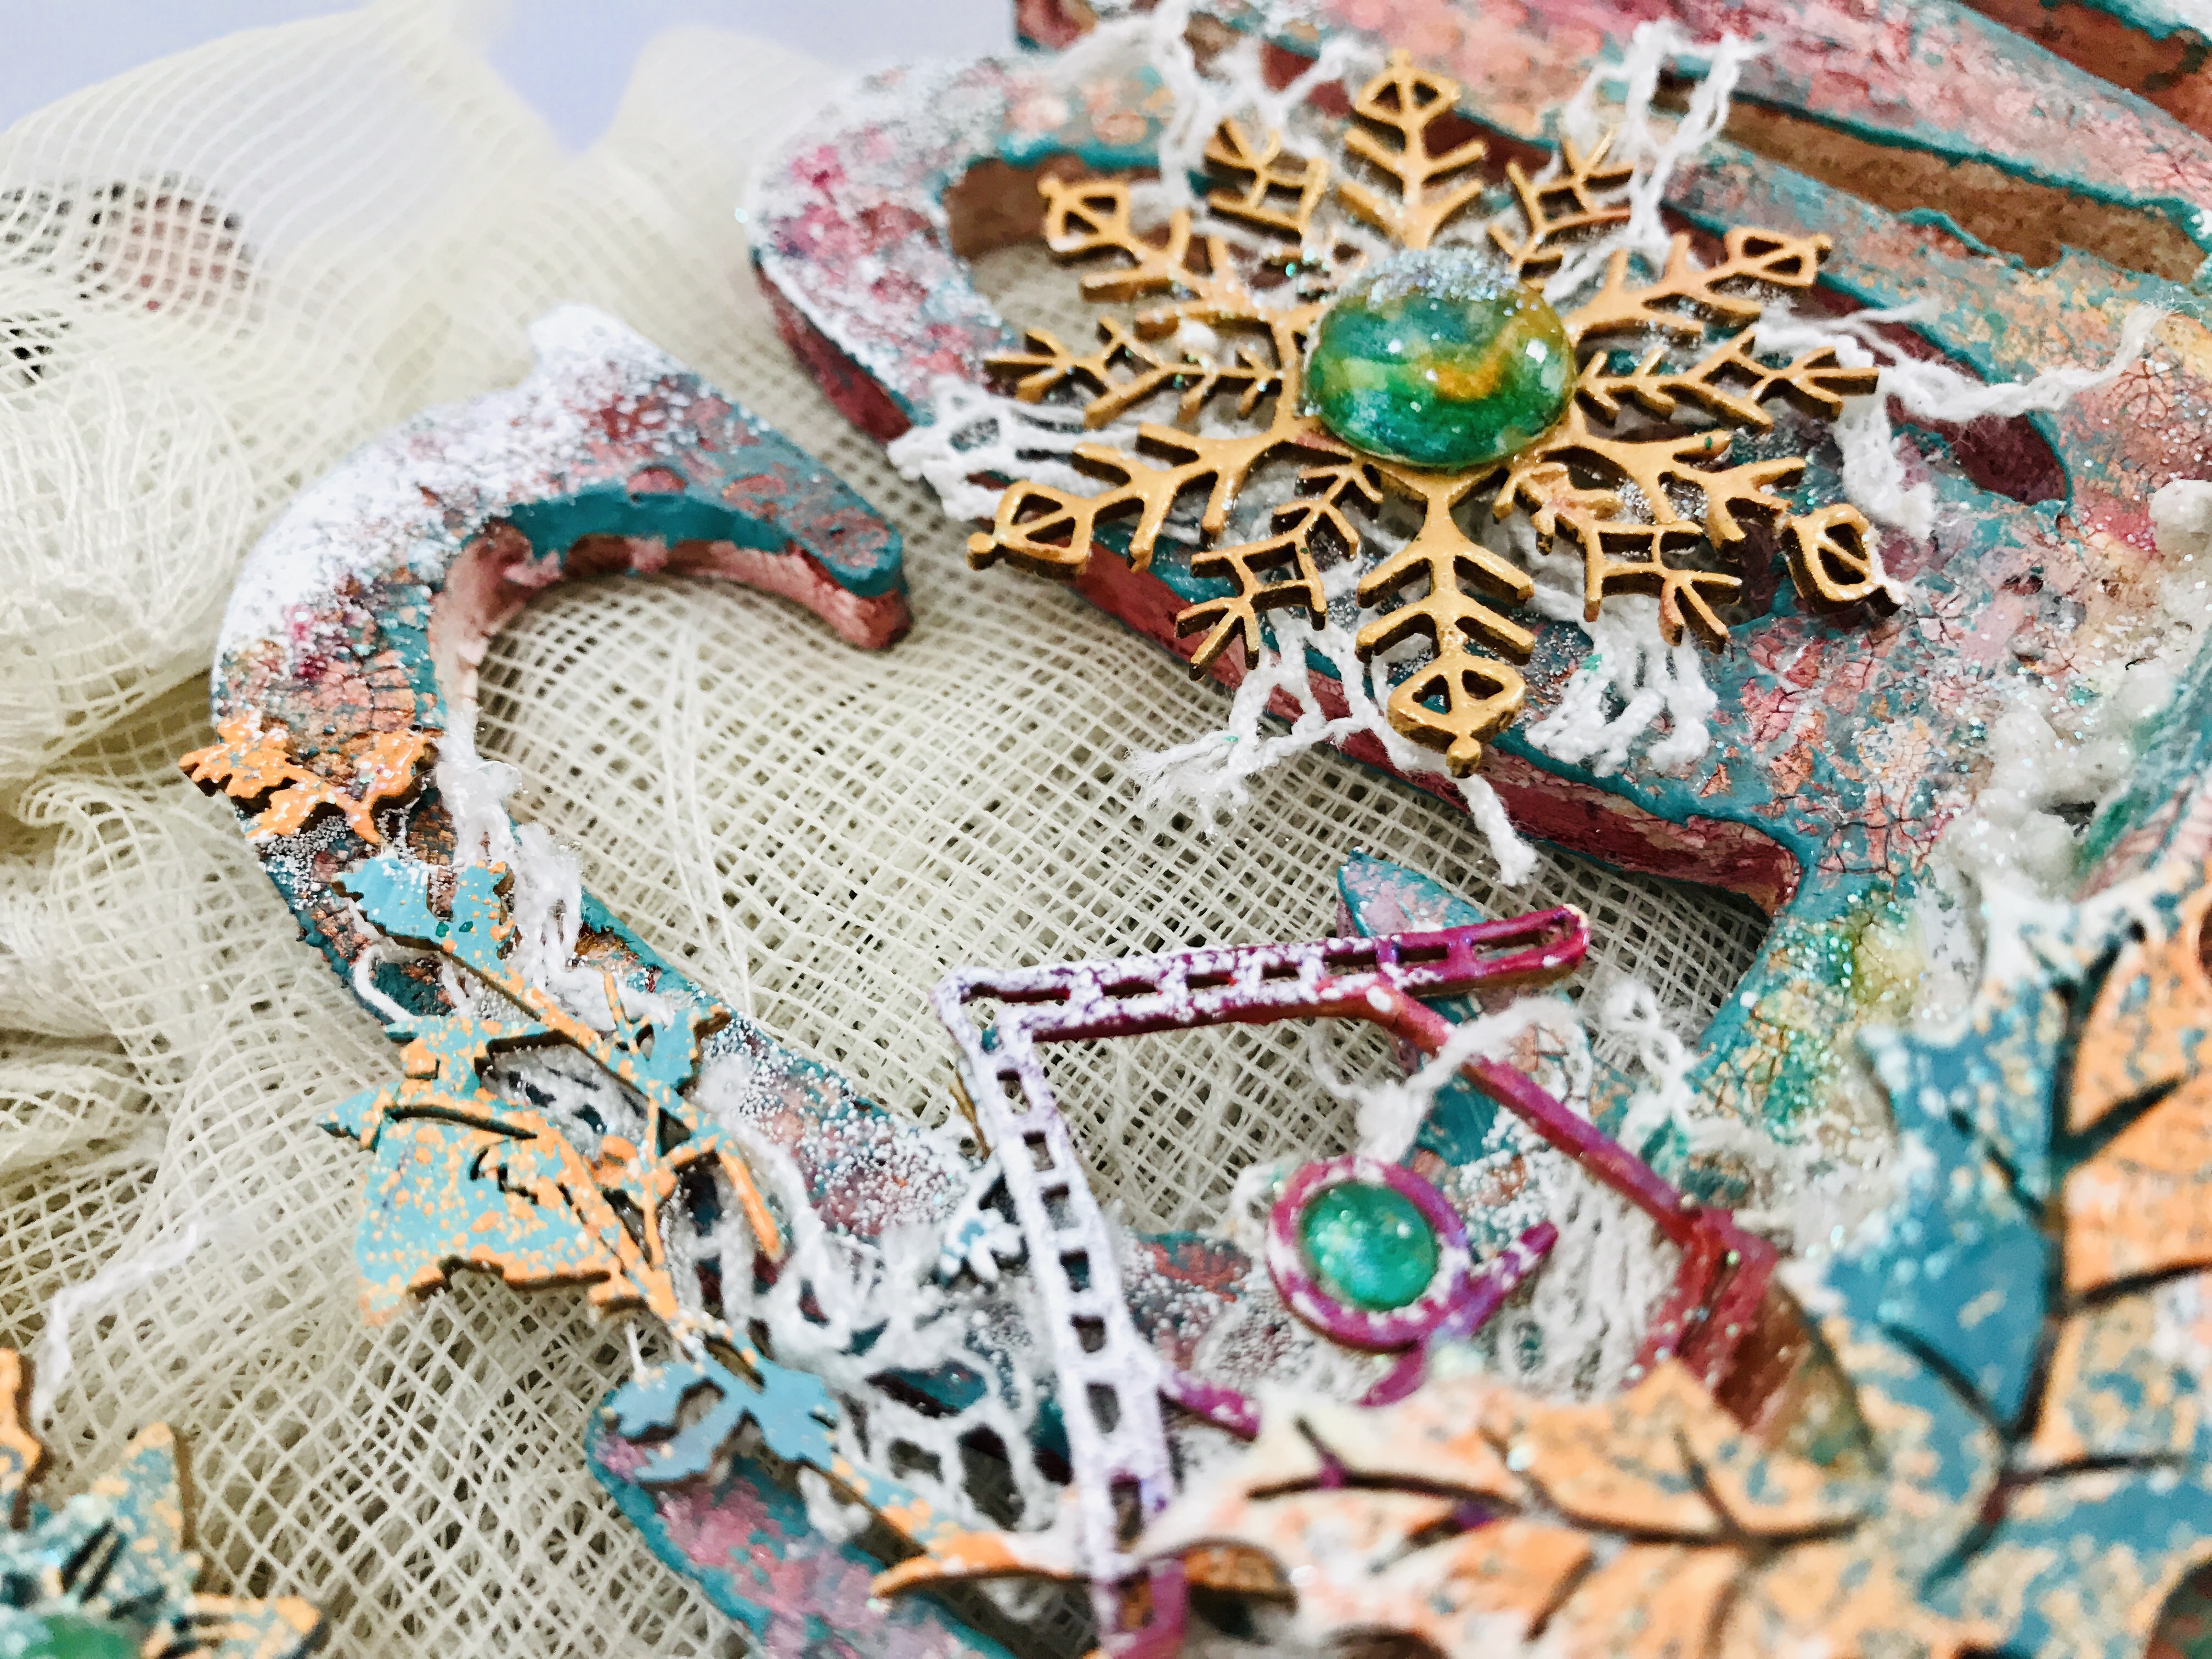
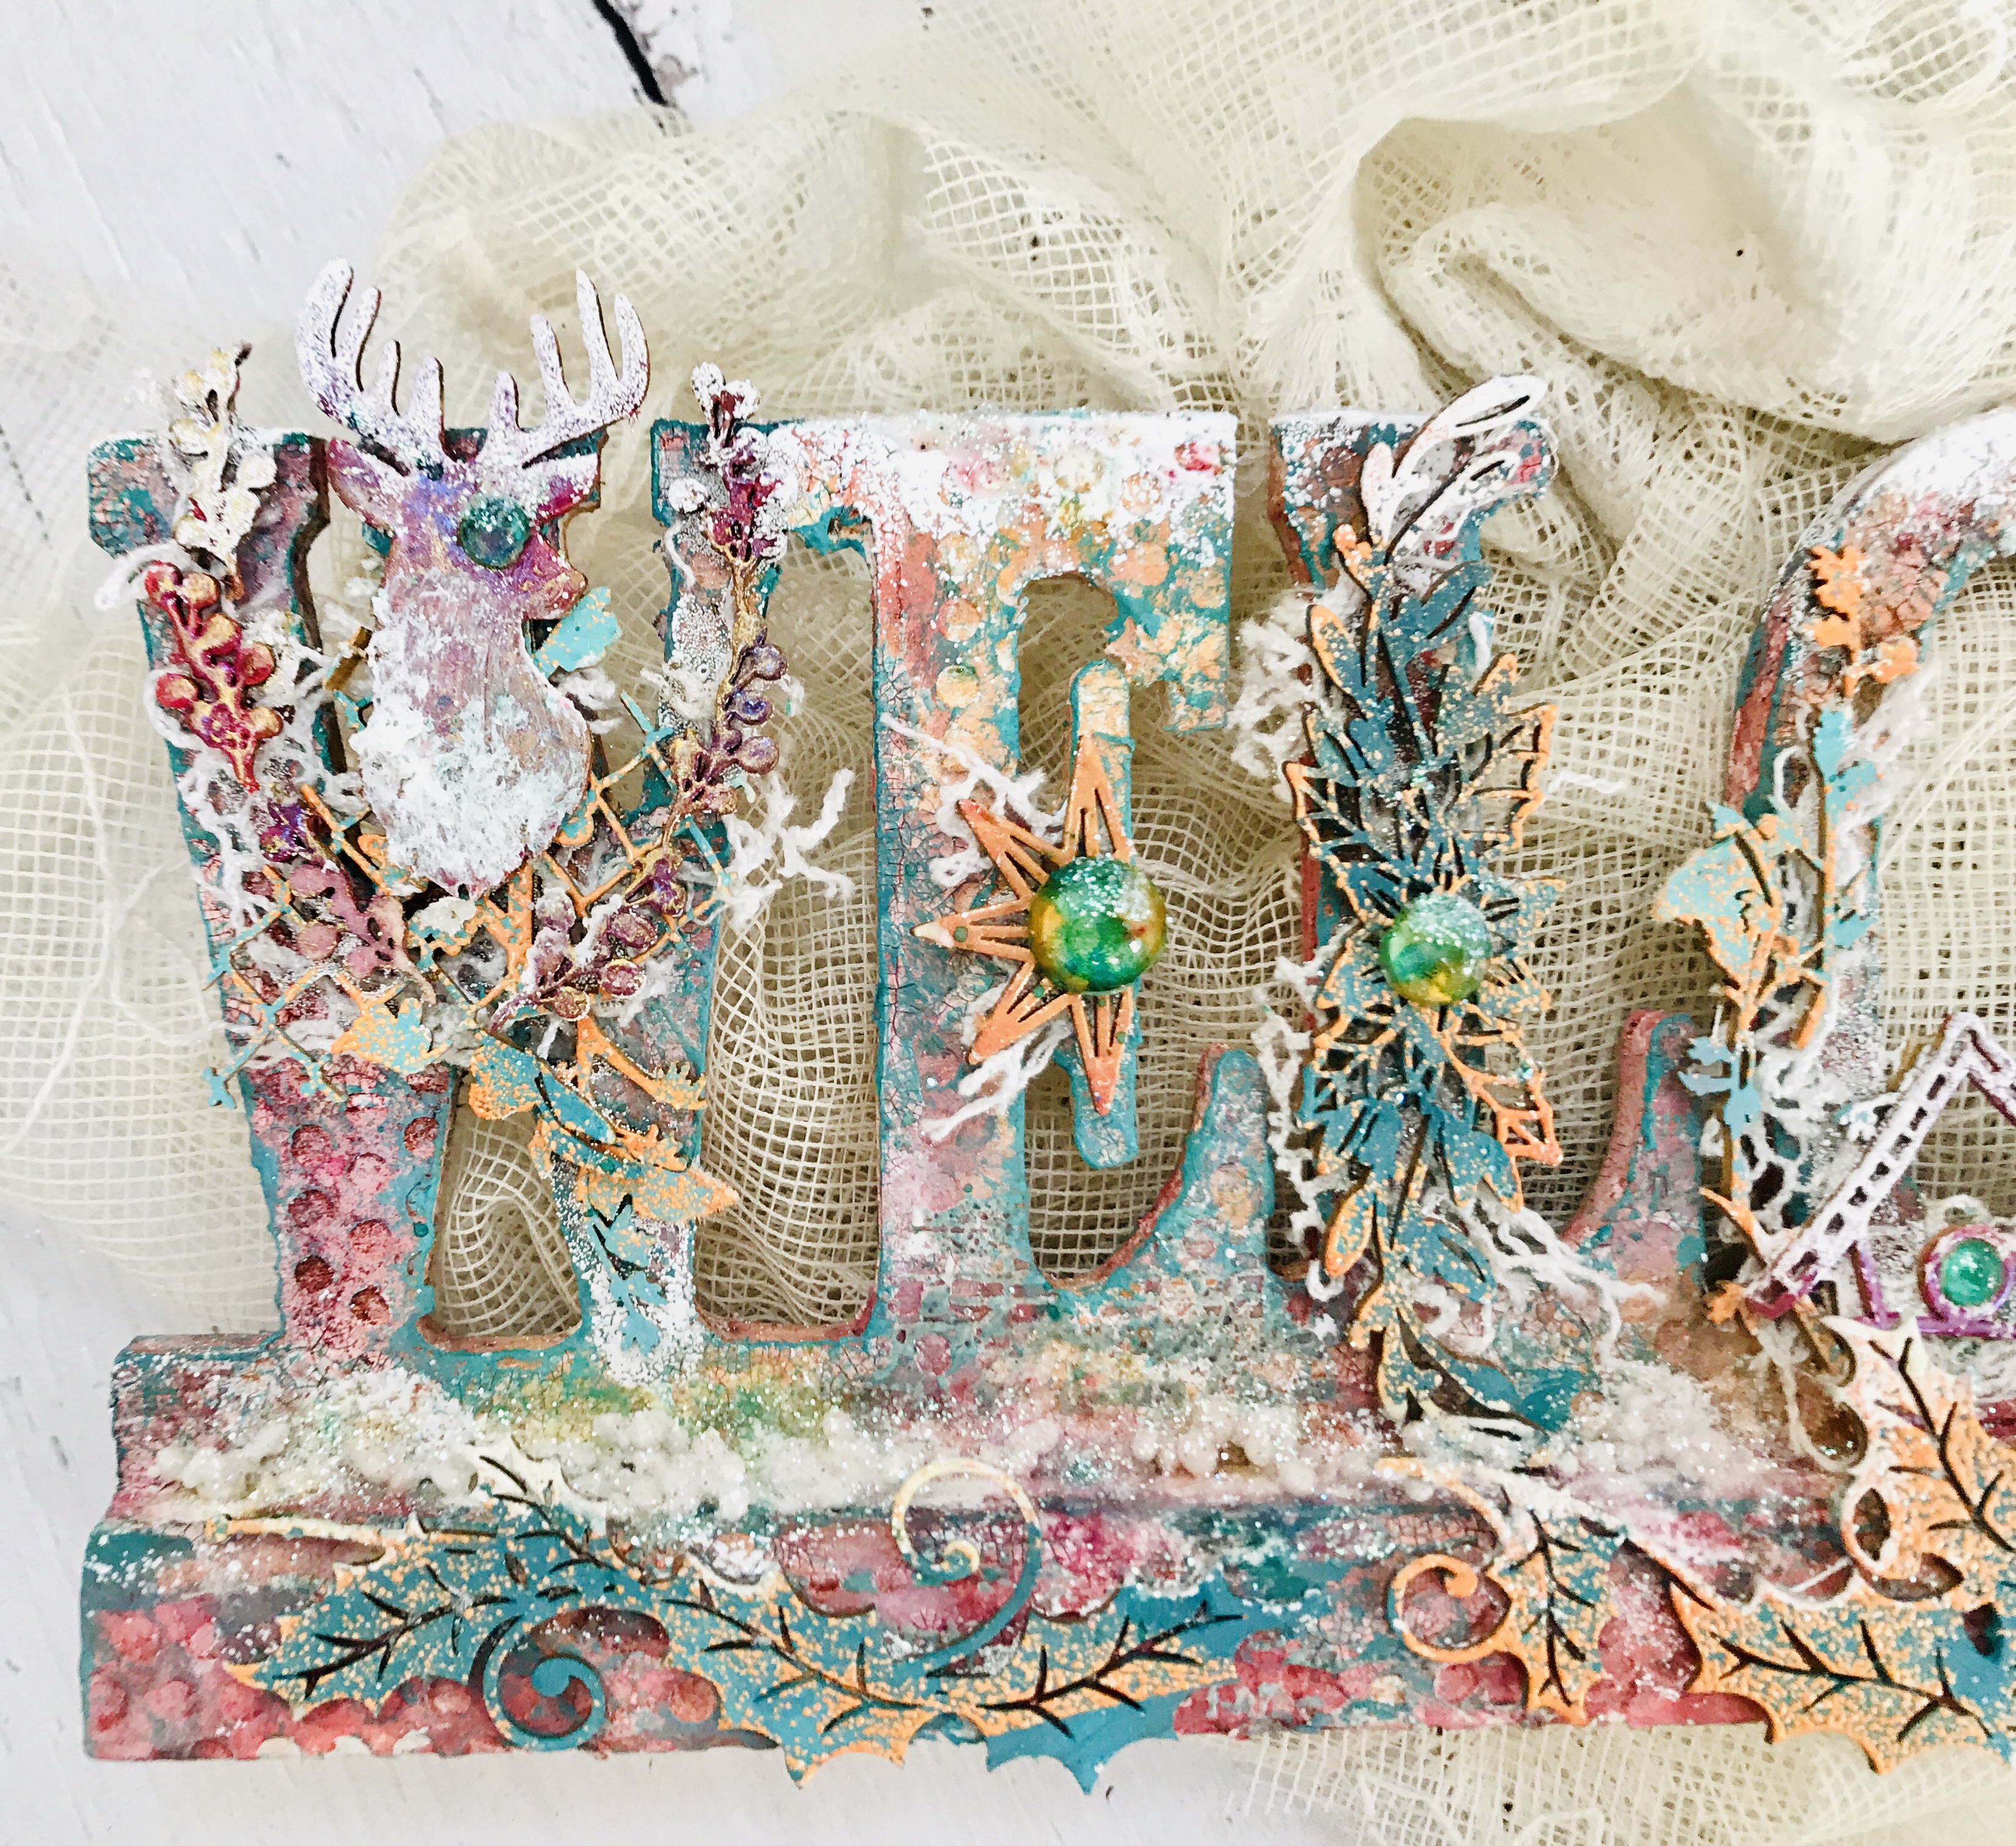
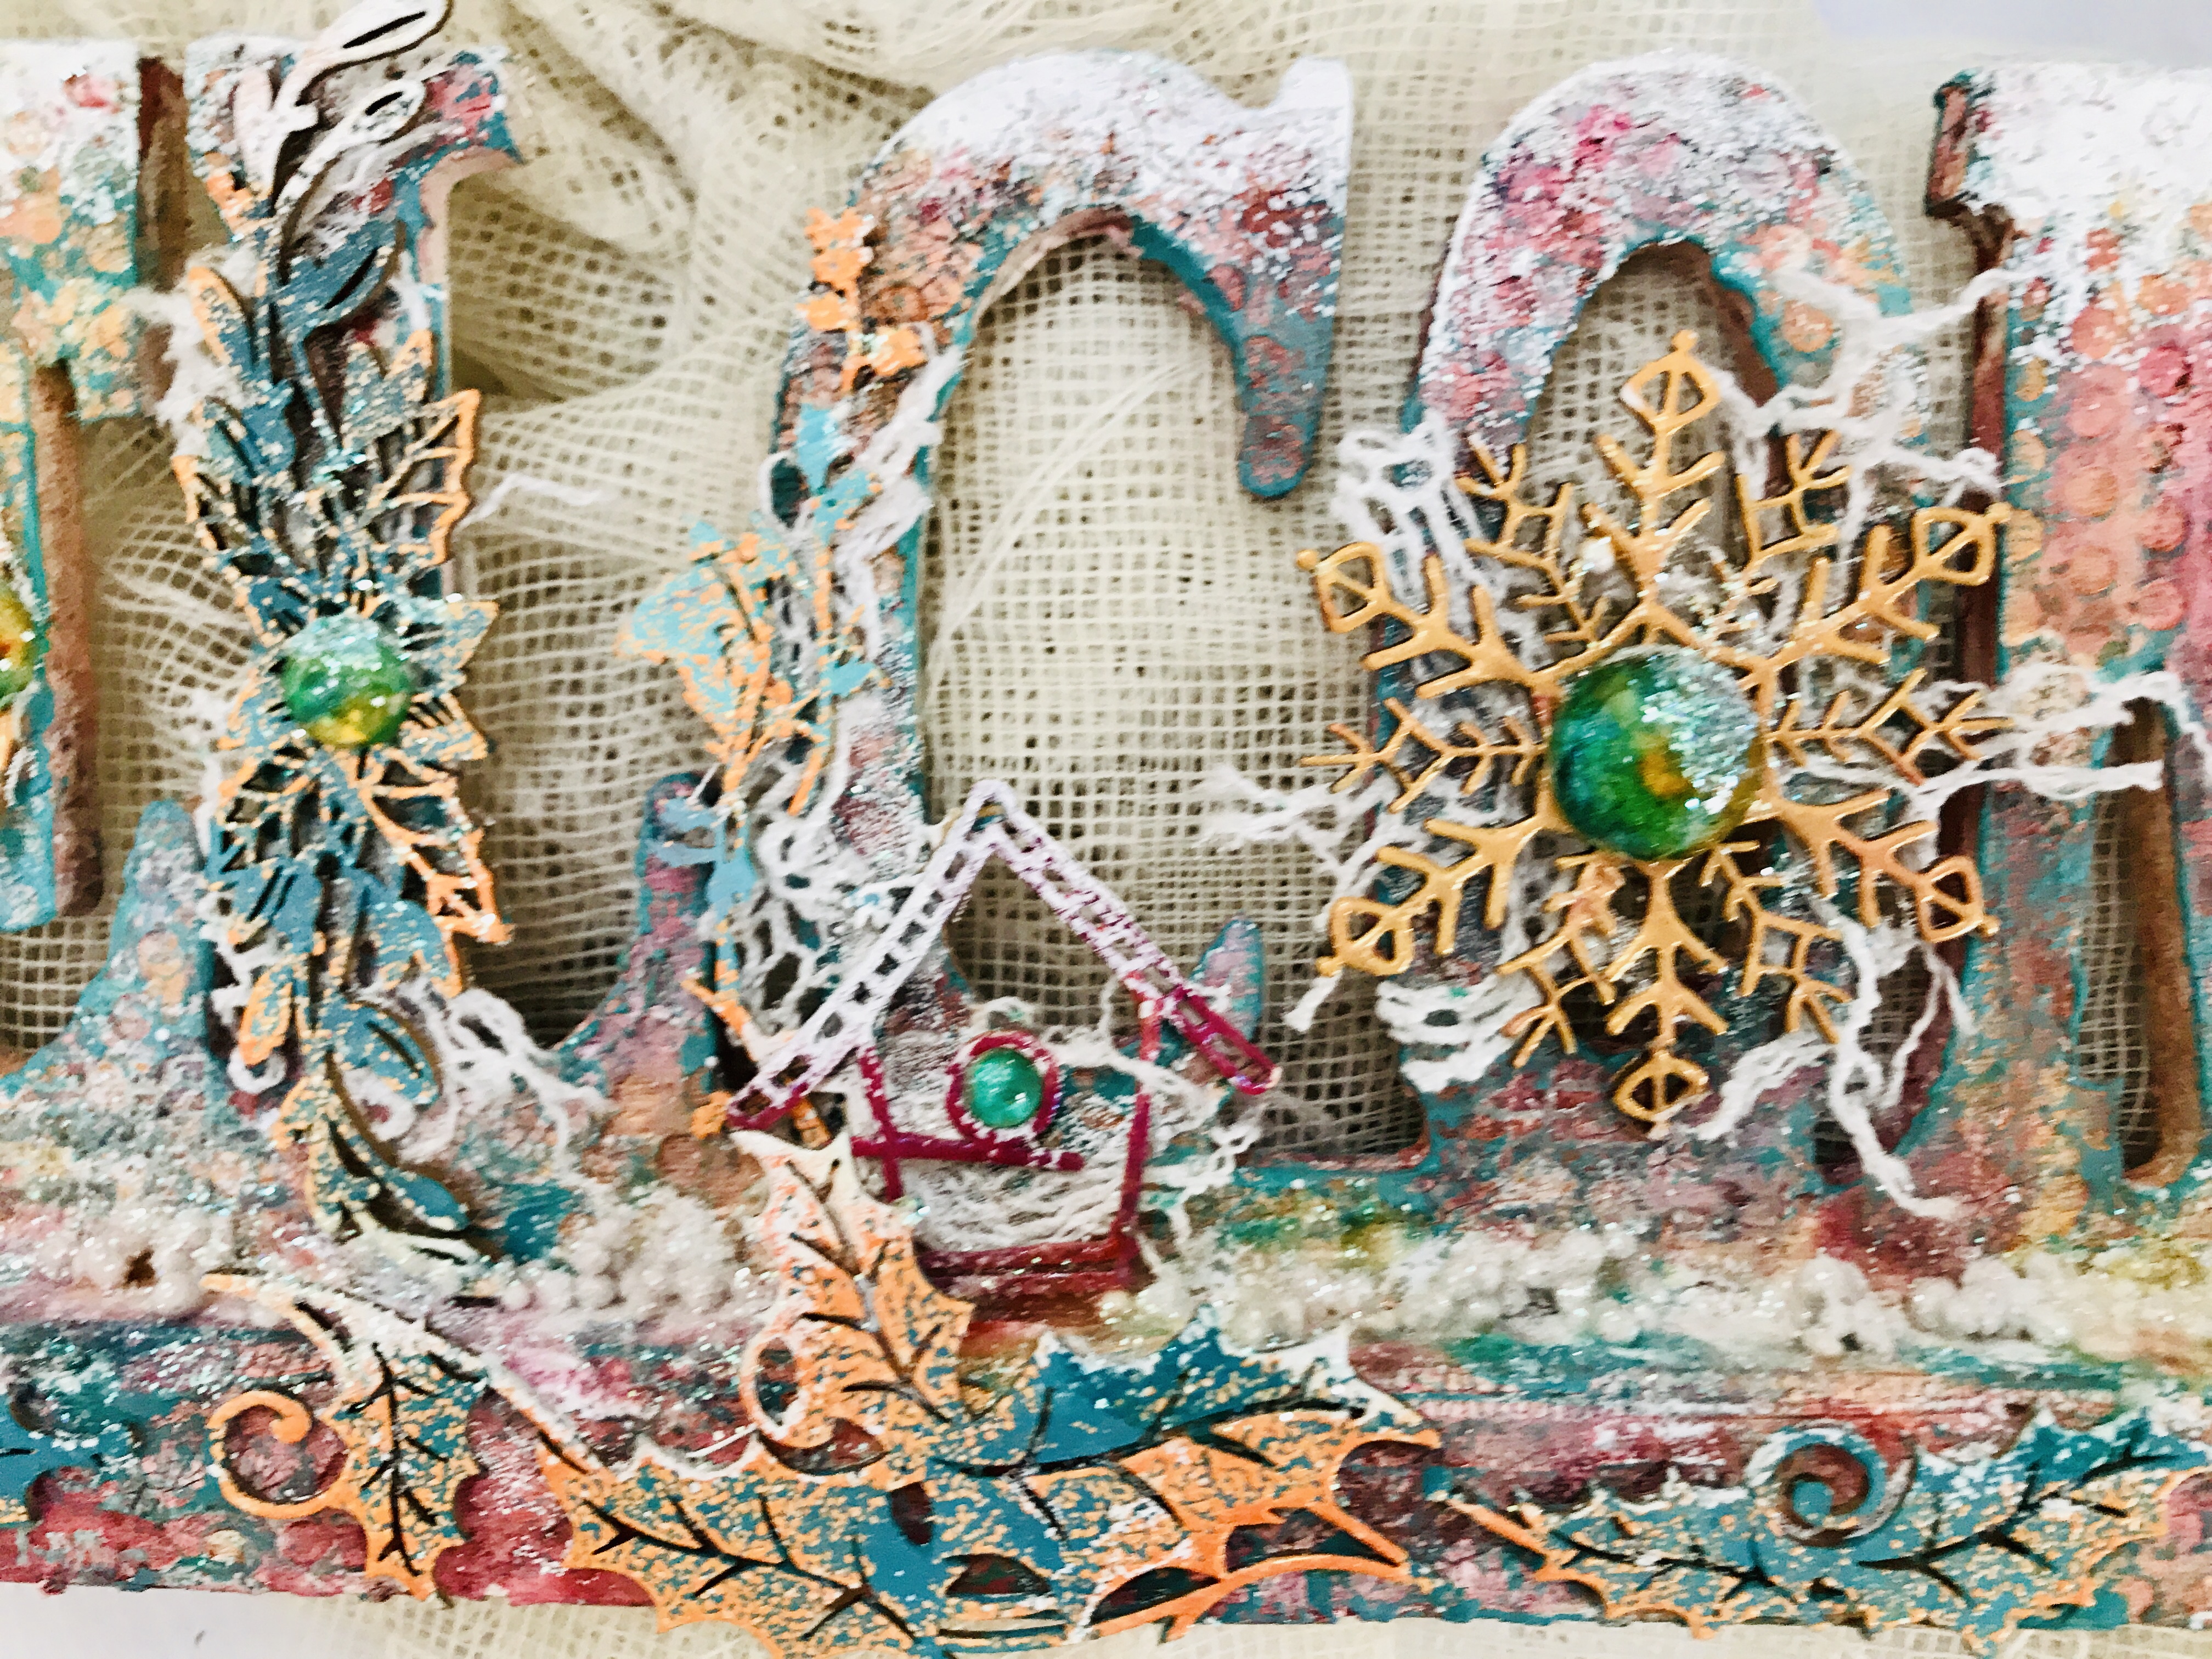
My project idea is a huge welcome to the New Year, a Gold & Silver piece using a lot of Glitter, Gleam and Shine.


In Brazil for the New Year’s Eve we all wear White/Gold/Silver cloths, so why not dress our homes with the same colors?!

 So, please join me and watch my step by step video tutorial showing this Glimmer fun.


Supplies list and links:


Find the House MDF base here: woodouts


Happy New Year!!

Thanks for stopping by!
xoxo


Dec 21, 2019

Wall decor - December Moodboard

Hello crafty friends!
I'm back today with my Moodboard inspired project. Such gorgeous colors and image, I'm sure it inspires you very much!


From Moodboard I've chosen  the Blue and Purple color and added Gold and a bit of White.

I started my piece by cutting a round cardboard circle as a base to the gorgeous Clockworks. I've painted it with a mix of Blue and Black impasto paint, added a bit of Aged Teal Embossing Powder and finnaly rubed it with Vintage Gold wax.
To the base I added texture with a stencil and texture paste, covered with Mediterranean Impasto paint and rubed it with Vintage Gold wax.


I gathered some more chipboards and treated them with the same colors adding Amethyst Magic Wax. Here they are:


The Foliage #4 was painted with Dragonfly Metalique paint and brushed with Amethyst Magic Wax.


To complete the project I colored white flowers with Lindy's Whale Watch Blue and Sweet Violet Purple Teal Sprays. I aslo added some paper die cuts.


Thanks for stopping by!
xoxo

Dec 17, 2019

Altering a welcome sign - video tutorial

Hey gang!
Anat here! Holidays season is almost here and we all want to decorate and embellish our homes, right?! So today I will show you, step by step, how to alter a "Welcome " wooden sign with amazing Lindy's products. I made it colorful and snowy, watch the video tutorial to see how I created the snow look, using only Lindy's Embossing powder.


Let's start...

Basic Process

  1. I started by adhering pieces of joint tape, it adds such a gorgeous texture!
  2. Then I primed the sign with White Heavy Gesso.
  3. Next I added, here and there, white crackle paste.
  4. After drying and cracking I've added some stamping with Versa Mark ink and Queen Sheba's Silver Embossing Powder
  5. Now to the fun part - adding color -  I added 3 sprays: Marigold Yellow Orange, Open Arms Amethyst and Oh Canada Crimson Squirt
  6. While the sign is drying I treated some beuatiful chipboards with paints I made of white heavy gesso and Magical shakers: Cuckoo Clock Cardinal , Cowabunga Copper, Grab a Guy Gold, Time Travel Teal and Guten Tag Teal
  7. Next, I added to the chipboards some color with Embossing powders: Okktoberfest Orange, Tilt-a-Wheel Teal, King Midas Gold, Holly Hock Scarlet Plum
  8. To make the Sign more interesting I added a layer of dry brush with the paint I made of gesso and Time Travel Teal + Guten Tag Teal
  9. I glued all chipboards on my piece and added the snowy look using Purley white Embossing powder
  10. I made my own embellishments with art pebbles: covered them with clear gesso and brushed them with Time Travel Teal and Grab a Guy Gold
Scrapiniec chipboards are:


Watch the video to see the entire process:


Lindy’s Products

Scrapiniec Chipboards
Other products
  • Prima-Finnabair Heavy white gesso, Prima-Finnabair Crackle  paste white, Prima-Finnabair clear gesso
I hope you enjoyed it and feel inspired to make one for your home!
Thank you for stopping by!
xoxo