Showing posts with label lindy's design team 2019. Show all posts

Dec 17, 2019

Altering a welcome sign - video tutorial

Hey gang!
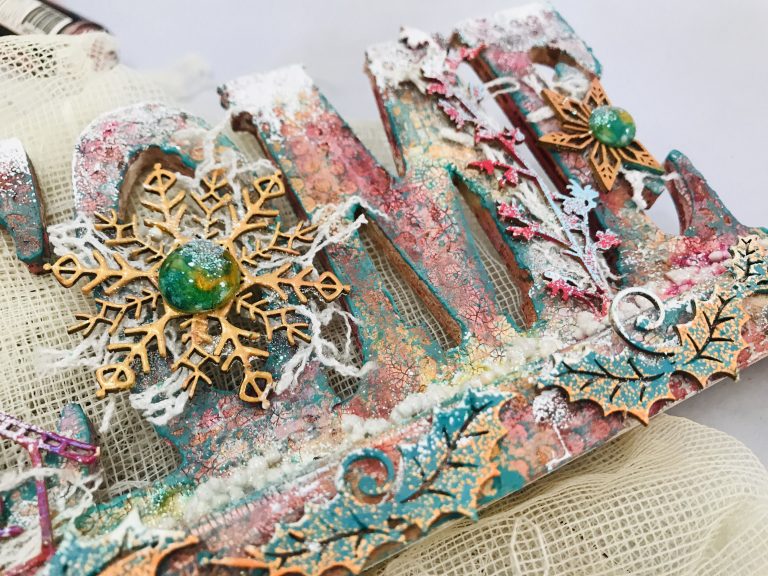
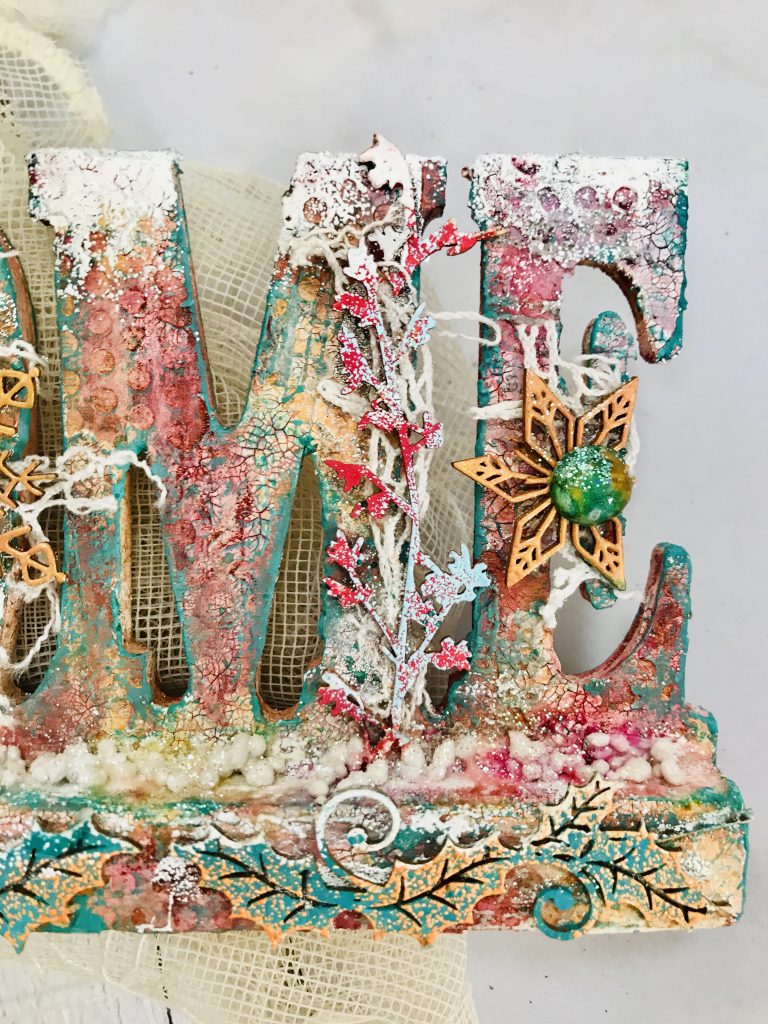
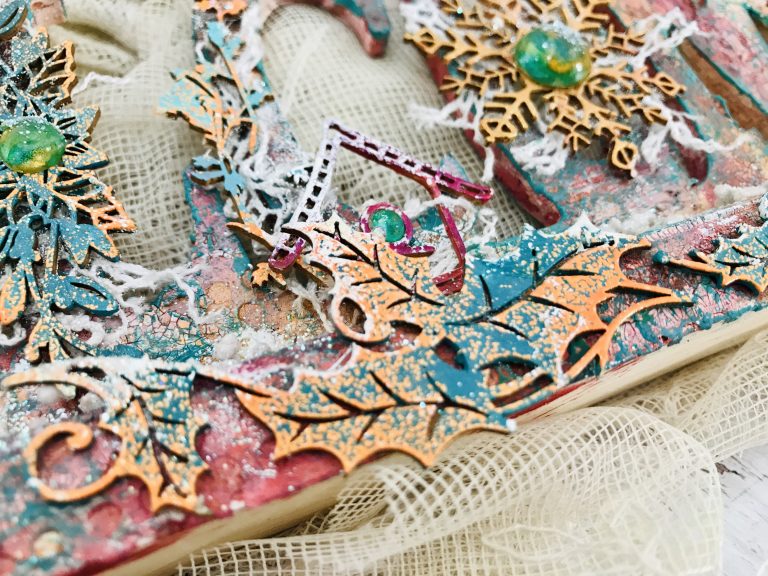
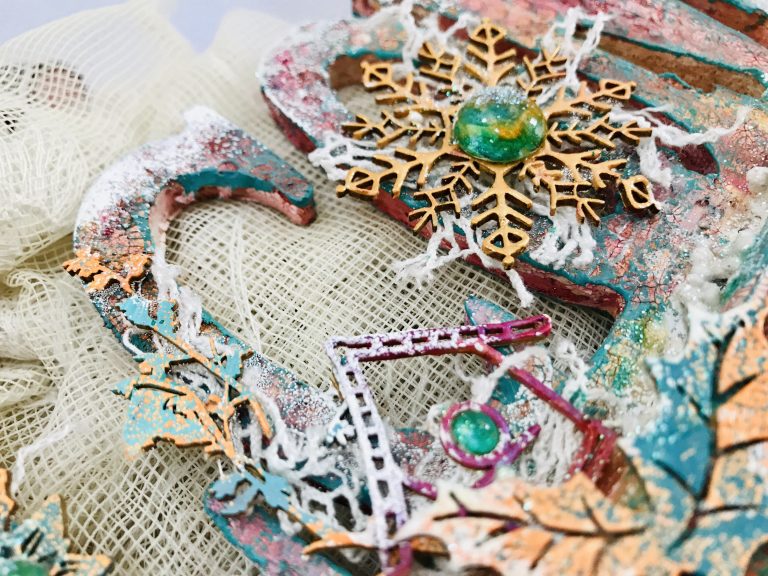
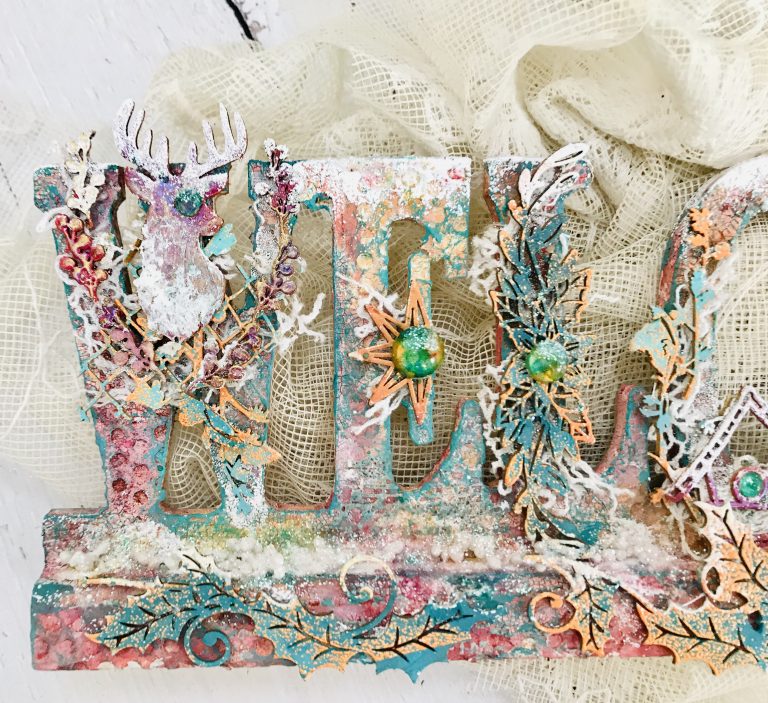
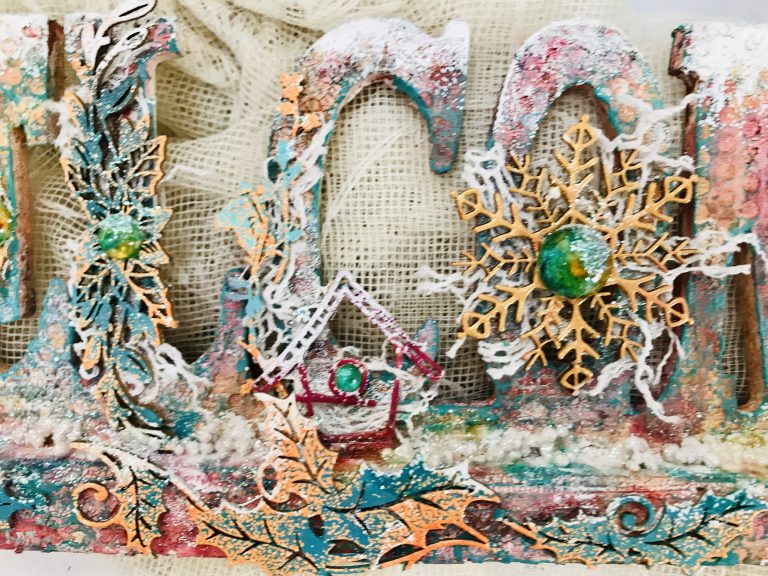
Anat here! Holidays season is almost here and we all want to decorate and embellish our homes, right?! So today I will show you, step by step, how to alter a "Welcome " wooden sign with amazing Lindy's products. I made it colorful and snowy, watch the video tutorial to see how I created the snow look, using only Lindy's Embossing powder.


Let's start...

Basic Process

  1. I started by adhering pieces of joint tape, it adds such a gorgeous texture!
  2. Then I primed the sign with White Heavy Gesso.
  3. Next I added, here and there, white crackle paste.
  4. After drying and cracking I've added some stamping with Versa Mark ink and Queen Sheba's Silver Embossing Powder
  5. Now to the fun part - adding color -  I added 3 sprays: Marigold Yellow Orange, Open Arms Amethyst and Oh Canada Crimson Squirt
  6. While the sign is drying I treated some beuatiful chipboards with paints I made of white heavy gesso and Magical shakers: Cuckoo Clock Cardinal , Cowabunga Copper, Grab a Guy Gold, Time Travel Teal and Guten Tag Teal
  7. Next, I added to the chipboards some color with Embossing powders: Okktoberfest Orange, Tilt-a-Wheel Teal, King Midas Gold, Holly Hock Scarlet Plum
  8. To make the Sign more interesting I added a layer of dry brush with the paint I made of gesso and Time Travel Teal + Guten Tag Teal
  9. I glued all chipboards on my piece and added the snowy look using Purley white Embossing powder
  10. I made my own embellishments with art pebbles: covered them with clear gesso and brushed them with Time Travel Teal and Grab a Guy Gold
Scrapiniec chipboards are:


Watch the video to see the entire process:


Lindy’s Products

Scrapiniec Chipboards
Other products
  • Prima-Finnabair Heavy white gesso, Prima-Finnabair Crackle  paste white, Prima-Finnabair clear gesso
I hope you enjoyed it and feel inspired to make one for your home!
Thank you for stopping by!
xoxo

Dec 2, 2019

Winter stars Canvas

Hey gang!
Last Color challenge for 2019 at Lindy's Stamp Gang and the pallete is gorgeous realy cold and wintery.
Waiting for you guys to join us with your fabulous projects!


Nenhuma descrição de foto disponível.
I used:
TiffanyLou Blue Spray
Sweet violet purple teal Spray
Banf Blue Squirt
Tilt-a-Wheel teal EP
King Midas Gold EP


Thank you for stopping by!
xoxo


Nov 21, 2019

Mixed Media Dovecote Cards Set Tutorial

Hello gorgeous gang!
Today I would like to show you how I've created Dovecote Cards set using lots of gorgeous  Dusty attic's chipboards and fantastic Lindy´s Gang paints.  
 I hope you will find my techniques and tips interesting, whether you are a beginner or an advanced artist.


So let's start...

Basic Process

  • Last steps were:
    1. Adding Glass Glitter and Micro Beads
    2. Splatter White Acyrilic paint  
The video tutorial shows the process of the cards creation and you can watch it here:


Lindy’s Products


Dusty Attic’s Chipboards


Finnabair’s Products

Other products
  • Card board ,  Tim Holtz Botanical Tissue paper, 
Thanks for Stopping by!
xoxo

Nov 2, 2019

Thinking of You cards Set

Hello Lindy's Lovers!

Bring on Lindy's Stamp Gang November’s Challenge!


I’ve used  here:
On the right card:

 - craft cardstock
- Beaver Tail Brown and Emerald Eh Squirts
- Rusty Lantern Lime spray
On the left card:

- Black cardstock
Beaver Tail Brown and Loonie Toonie Teal squirts

- Bling-y-Blonde Spray
On both: Sassy Saphire, Guten Tag Teal and Desert moon turquoise Embossing Powders


 Hope you like them and waiting forward to see your creations.

Thanks for Stopping by!
xoxo

Oct 24, 2019

Vintage canvas and a Video tutorial


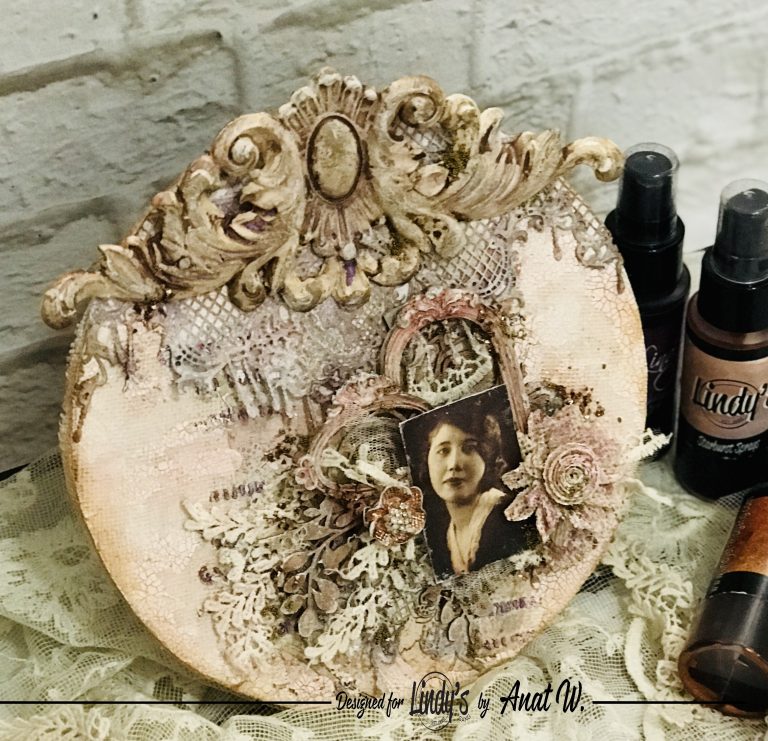
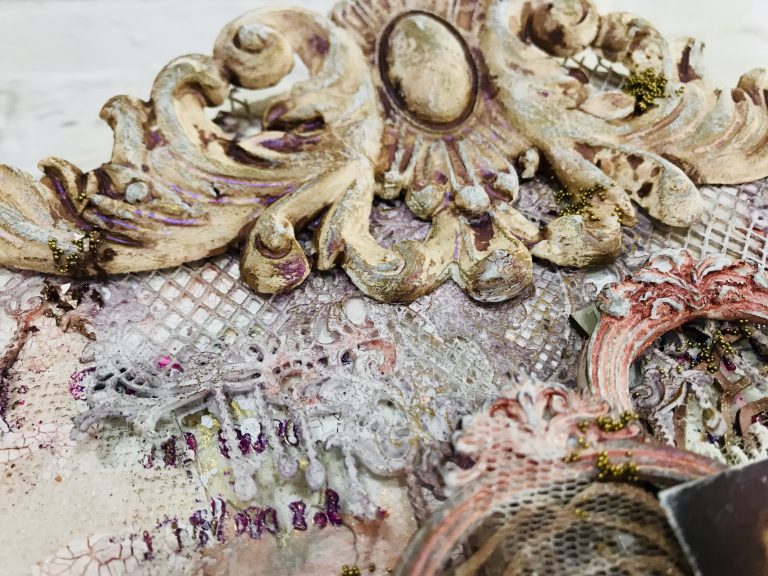
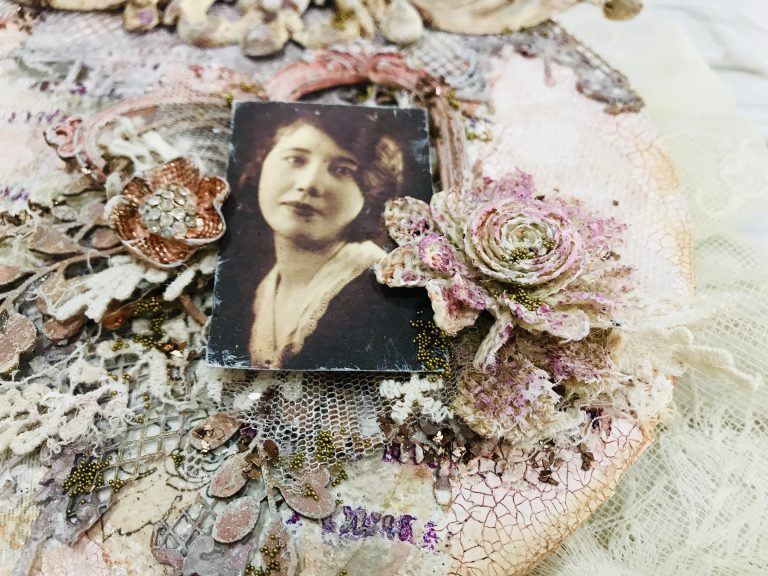
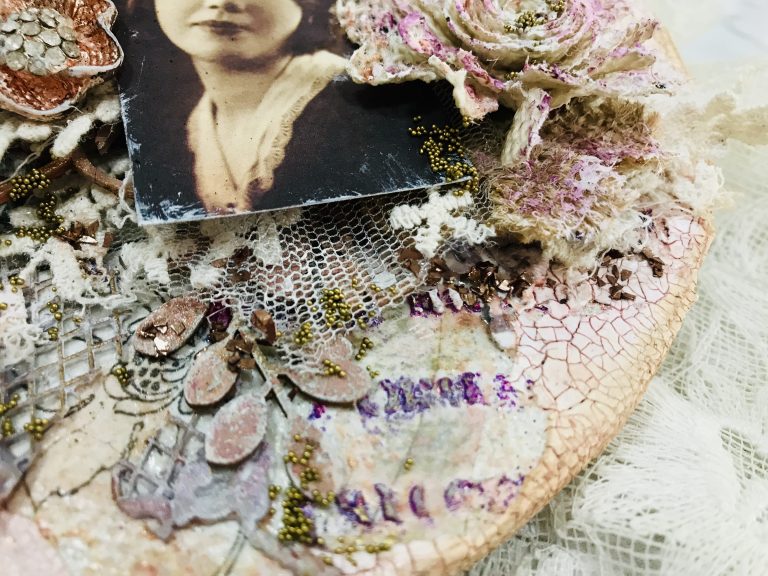
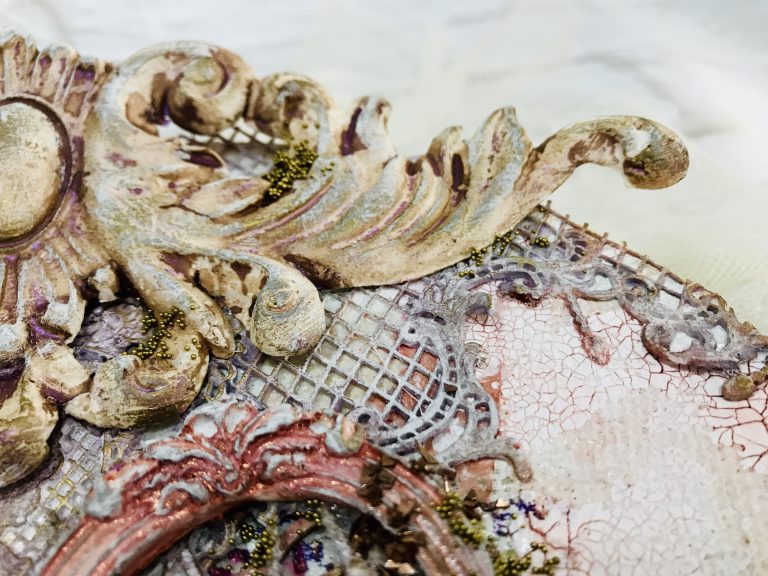
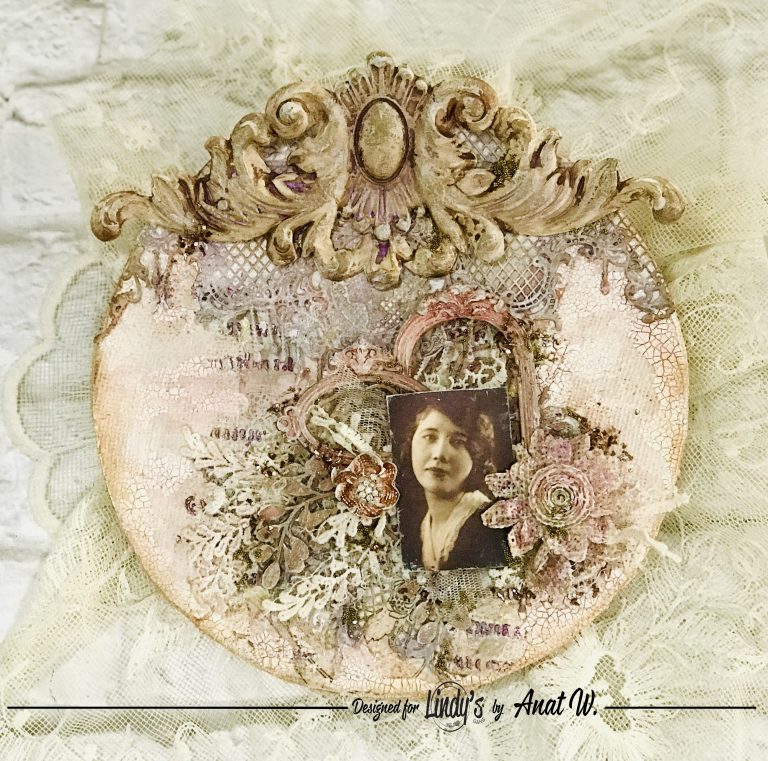
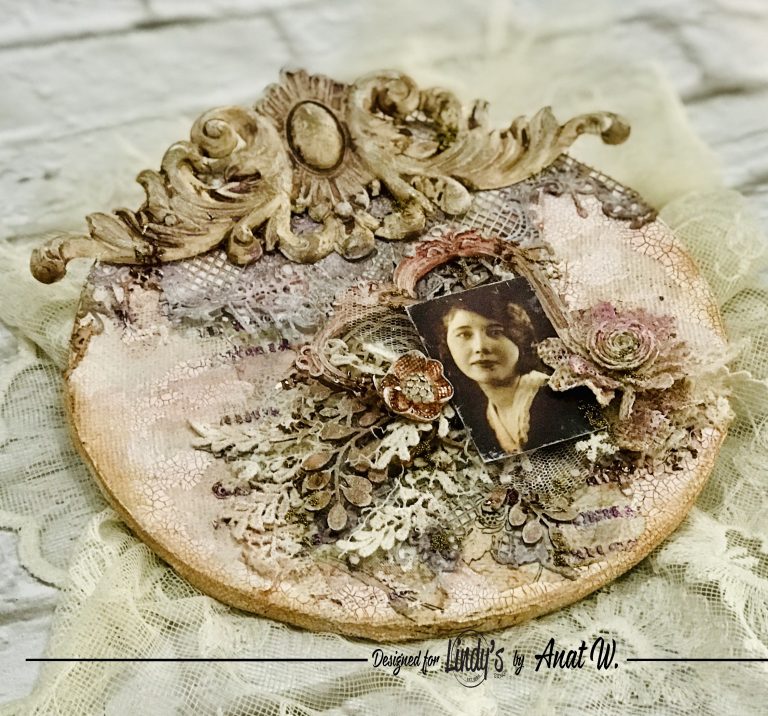
It’s Anat here and for today’s blog post, I’m sharing a new Video Tutorial showing how to create aVintage feminine round Canvas  using gorgeous Lindy’s Magicals, Sprays and Embossing Powder.


Basic Steps

  1. Prime a round wooden base
  2. Cover it with Polyester Linen Fabric using Soft Gel
  3. Brush on top a layer of White Heavy Gesso
  4. Mix white gesso with Cattail Copper Brown Magical. To make the mixture a bit gritty, add texture powder. Add Autumn Leaves Crimson Magical. Cover the chipboards with the mixture
  5. Color the big clay decoration with Pegleg Pete purple Spray
  6. Color two small frames with Cowabunga Copper Spray
  7. Softly add to the lace piece, Open Arms Amethyst Spray
  8. Add a piece of tissue paper to the base
  9. To add some texture, spread Paper paste with a stencil, quickly, before it dries, cover it with Imperial Crown Purple Gold Embossing Powder and heat emboss
  10. Add white Crackle Paste
  11. Rub the embellishments with Metalique waxes
  12. Assemble everything on the base with your favorite glue
  13. Add vintage laces
  14. Add a bit of Cowabunga Copper Spray
  15. Dry brush some White Heavy gesso

Note that Lindy's amazing vintage Moon shadow sprays have a gorgeous brownish shade together with another color which is fully revealed when dry.


Watch the creation process here:


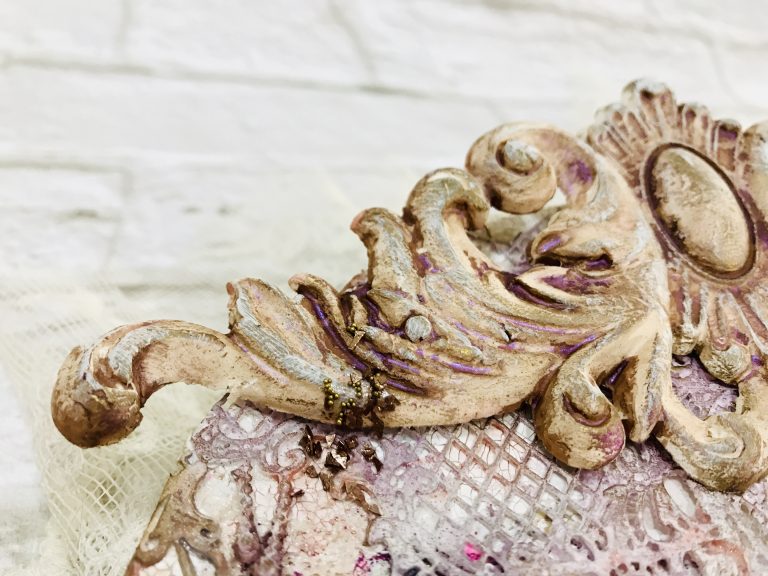
Here are more photos and close-ups:


Lindy’s Products

Other products
  • Finnabair-Prima Paper Paste, Finnabair-Prima Manuscript Stencil, Finnabair-Prima White Crackle paste, Finnabair-Prima Fabric set, Finnabair-Prima Tissue paper,  Prima Moulds, Finnabair-Prima Copper Glass Glitter, Finnabair-Prima Microbeads, Finnabair-Prima Soft Gloss gel, Finnabair-Prima waxes, Fantasy chipboards
Thanks for stopping by!
xoxo