Showing posts with label step by step. Show all posts

Sep 29, 2021

Snowy winterland Planner - for Mixed Media Craft O'clock

 Hello dear friends!

 I'm still in the Mood  of new beginnings so I've made a step by step Video creating a Planner.


The idea of a new starts, a brand-new and clean "Book of life" inspired me to create a rather simple planner, using the newest  Mixed Media Craft O'clock release - the Fabulous Snowy Winterland collection. 

Hope you will enjoy it!

Watch the step by step video here: https://youtu.be/oJqihF3dBfY


I've used:
- Snowy winterland - 12*12 
- Snowy winterland - extras to cut set
- Quotes - VIII - Cardboard Die-cuts


Thanks for stopping by!
xoxo


Mar 27, 2020

Altered Violin Video Tutorial for Finnabair

Hello Friends!
How are you all, this days? for this stressing days I decided to alter a Violin.
You will see in the video the process is  uncomplicated and the result is a fabulous piece!


For creating the background of the smaller part I used 2 different Tissue papers, White Crackle paste and Gothic Stencil.

I embellished the piece with lots of gorgeous Mechanicals and colored them with amazing Art Alchemy Metalic paints which I adore.

Well to see exactly how I made it you will have to watch the Video Tutorial:


Hope you feel inspired to make something for yourself! I would love to see it if you do.

Mixed Media Place Supplies:


Thanks for stopping by!
xoxo

Dec 17, 2019

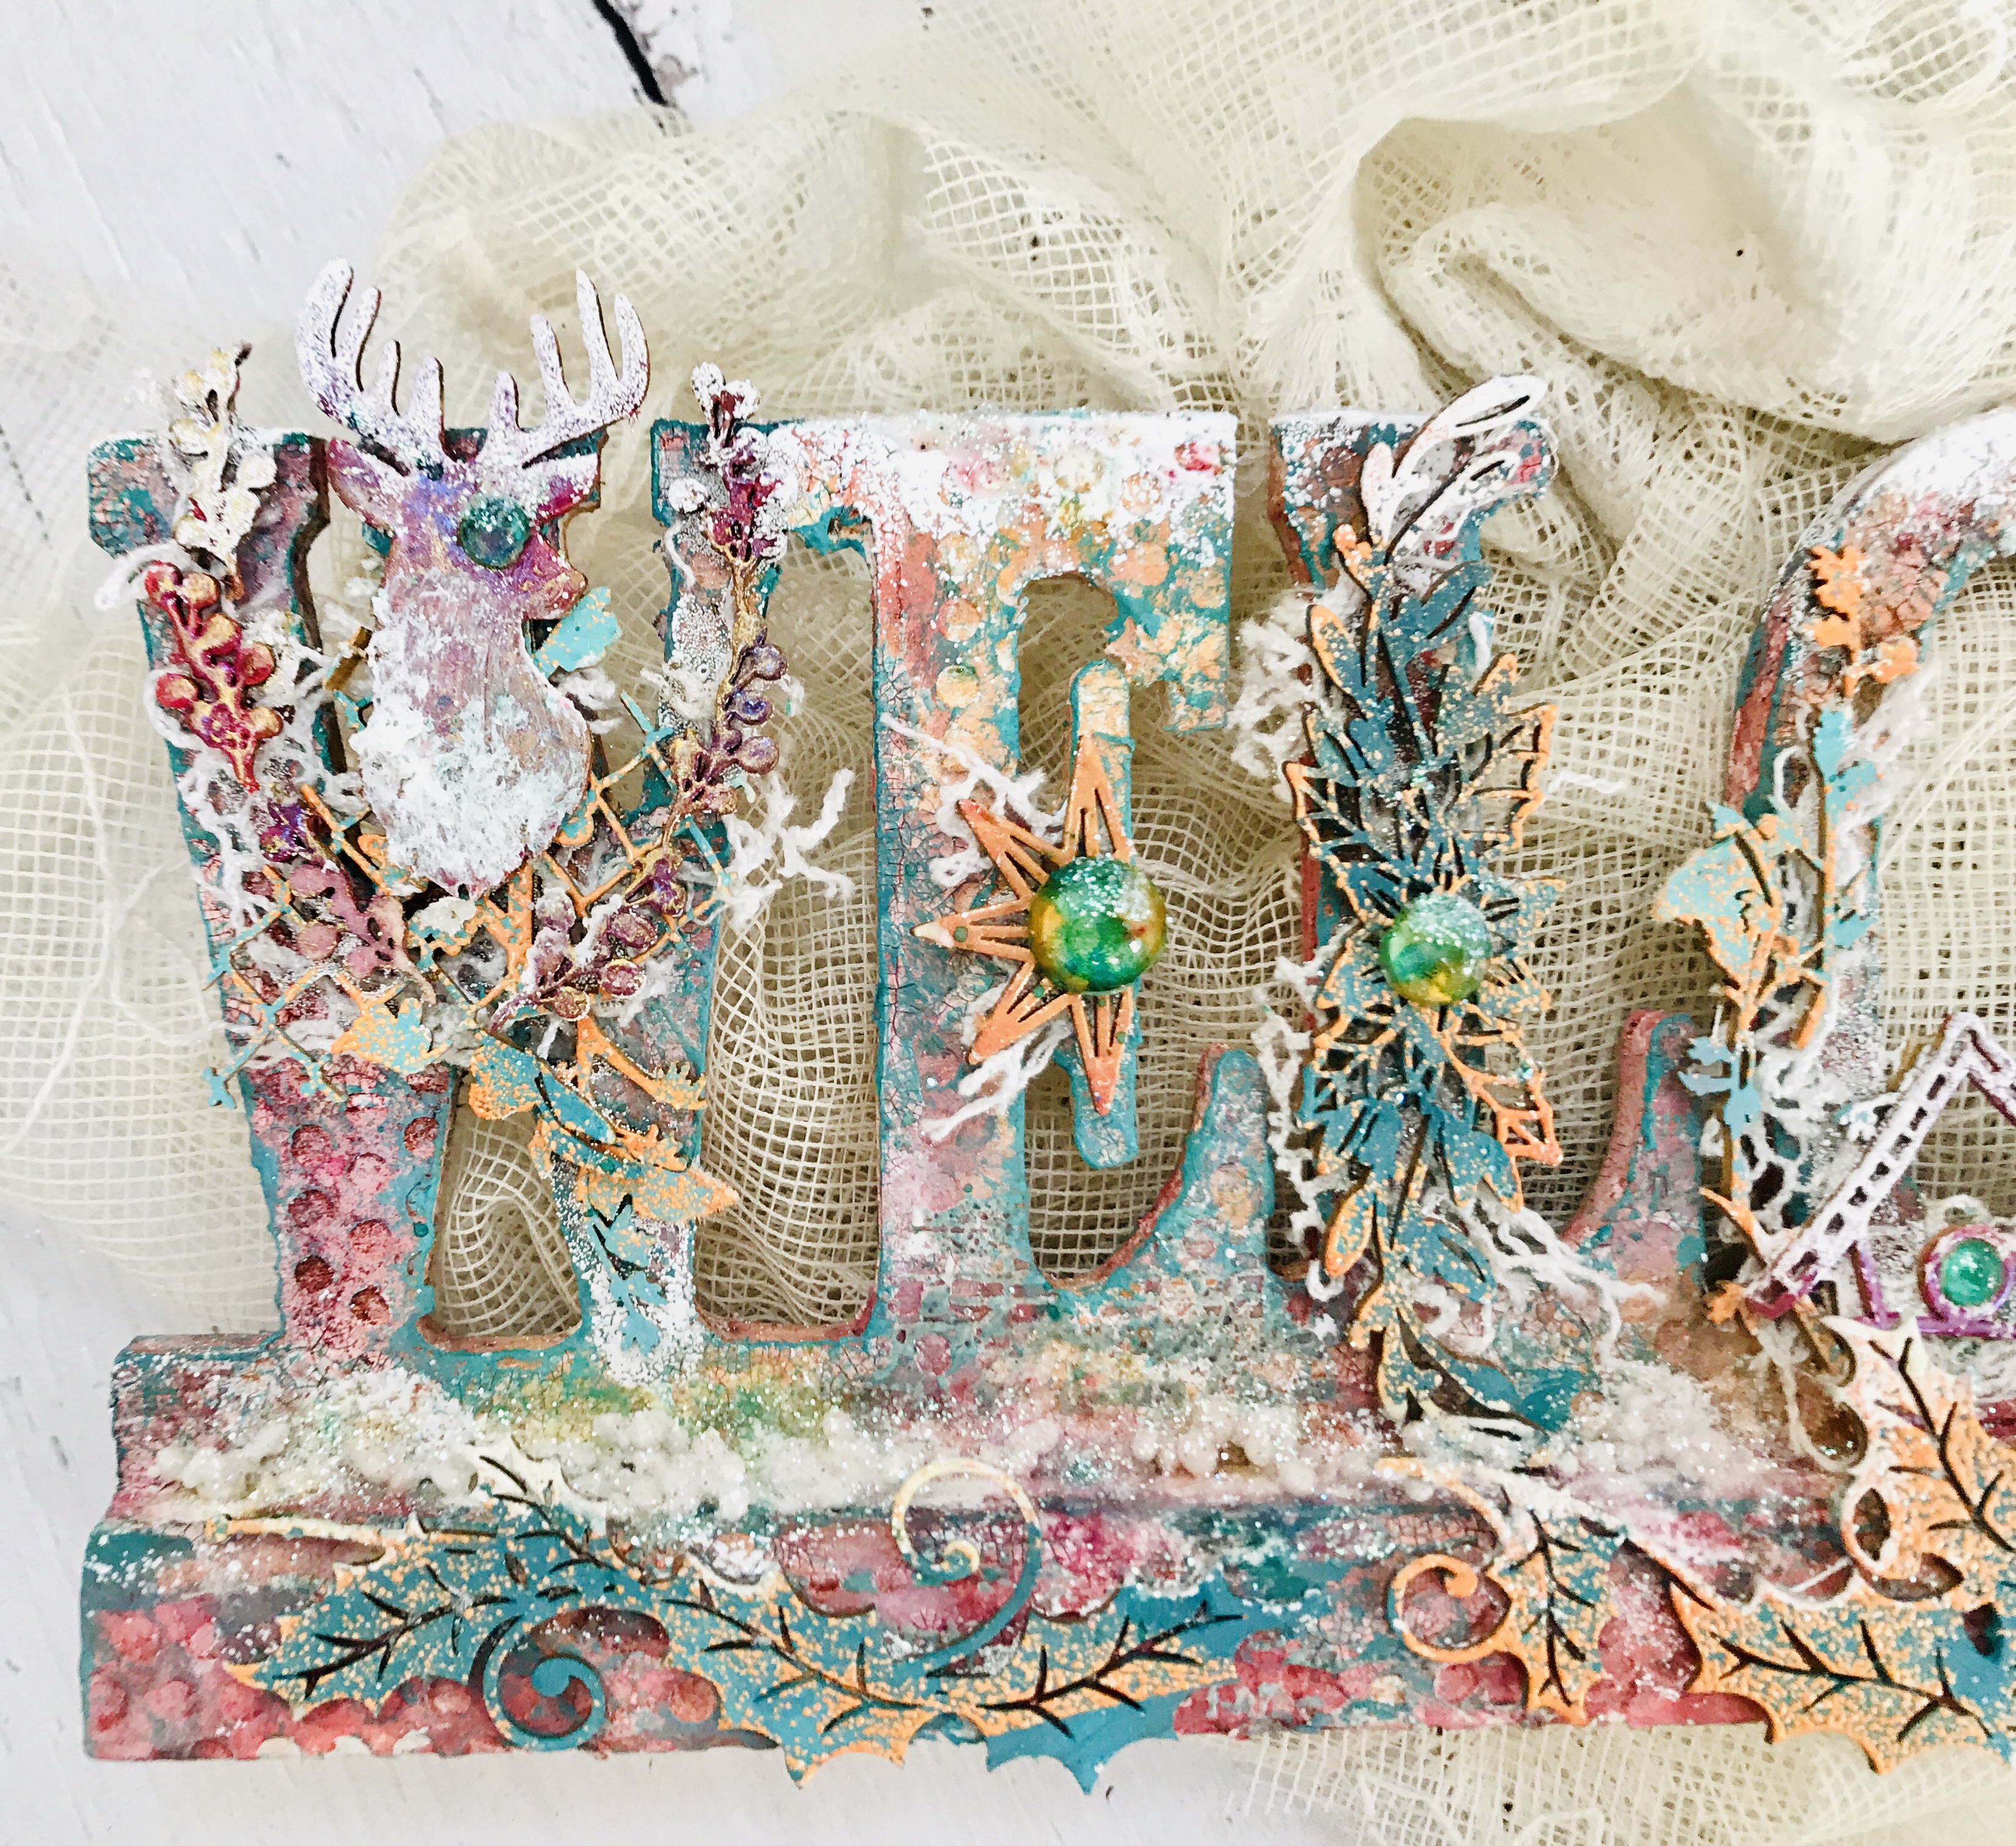
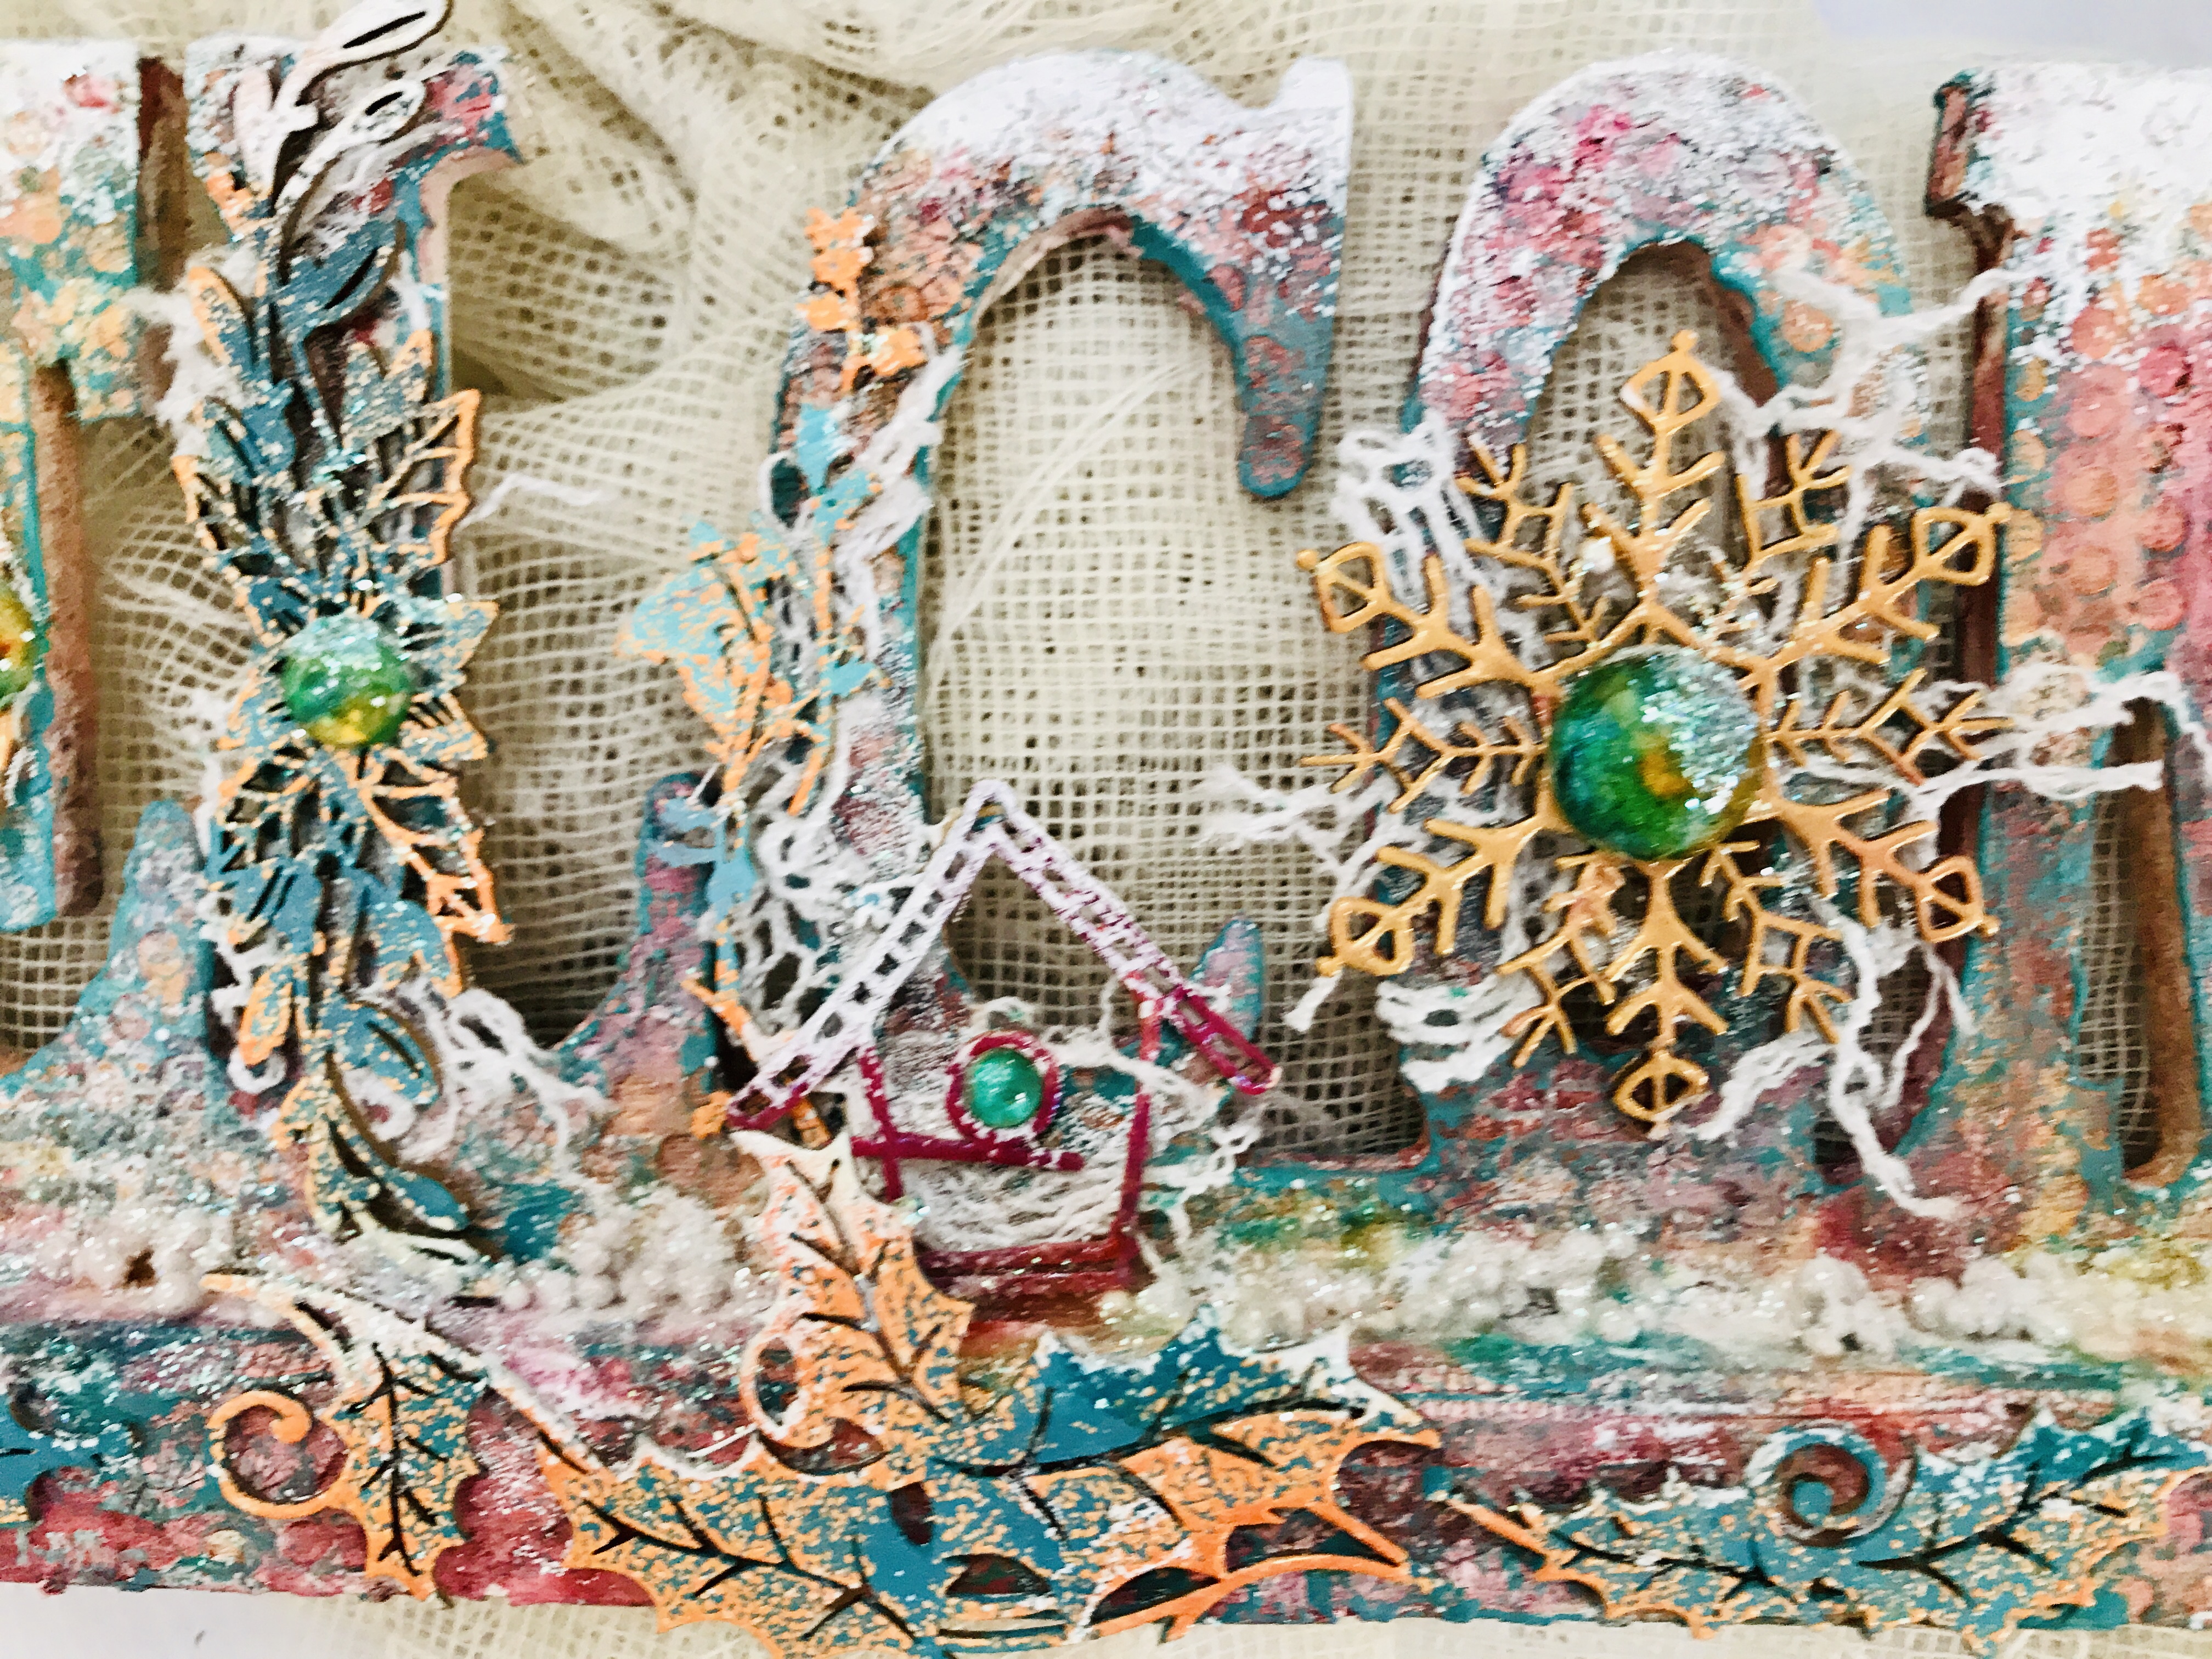
Altering a welcome sign - video tutorial

Hey gang!
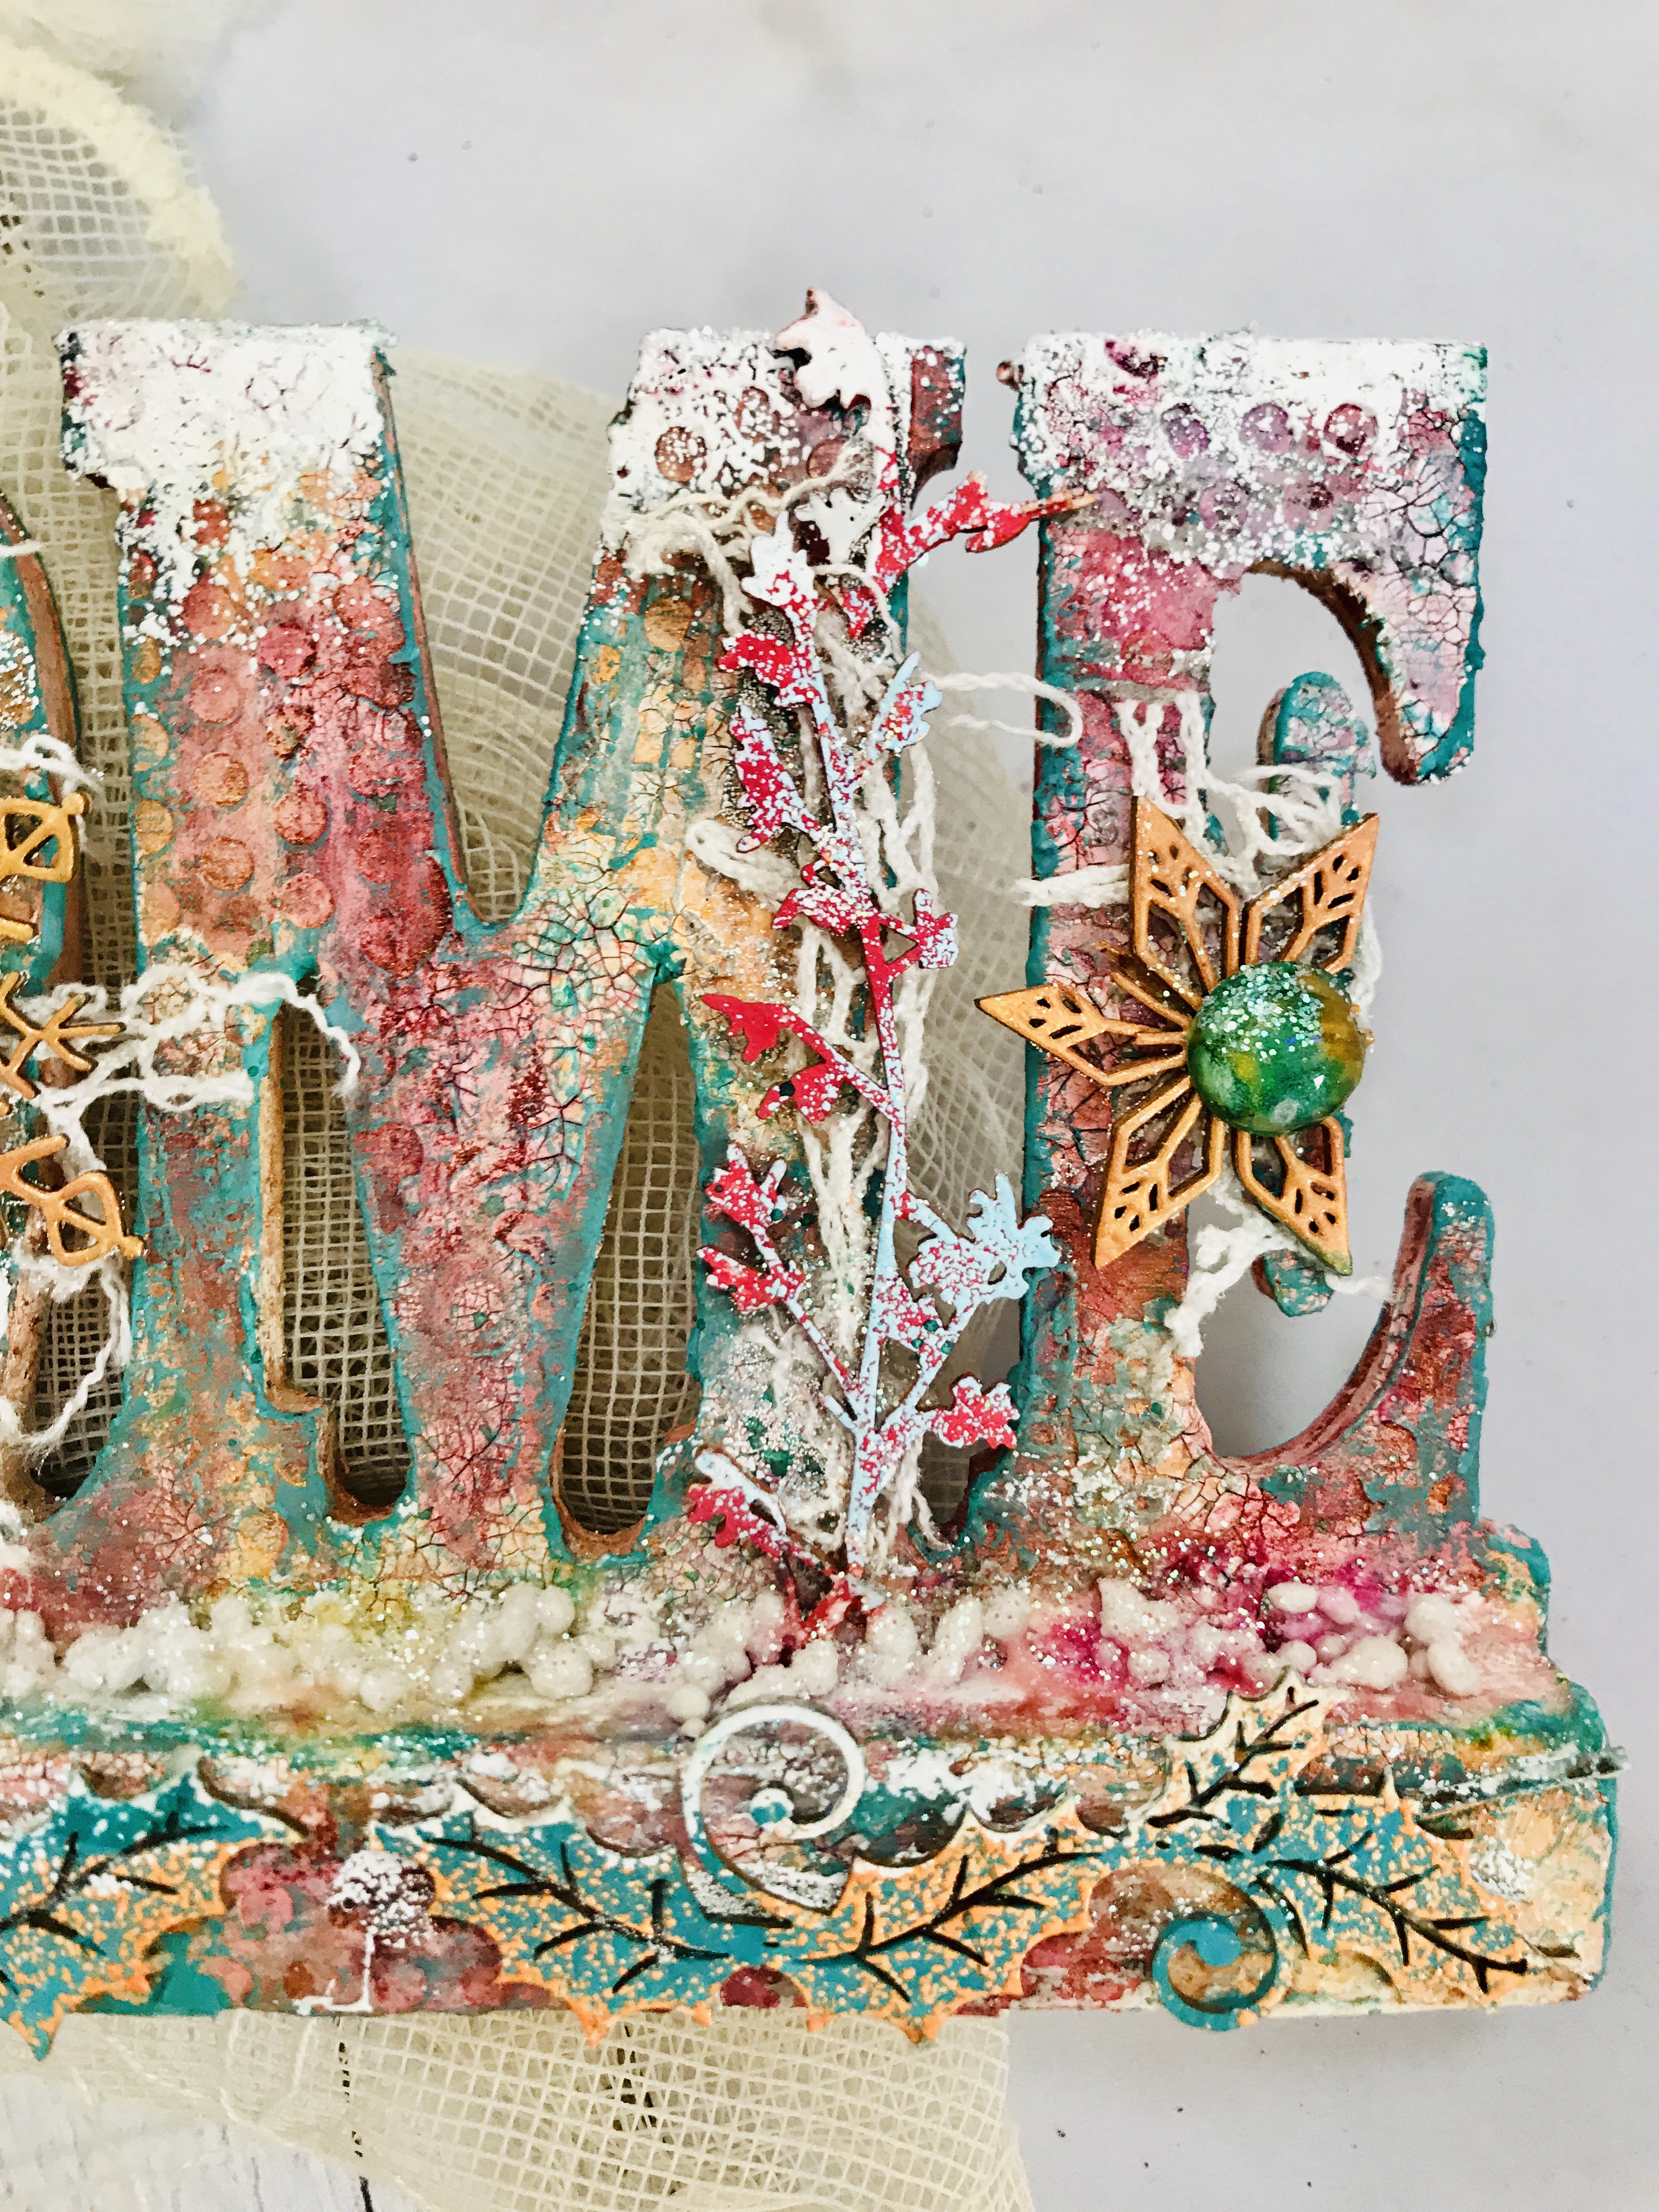
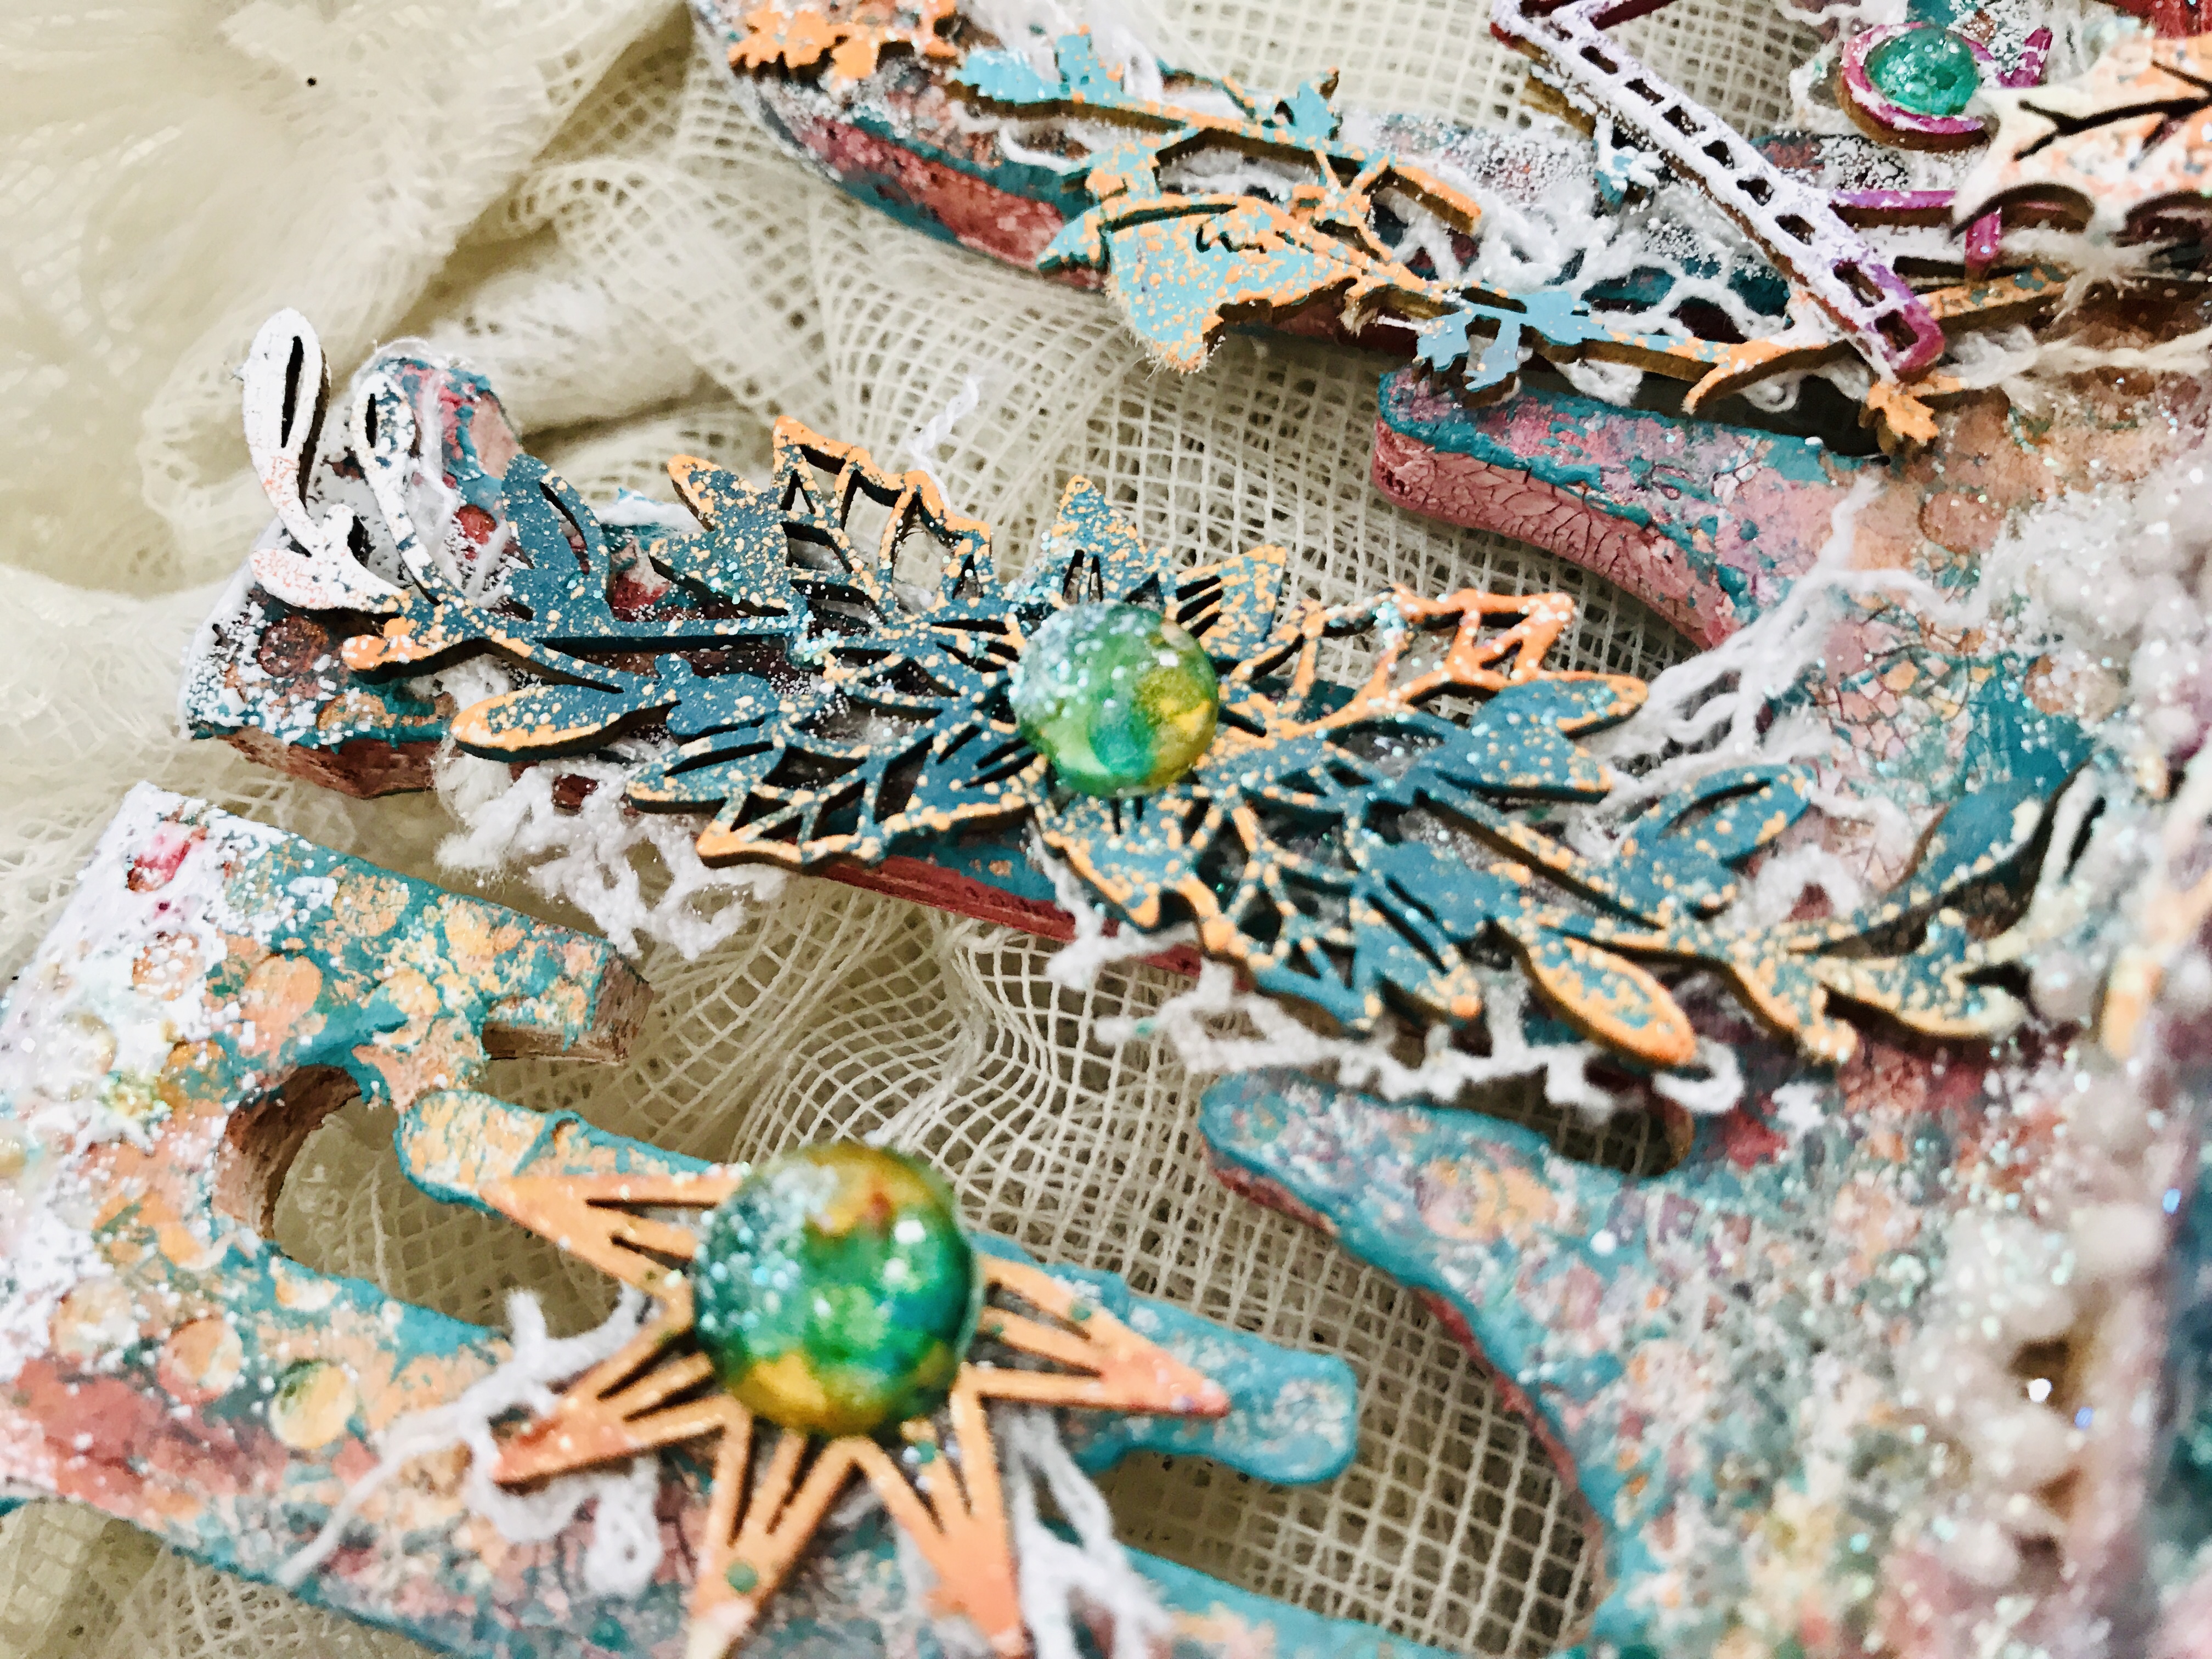
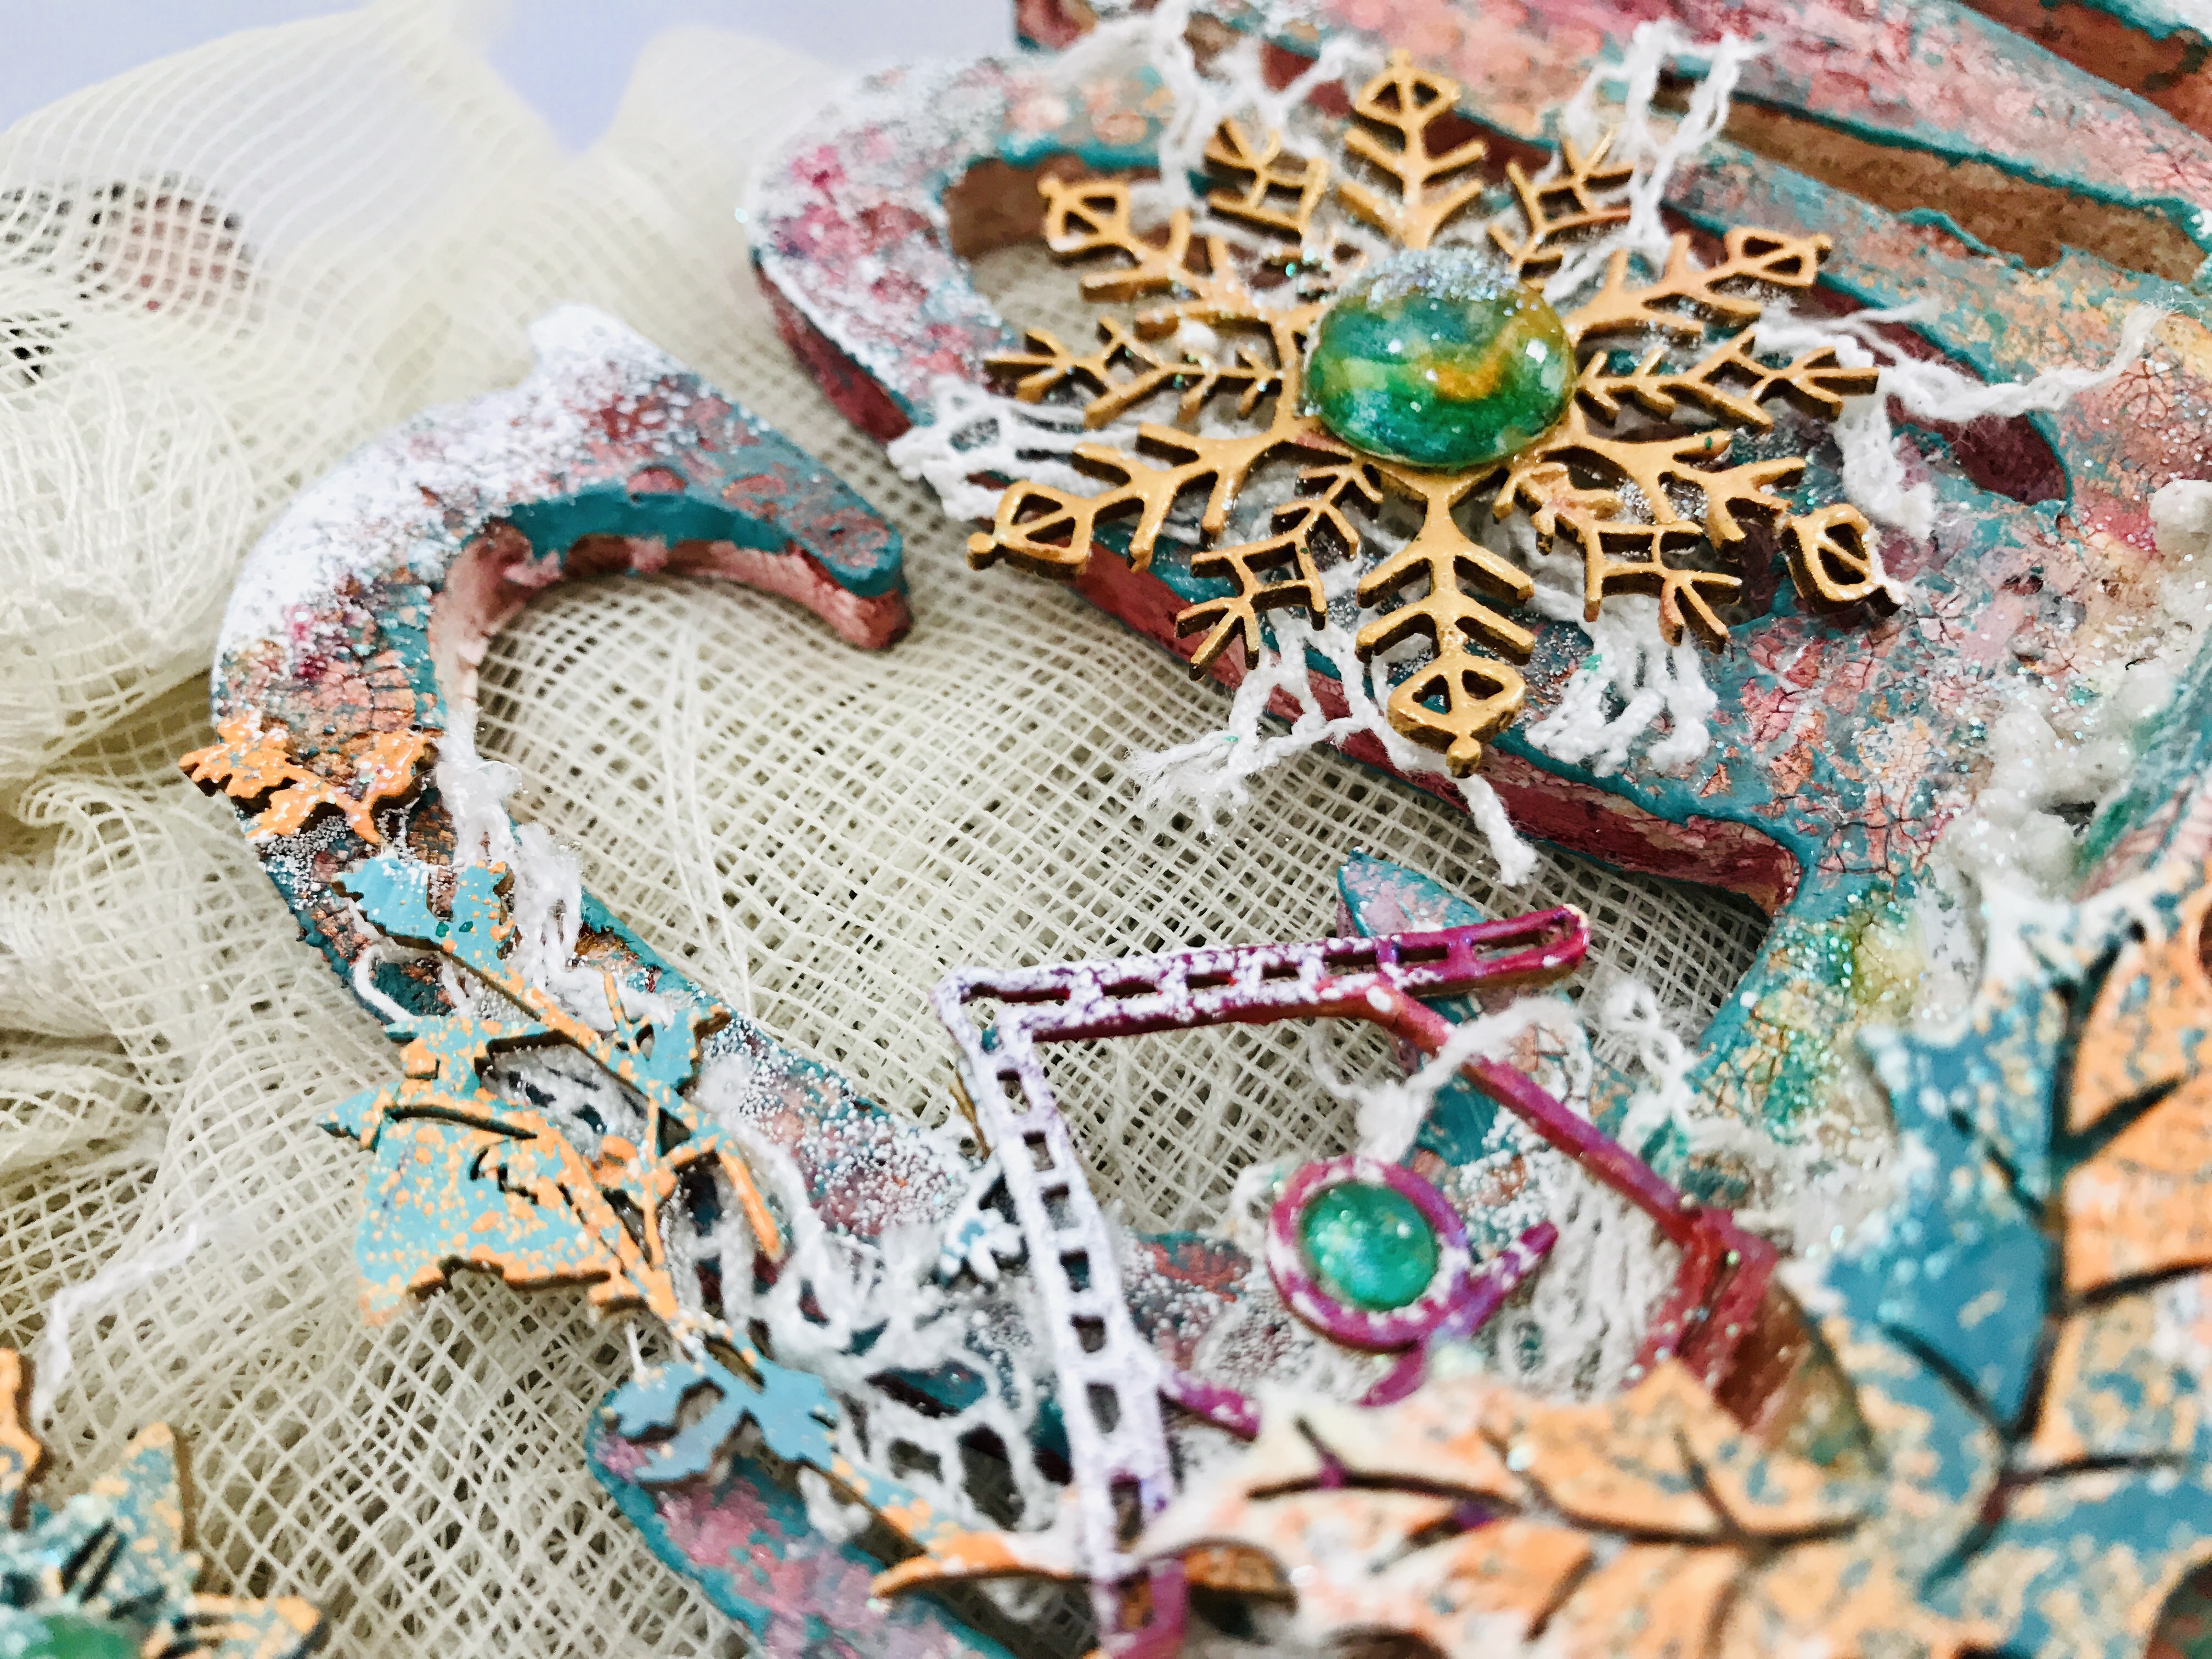
Anat here! Holidays season is almost here and we all want to decorate and embellish our homes, right?! So today I will show you, step by step, how to alter a "Welcome " wooden sign with amazing Lindy's products. I made it colorful and snowy, watch the video tutorial to see how I created the snow look, using only Lindy's Embossing powder.


Let's start...

Basic Process

  1. I started by adhering pieces of joint tape, it adds such a gorgeous texture!
  2. Then I primed the sign with White Heavy Gesso.
  3. Next I added, here and there, white crackle paste.
  4. After drying and cracking I've added some stamping with Versa Mark ink and Queen Sheba's Silver Embossing Powder
  5. Now to the fun part - adding color -  I added 3 sprays: Marigold Yellow Orange, Open Arms Amethyst and Oh Canada Crimson Squirt
  6. While the sign is drying I treated some beuatiful chipboards with paints I made of white heavy gesso and Magical shakers: Cuckoo Clock Cardinal , Cowabunga Copper, Grab a Guy Gold, Time Travel Teal and Guten Tag Teal
  7. Next, I added to the chipboards some color with Embossing powders: Okktoberfest Orange, Tilt-a-Wheel Teal, King Midas Gold, Holly Hock Scarlet Plum
  8. To make the Sign more interesting I added a layer of dry brush with the paint I made of gesso and Time Travel Teal + Guten Tag Teal
  9. I glued all chipboards on my piece and added the snowy look using Purley white Embossing powder
  10. I made my own embellishments with art pebbles: covered them with clear gesso and brushed them with Time Travel Teal and Grab a Guy Gold
Scrapiniec chipboards are:


Watch the video to see the entire process:


Lindy’s Products

Scrapiniec Chipboards
Other products
  • Prima-Finnabair Heavy white gesso, Prima-Finnabair Crackle  paste white, Prima-Finnabair clear gesso
I hope you enjoyed it and feel inspired to make one for your home!
Thank you for stopping by!
xoxo