Oct 31, 2018

In love tags for Studio75

Hello dears!
Here today to share with you  a trio of mixed media Tags I created for Studio75, using the beautiful Forever in Love collection.


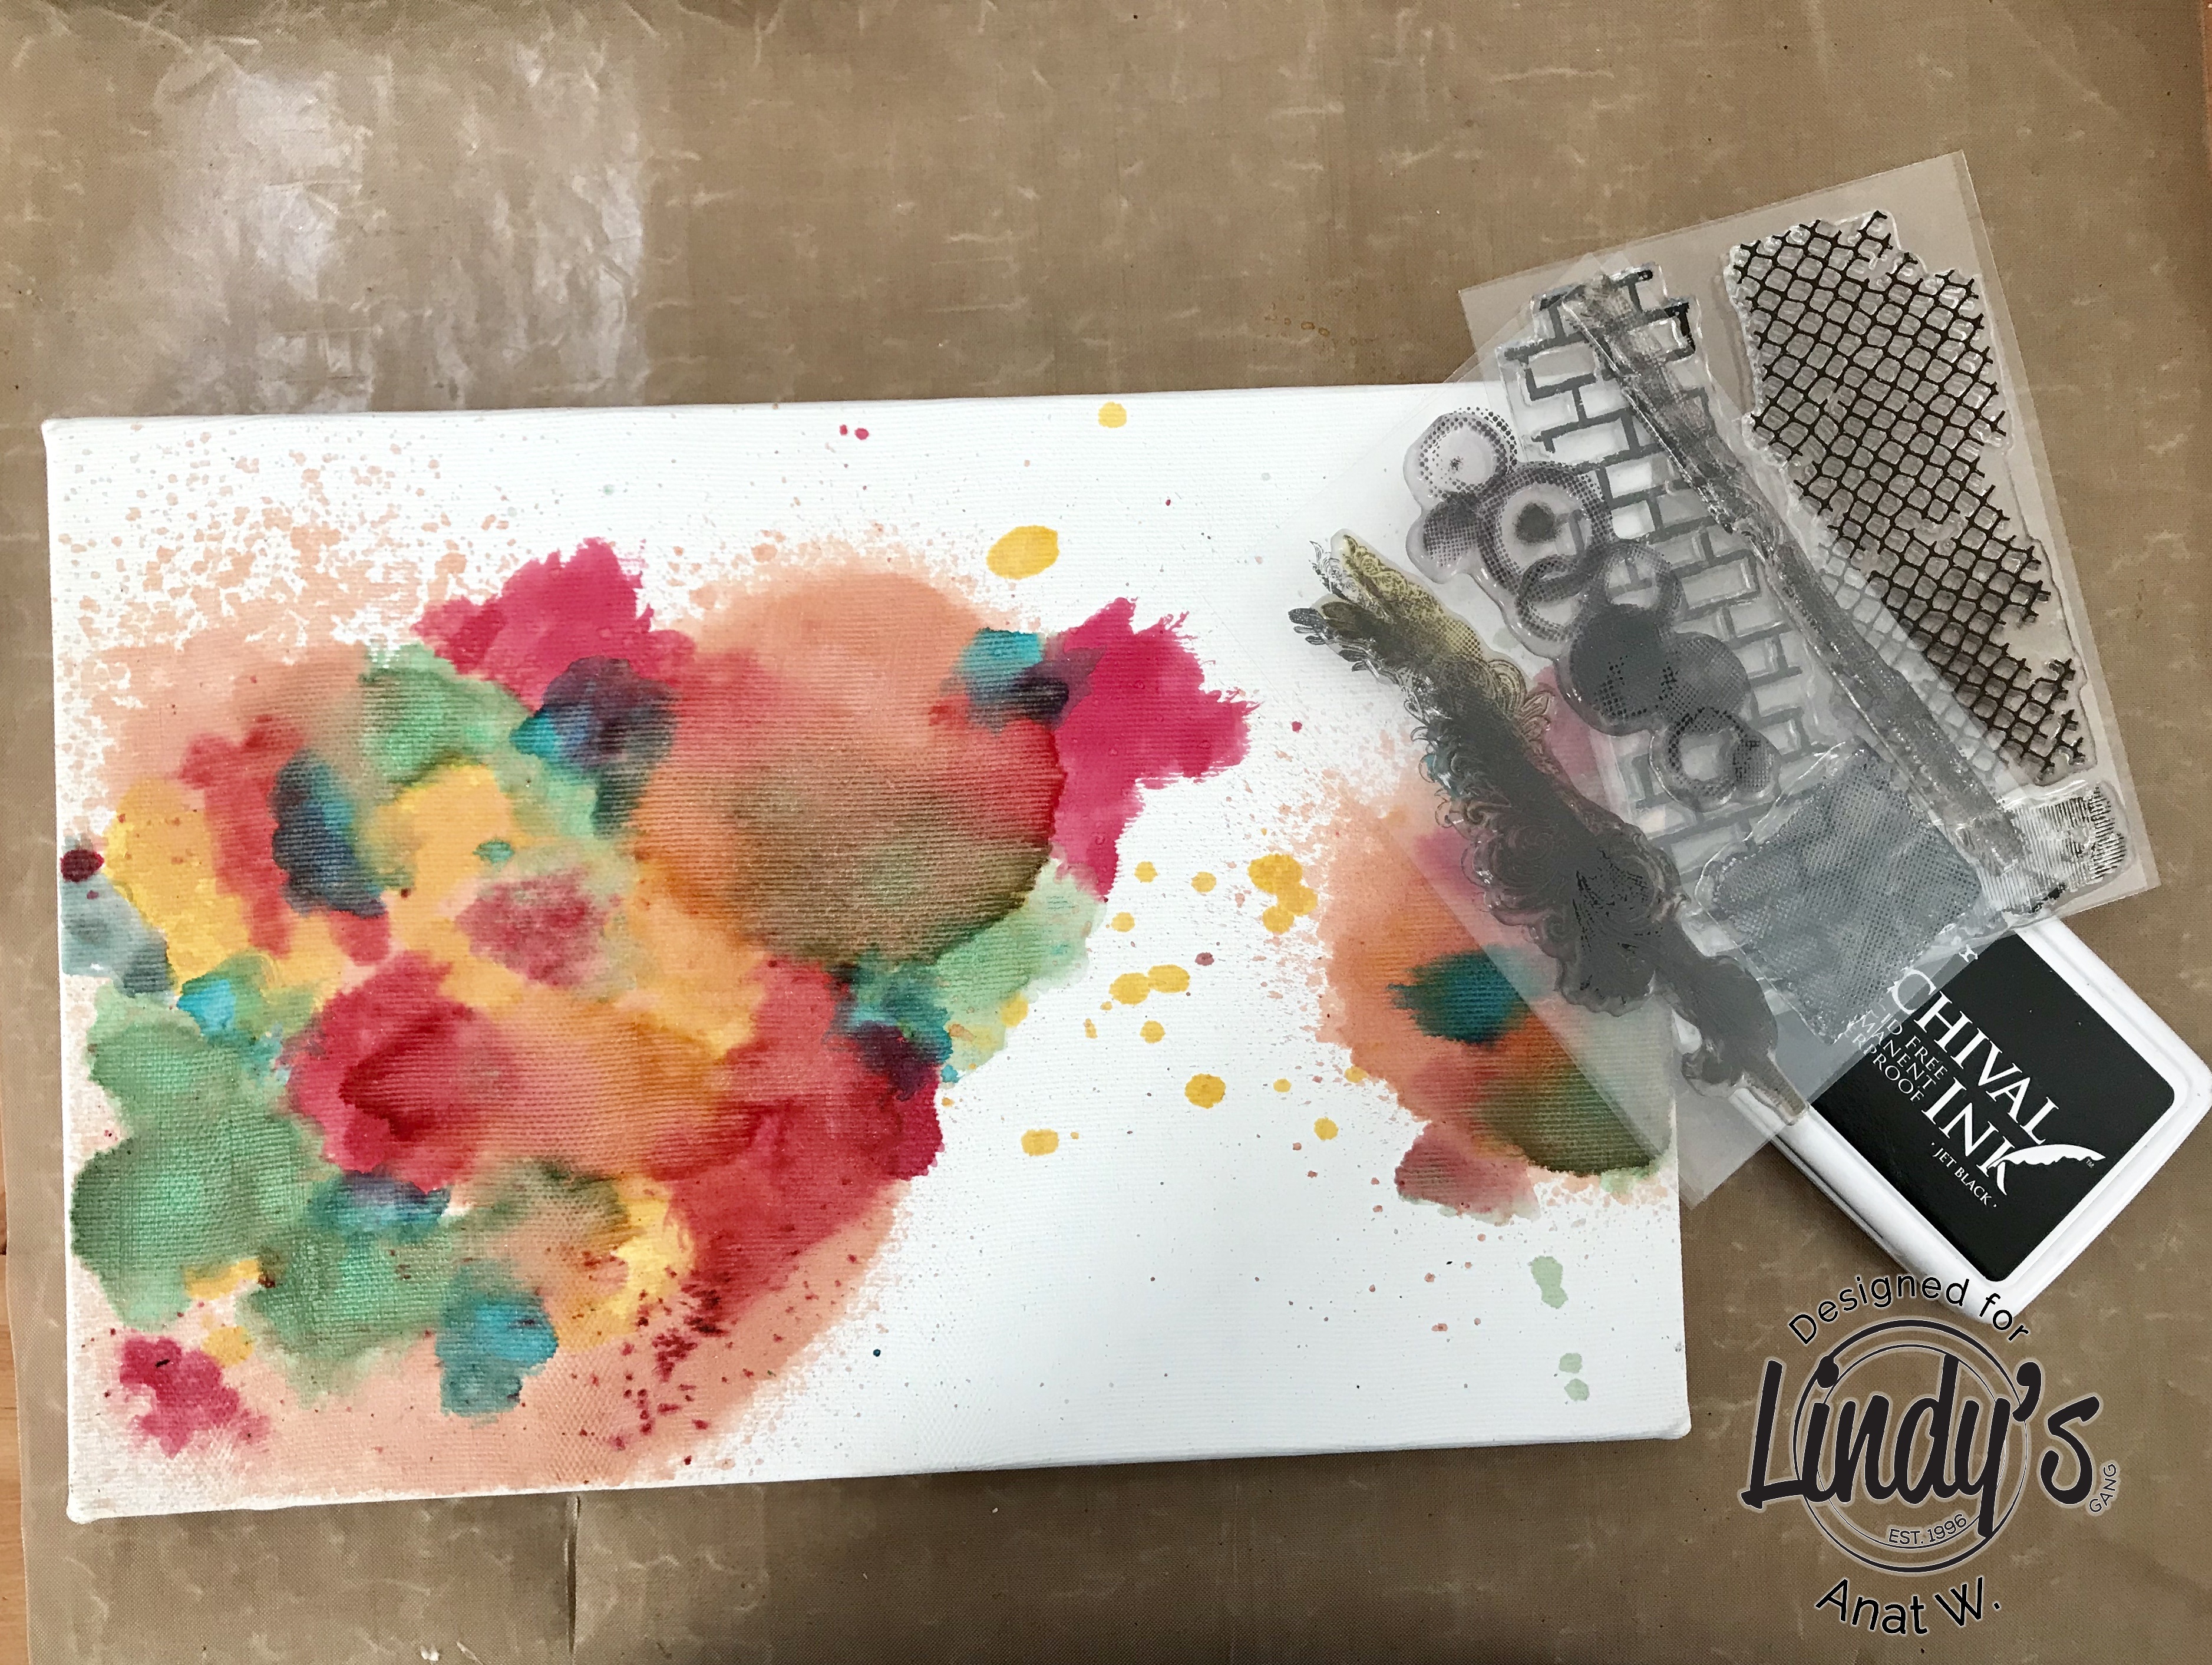
On the papers (detailed below) I Sprayed some Lindy's sprays matching the flowers on the paper.
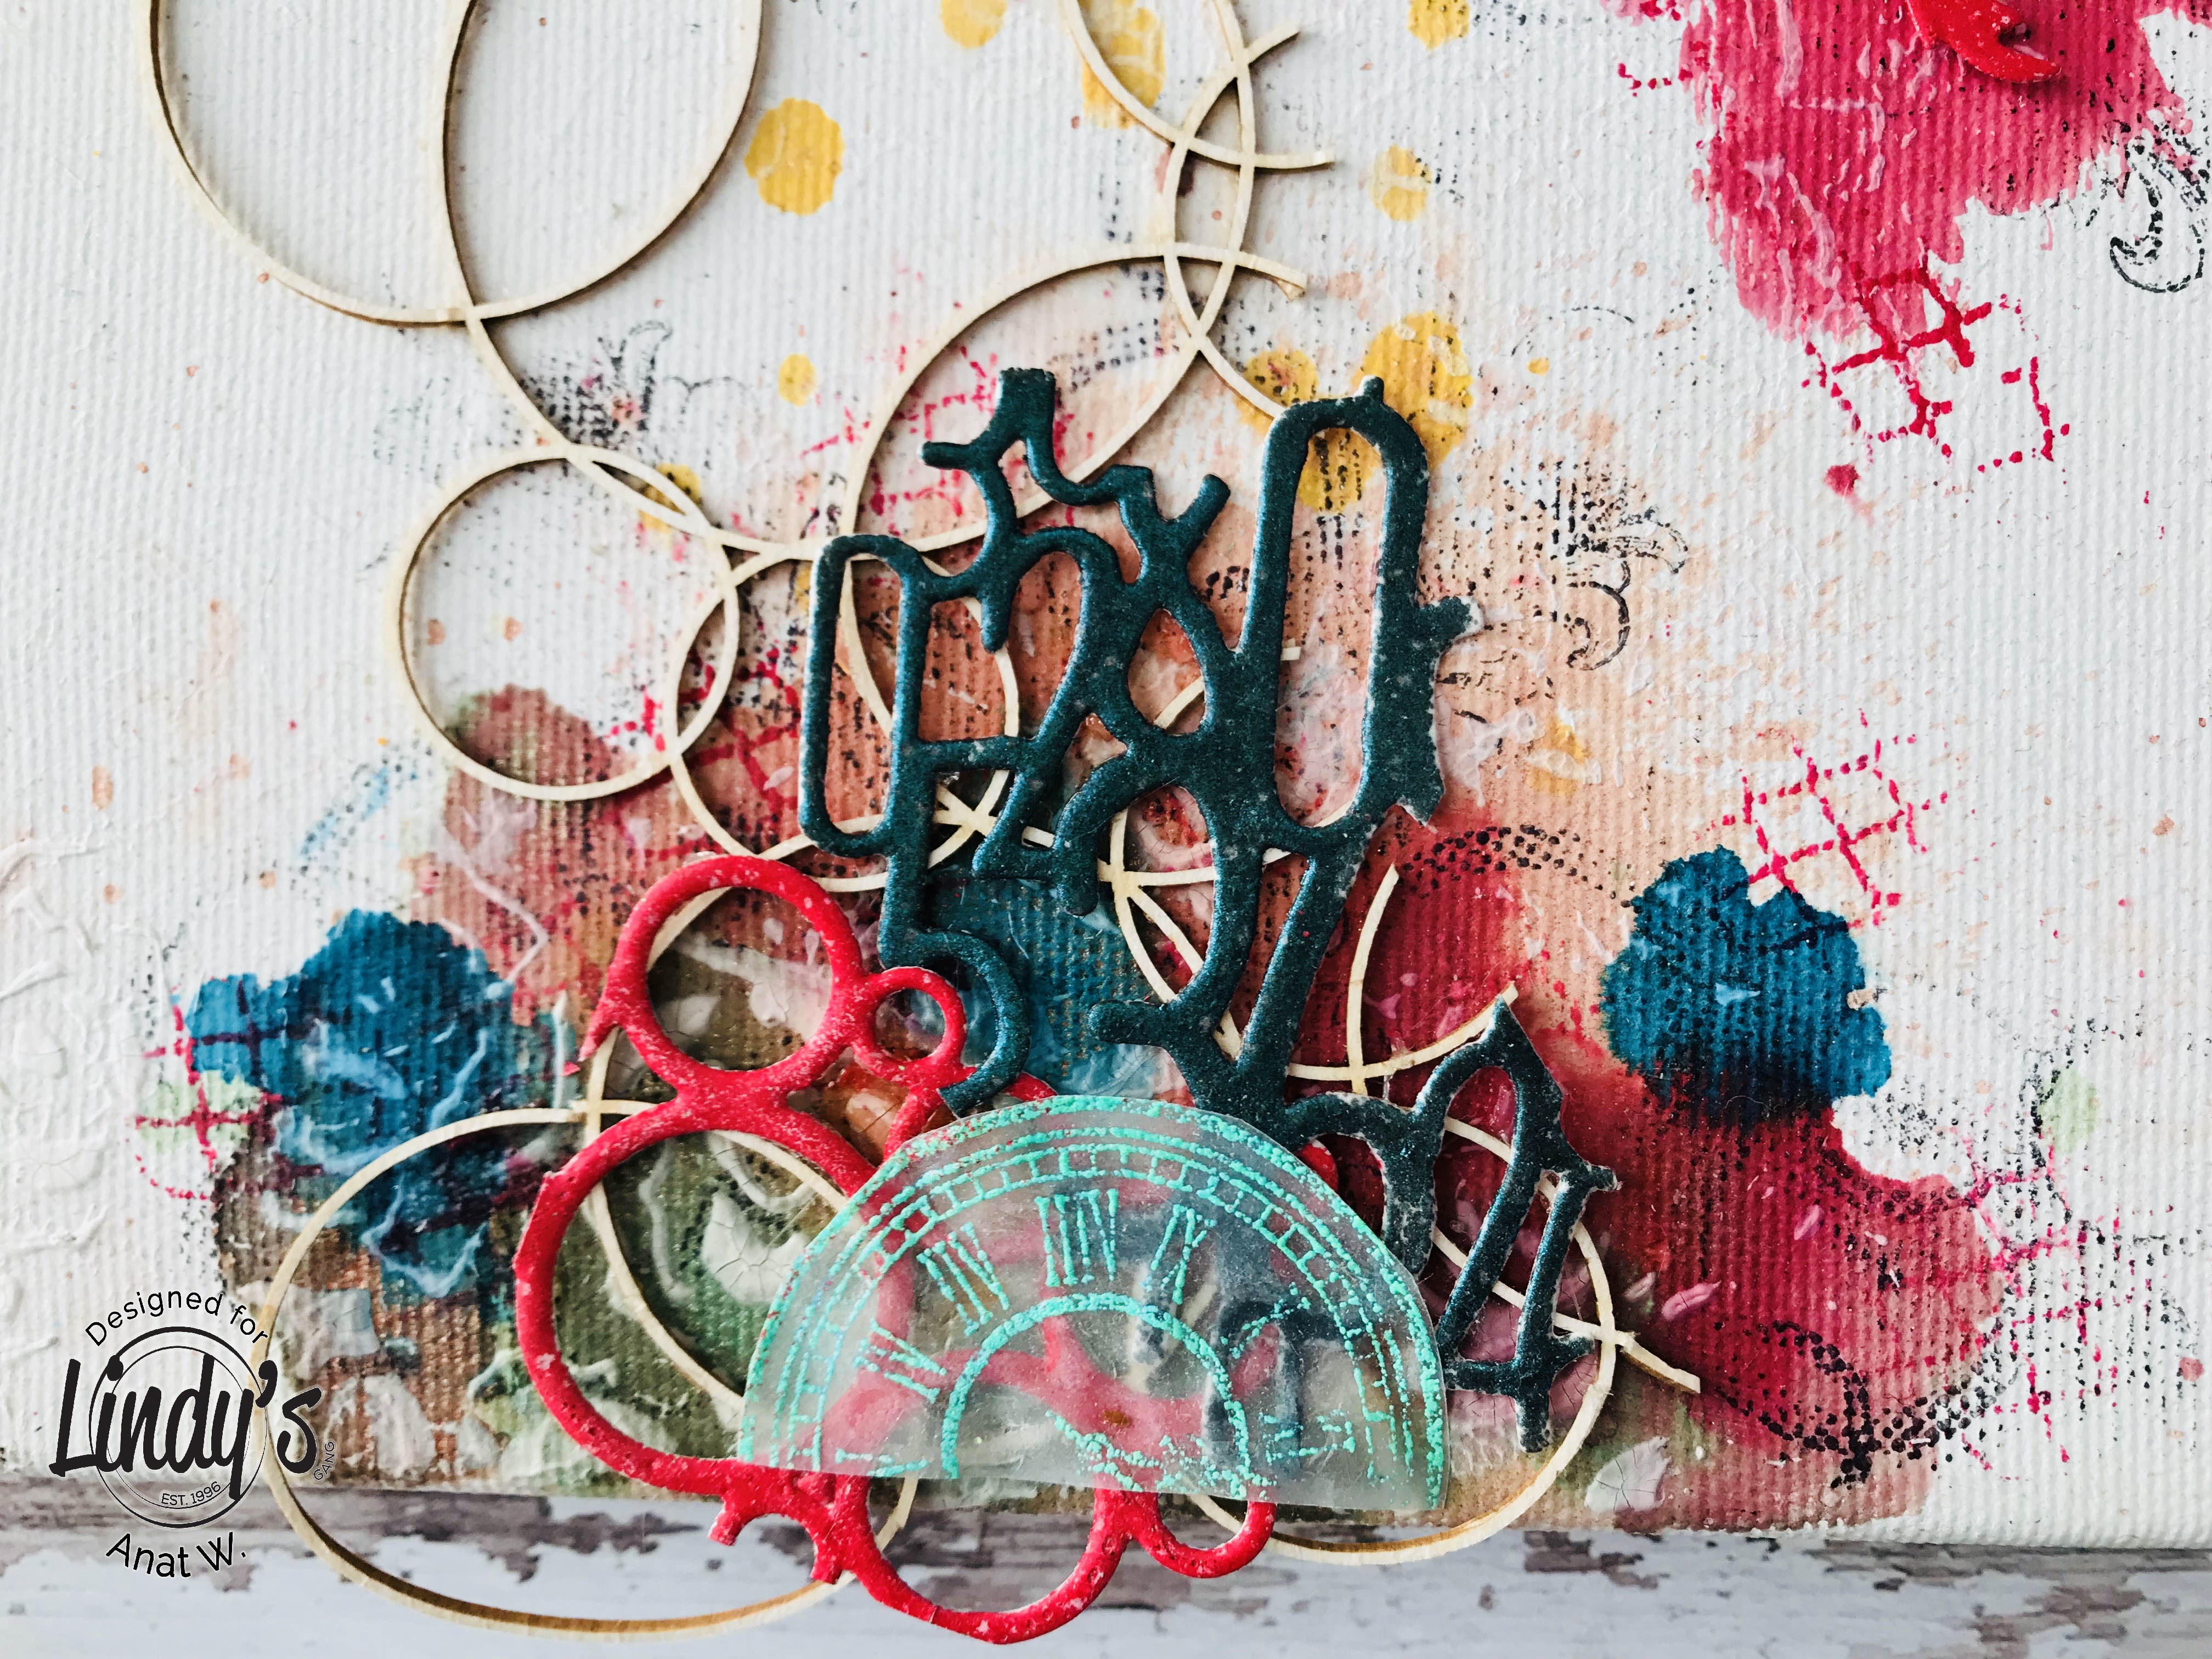
After drying I stamped it and added some tecture with stencil and structure paste.
Next step was to adhere flowers, pieces of old cotton doily, Chipboard Frames and the sentiment from the collection.


Here are some more pictures:


In this project I used:


Thanks for stopping by
xoxo

Steampunk ATC for Fantasy

Hello dears,
Here today to share with you my inspiration created for Fantasy !
I made a trio of mixed media Steampunk ATC.


To create the background I used the negative of  different chipboards, painted with black gesso and than painted with Finnabair's Fantasy Rust paste sets and Patina paste set.
Behind the steampunk children's images I used several dies:


Thanks for stopping by
xoxo

Oct 30, 2018

Sweet like candy canvas - Step by Step for Lindy's

Hi Gang!
I'm so happy to share with you a canvas I made with my daughter's photo.
I decided to go for a colorful palette as she is a kid and I wanted a bright and joyful result.

Basic Process

So  join me in the Step by Step process:

 
All products are set so let's Start:

First step was coloring in the areas of the canvas where the photo and embellishments will sit.
 I used five gorgeous sprays: Rizzo's Rowdy Red Flat, Grab a Guy Gold Shimmer, Jack in the Pulpit Teal Shimmer, Time Travel Teal Shimmer and Cowabunga Copper Shimmer.

Next, I stamped with archival black and color inks.

You can see it here

My favorite technique to color paper die-cuts is embossing. As you can see, I used a few Embossing Powders: Desert Moon Turquoise EP, Midnight Teal EP, Midnight Pewter EP, Caesar's Gold EP and Cuckoo Clock Cardinal EP

I needed a few more embellishments stamped and hot embossed, this time I used Cuckoo Clock Cardinal EP and Sassy Sapphire EP.

I added thin chipboard circles and left them with their natural color

As I can't do without some texture I added it with modeling paste through a stencil

Time to put everything together with gel medium. 
As the picture matting, I've chosen some papers and a couple of matching tags. 
As you can see when I've got to this point I decided to change the canvas direction.
And this is what I came with! I love the result and I hope you do too!


So give it a go – it’s easier than you think!

Here are some extra photos so you can see all the details.


LINDY’S PRODUCTS

OTHER PRODUCTS
  • Chipboards, Decoart Modeling Paste, Prima Stencil, assorted dies,  Stamps and Inks

Oct 29, 2018

My first tutorial - Resist Canvas Hearts with Fantasy Rust

Hello dears,
I'm so excited to share with you my first video tutorial ever!
I made the video as my first DT video tutorial for Mixed  Media Place.
Inspite of my small recording errors I'm sure you will enjoy it!


In this video tutorial you will see how to create a Mixed Media  Resist Canvas conected Hearts, altered with lots of Finnabair's Products like: Fantasy Rust, Art Alchemy Metalique Paints, Mechanicals and Mitform metal embelishments.

The process is quiet simple but in case you have any questions just leave me a comment.


Here are some more photos and close-ups:


Mixed Media Place supplies: 


Thanks so much for stopping by
xoxo