Nov 29, 2018

Ornaments shaped Tags for studio75

Hello dear readers!
Here today to share two Ornaments shaped Tags created for Studio75 and for inspiring you!


I designed and cut a Ball and a Star out of cardboard, in a shape to look like christmas tree ornaments. I cut the same shape out of papers from the gorgeous Christmas Gift collection. 
As I said in my last post here I love it and as you can see you can do so many things with it!

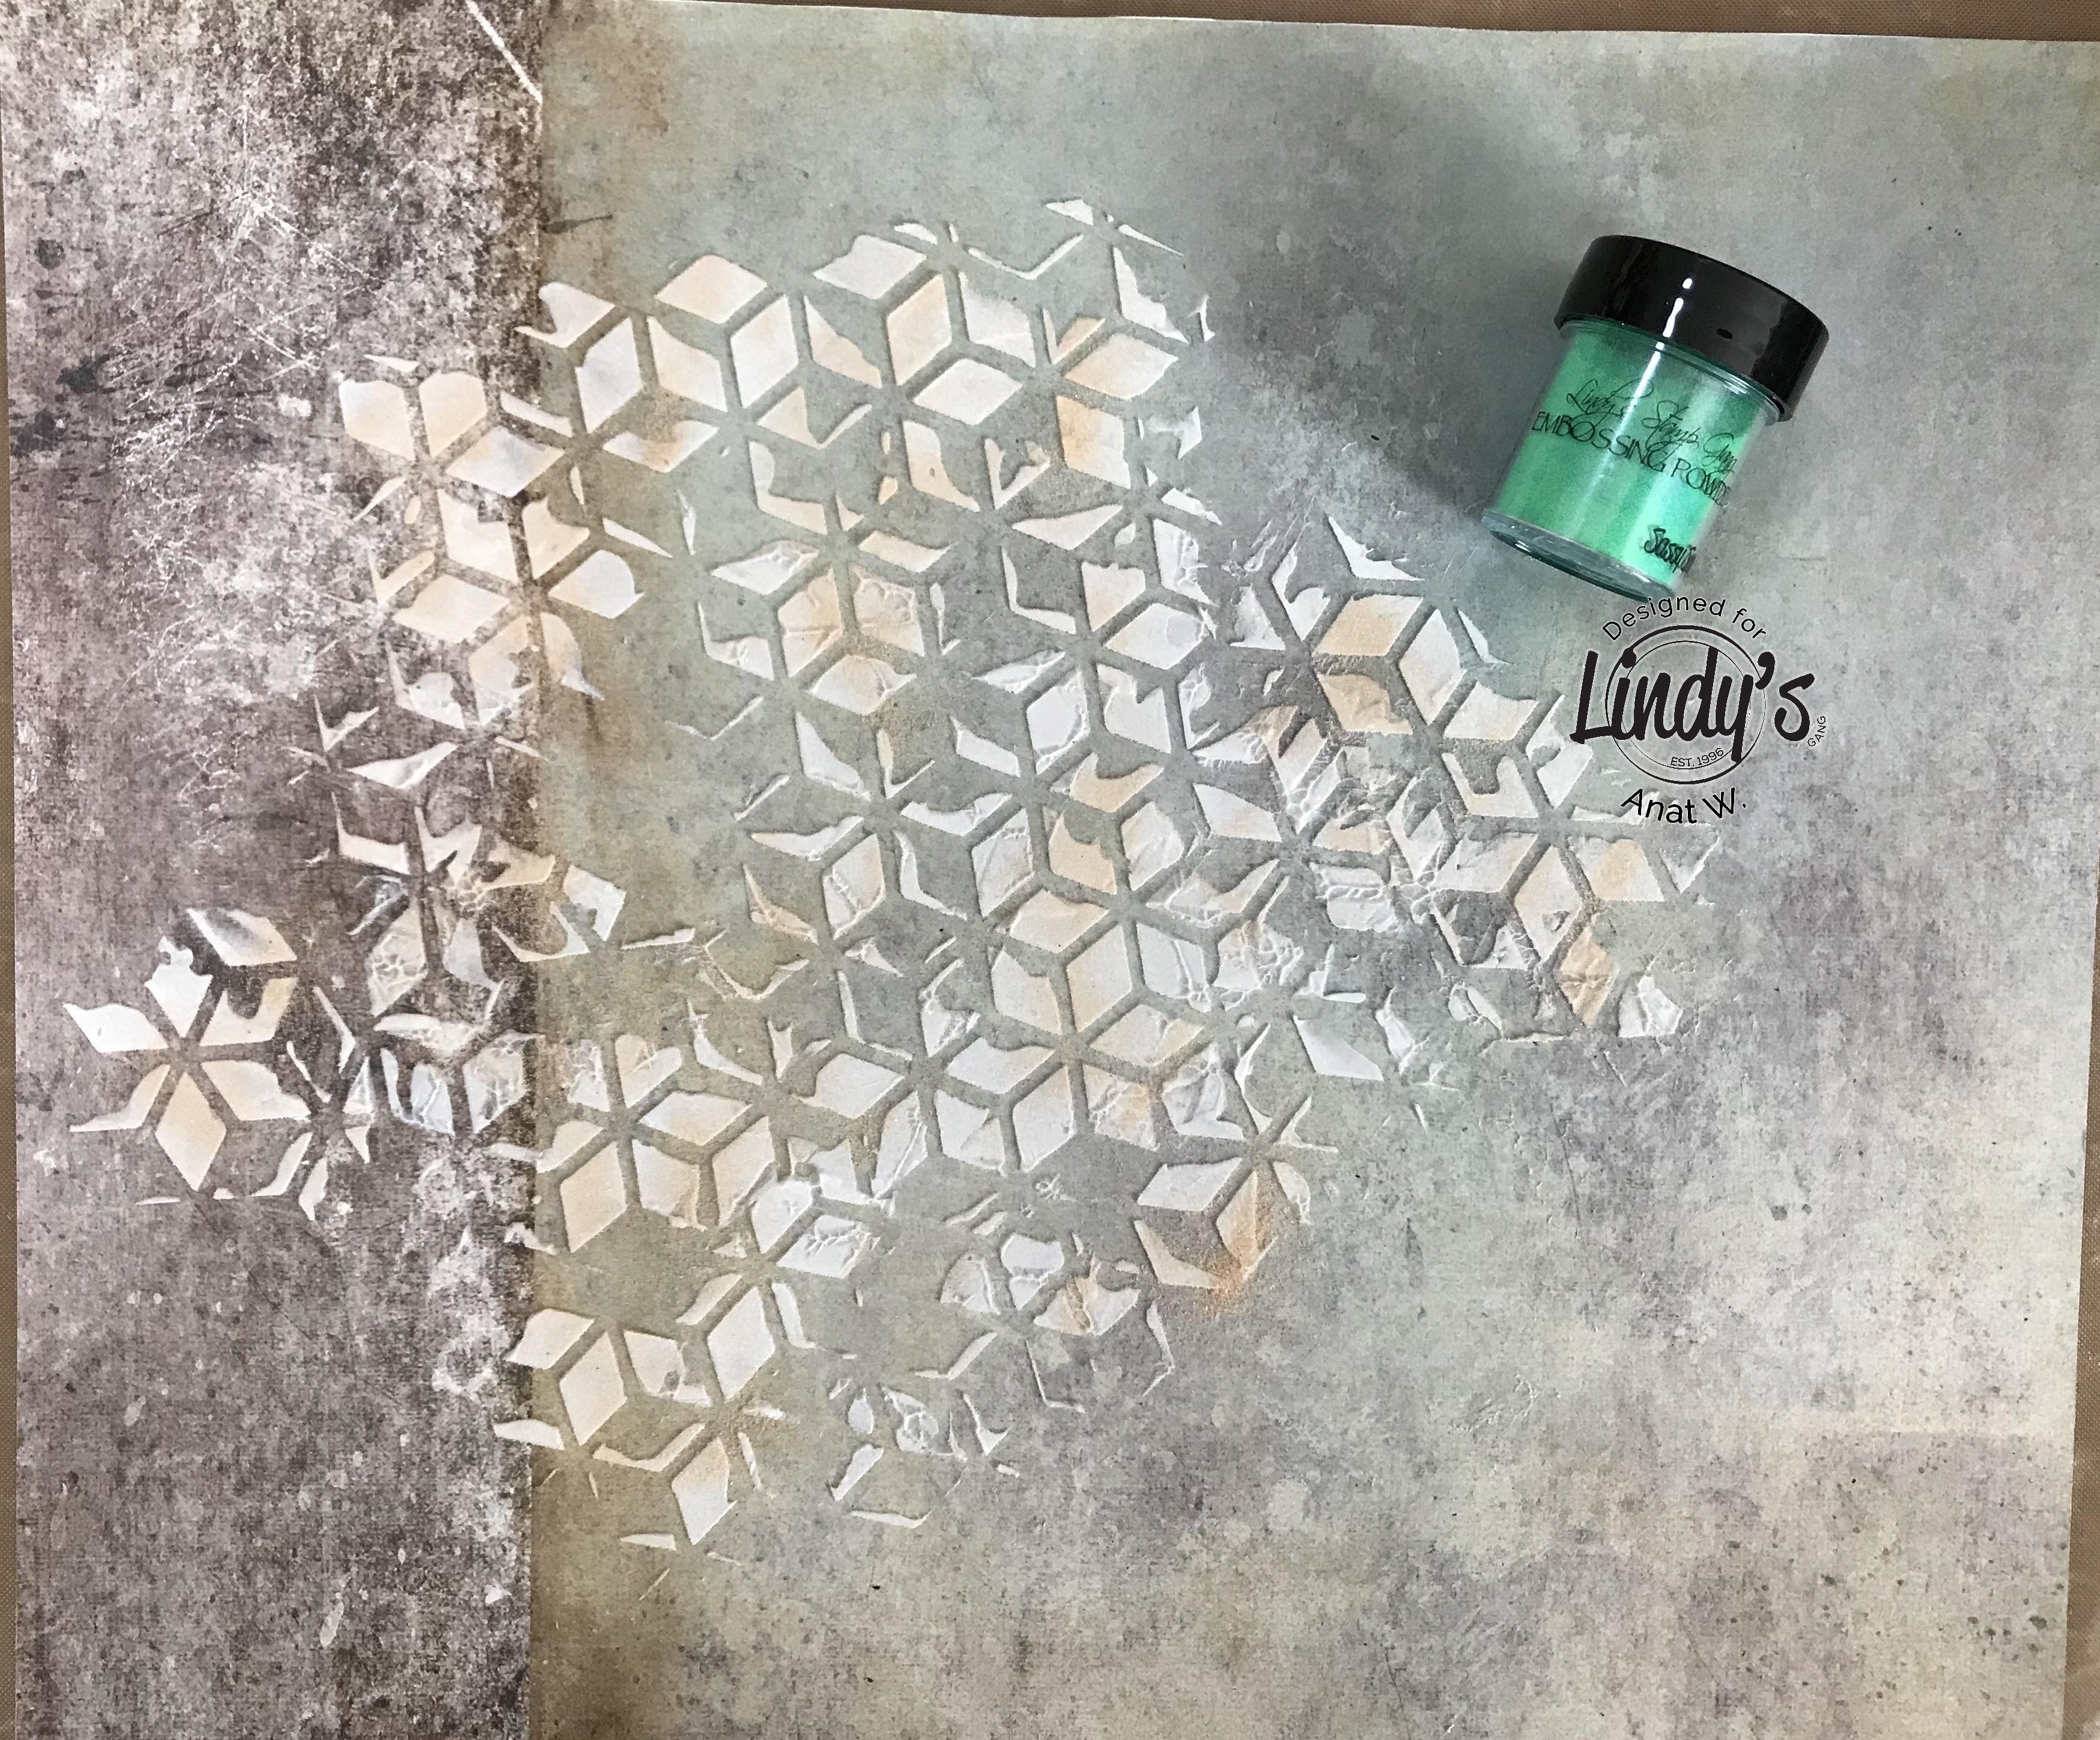
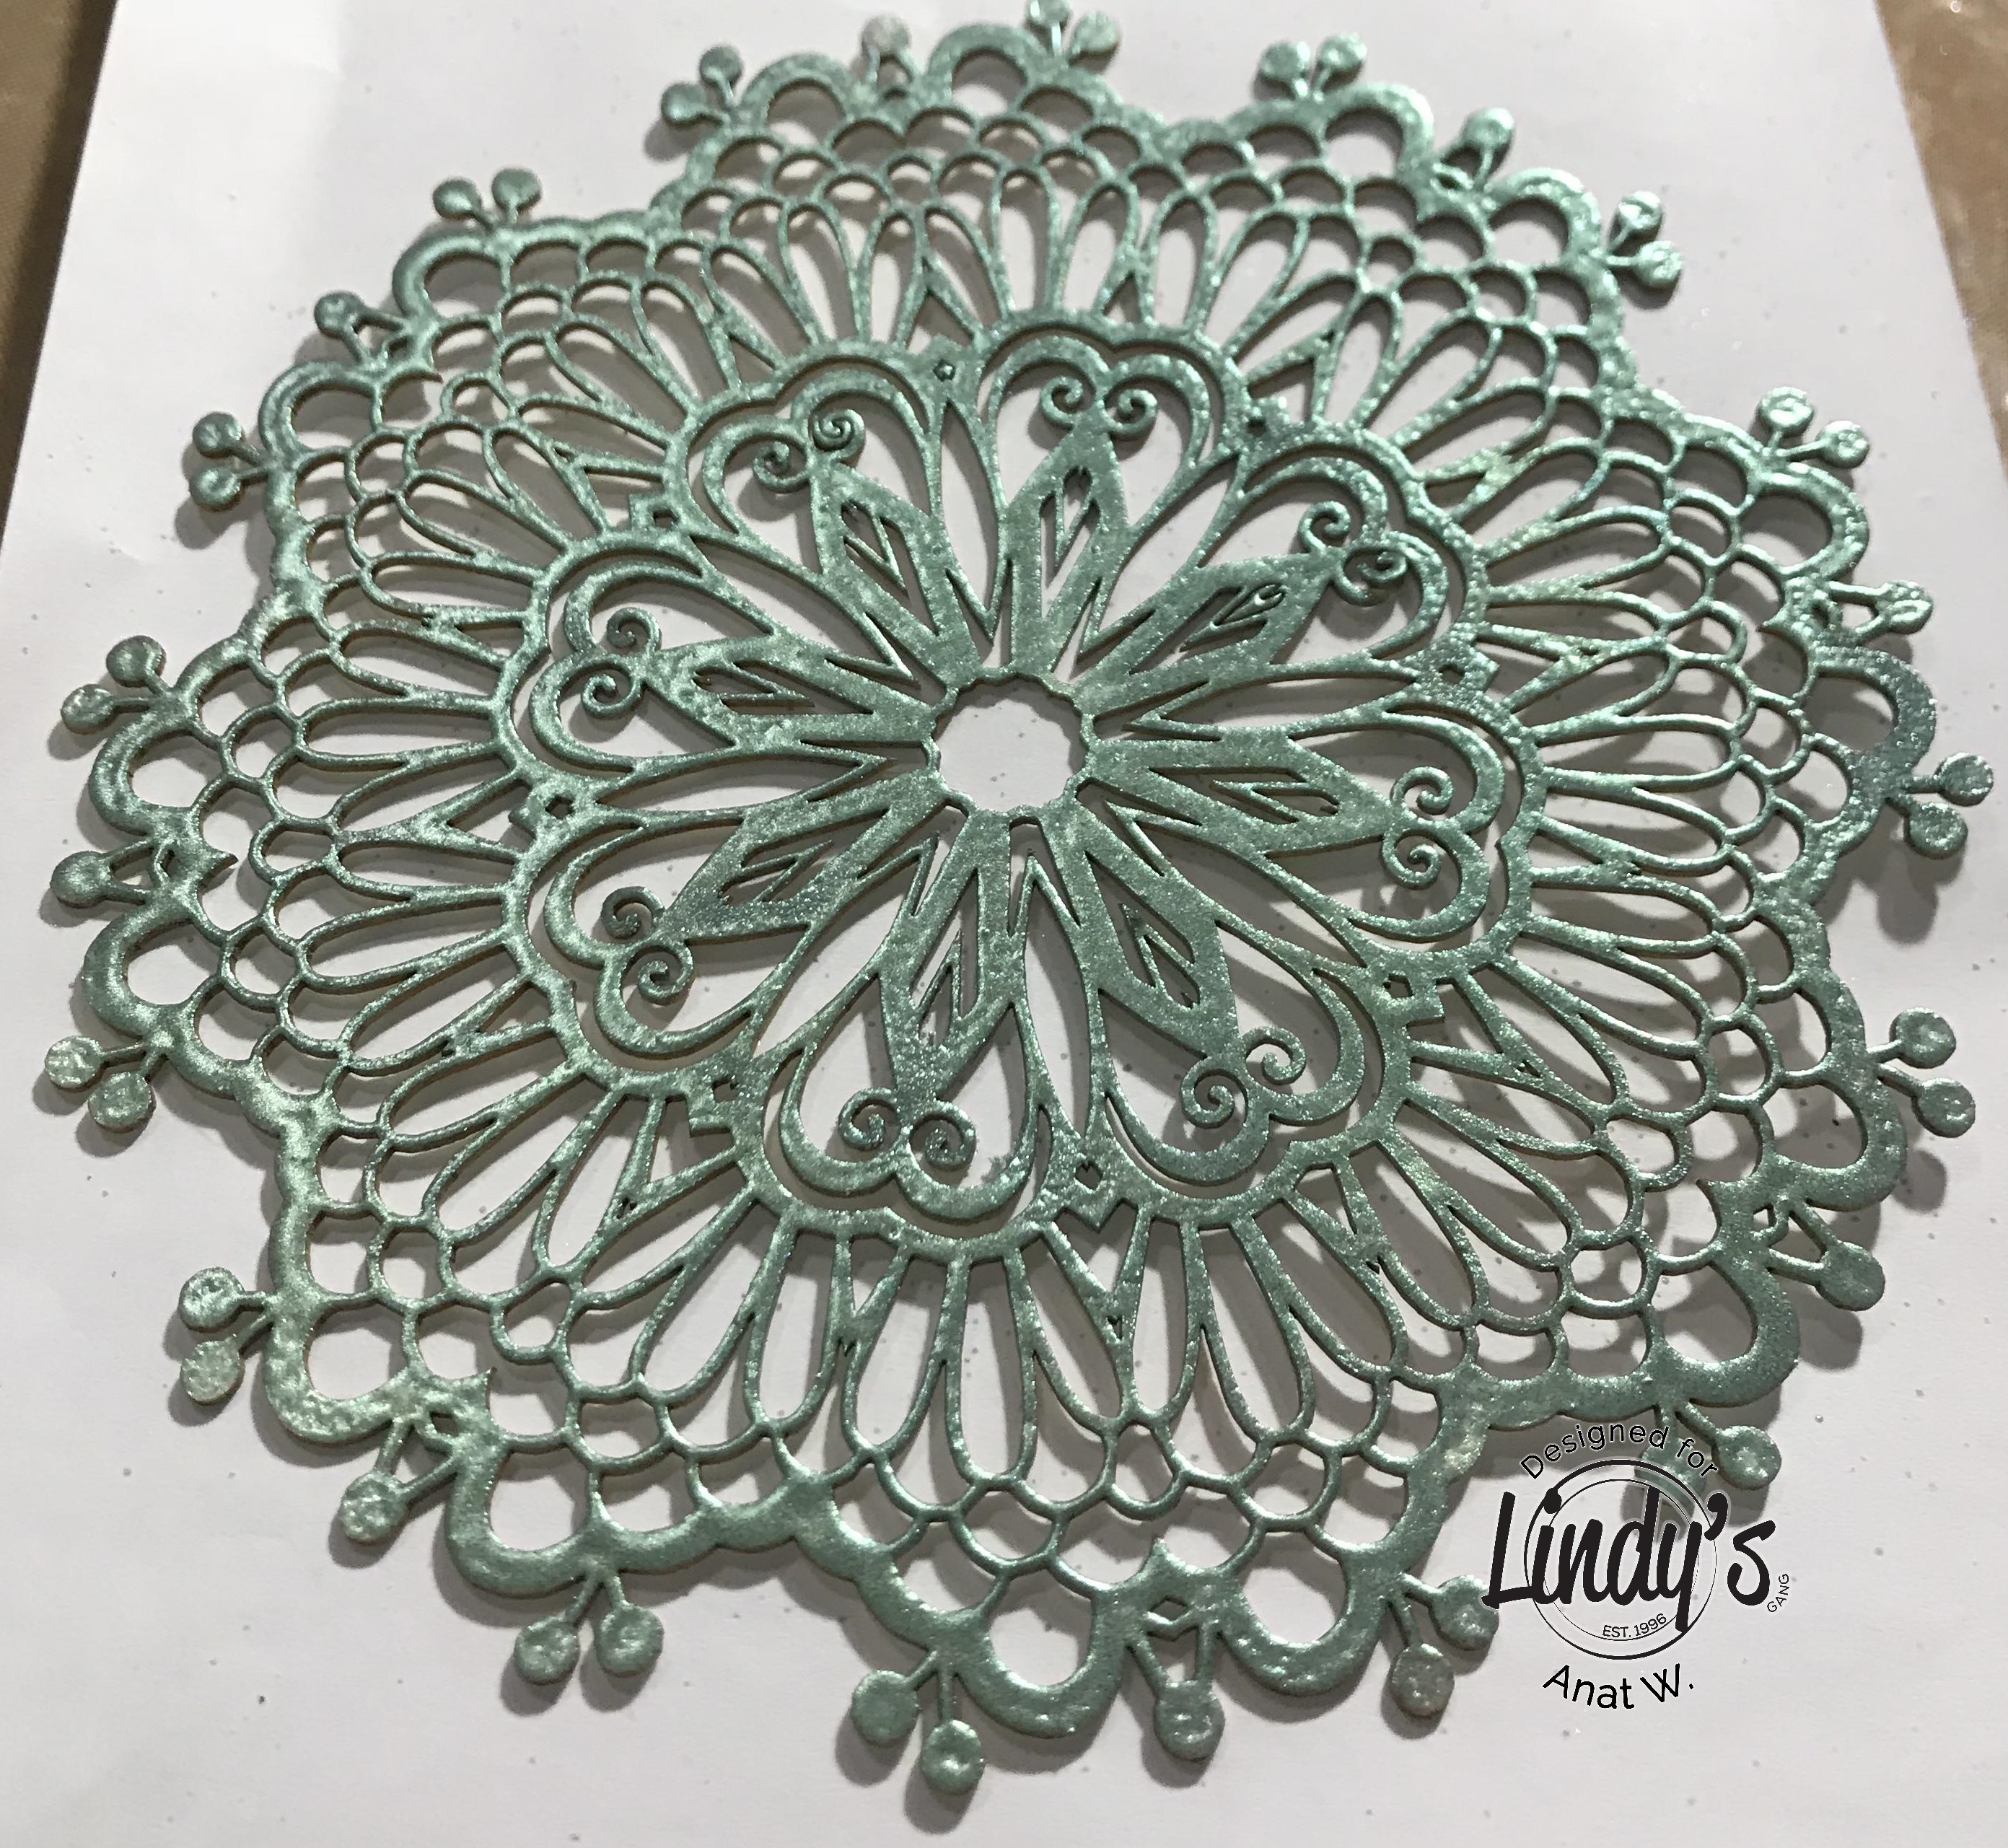
 I first covered the papers with Clear gesso, spread texture paste trough stencil and sprayed some of my favorite colors. nest step was to build the composition with images from the paper collection and  die cuts I made with studio75 papers and craft dies.


Hope it inspires you to make some for your own!


I used:


Thanks for stopping by!
xoxo

Nov 28, 2018

Beauty in Chaos - MM Layout - Step by Step For Lindys

Hi gorgeous gang!
 I’m back with a new step-by-step tutorial created for Lindy's.

This time I’d like to show you how to create this page Layout with Background and embellishments using some of the most beautiful Lindy’s sprays and embossing powders.


First I collected some mediums, sprays, embossing powders and elements that matches the Picture I have previously chosen.

Basic Process

So  join me in the Step by Step process:

First step is to give the page a generous layer of Clear Gesso. That's very important for protecting the paper.


Next spread modling paste through a stencil and before it dries quickly sprinkle gorgeous Caesa's gold EP


And, again before it dries, quickly sprinkle stunning fave Sassy Sapphire EP.
Heat emboss the 2 Embossing powders sprinkled.


Stamp with versa mark watermark ink and Black forest Black EP and heat it.
Add stamping with Black Archival ink.


Add splats of Grab a Guy Gold SprayJack in the pulpit teal Spray and Tainted love Teal Spray
Dry it with a heating tool.


That's how it looks now


Add more shimmer and color with a paint brush and California Poppy Gold Shimmer Spray and Jack in the pulpit teal Spray


Add splats on paper lace die-cuts some Tawny Turquoise Vintage Spray


Adhere it, using Gel Medium, to the background created in previous steps.


Let it dry and start adding colors to the embellishments:
Black forest Black EP to Lotus chipboards


Desert Moon Turquoise EP to a Chipboard doily, previously covered with white gesso.


Cover metal elements with 3 gorgeous Embossing powders: first Angel wings peacock EPImperial Crown Purple Gols EP and last Lapis Lazuli Blue Gold EP . Each EP just on part of the metal element, heating after each one.


Adhere a 3X3 inches thick cardboard on the background and start assembling all embellishments on top using gel medium. Begin with the paper die cuts and chipboards, add one more piece of cardboard. Add the picture on top.
Insert metal elements and cotton lace pieces. Wait until the cluster is completley dry.
Add some more splats of Jack in the pulpit teal Spray


Dry it and add matching Glass beads, Glitter and Glass glitter on the elements and background using soft gel.


Add a sentiment Sticker and that's it - The LO is ready!


So give it a go – the final result will be gorgeous!
Here are some extra photos so you can see all the details.


Lindy’s Products

Other

  • 7dots studio paper and word sticker, Cardboard, chipboard doily, chipboard lotus, Metal flowers, leaves and Butterfly, black archival ink, versa mark watermark ink, stamps, paper die cuts,  Amsterdam gel medium, Soft gel, modeling paste, clear gesso, Glass Beads, Glass Glitter and Glitter By Prima

I hope you’ve enjoyed this post and thank you so much for stopping by!


Nov 27, 2018

Steampunk New Year for Fantasy

Hello friends!
Here today to share my new creation for Fantasy - Steampunk Mixed Media Tags in Ornaments Balls shape for Christmas or New Year.


I cut this "balls" out of Acrylic sheet, spread copper crackle paste through a gears stencil and let the cracks form.
I cut many die-cuts with Stempunk and New Year Fantasy dies using gols and black paper.
Brushed a bit of metal wax on the die cuts and when assembled on the dry background.
Finally I added glitter and glass glitter.
I enjoyed very much creating it and hope I inspired you.

The dies I used:


I Have more photos to show you:


Thanks for stopping by
xoxo