
Hey gang!
Can't beleive wer'e already in December! And wow that's my last Step by Step for 2018.
For this busy days I've created a project you can make quickly to give it as a present or use as your home decor!
I have altered a formula baby metal tin using some of the most amazing Lindy's Sprays and Embossing powders. Upcycling is great for it's value for our world and also due to it's unexpensive expenses.

I gathered what I was going to use

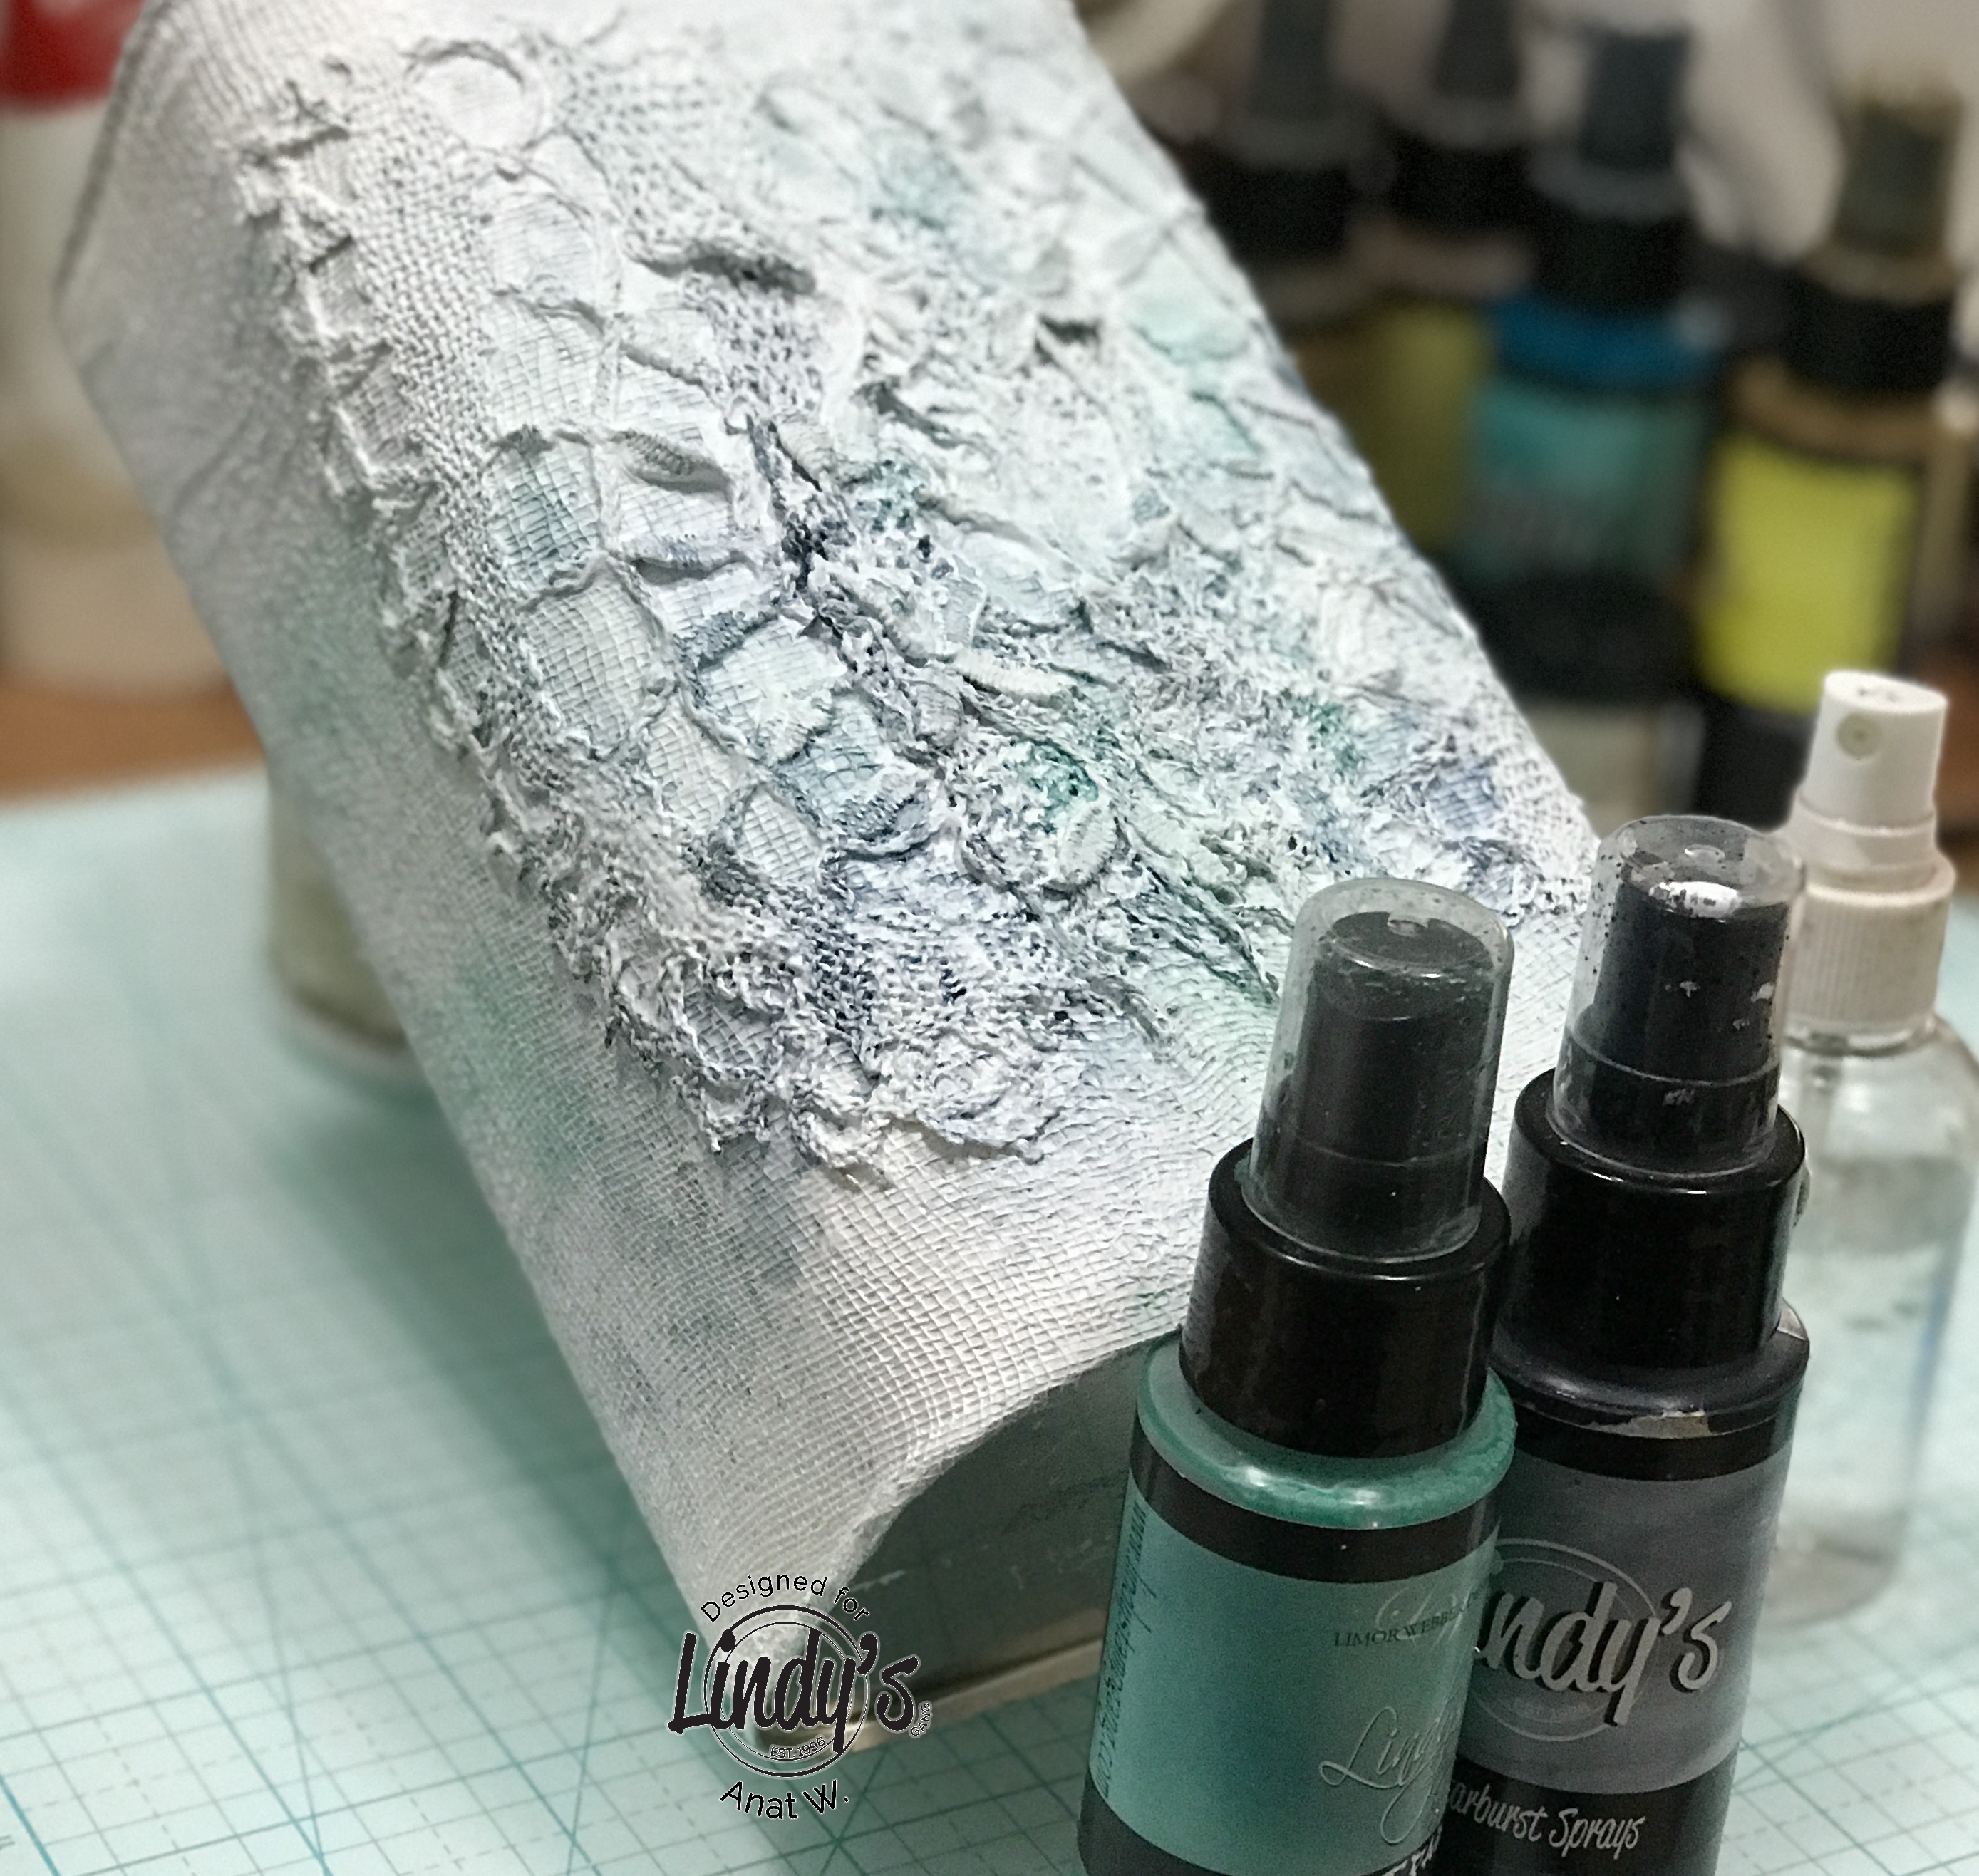
First step was to brush the tin with white gesso, adhere a cheese cloth to intire surface and brush on top a good layer of white gesso. For adhering the cheese cloth the white gessofunction is as glue and a primer.
In the center a piece of vintage lace was added the same way.

Now it is needed to start adding color, I added: Whale watch blue Spray and C'est la vie Cerise Spray
I wanted to reach a light shades and to get this effect I sprayed some water and moved it around.
You can dry it with a heat gon or let it dry and work on the embellishments.
I gave all embelishments a coat of white gesso.

I heat embossed some of the chipboards with Reindeer moss green EP.

And others with Purely white EP.

I color the small metal frame with: Golden sleigh bells Spray, Sassy sapphire Spray and Treasure sland aqua Spray

And my favorite tecnique to color clay prints is to spray them with Medieval gold Spray

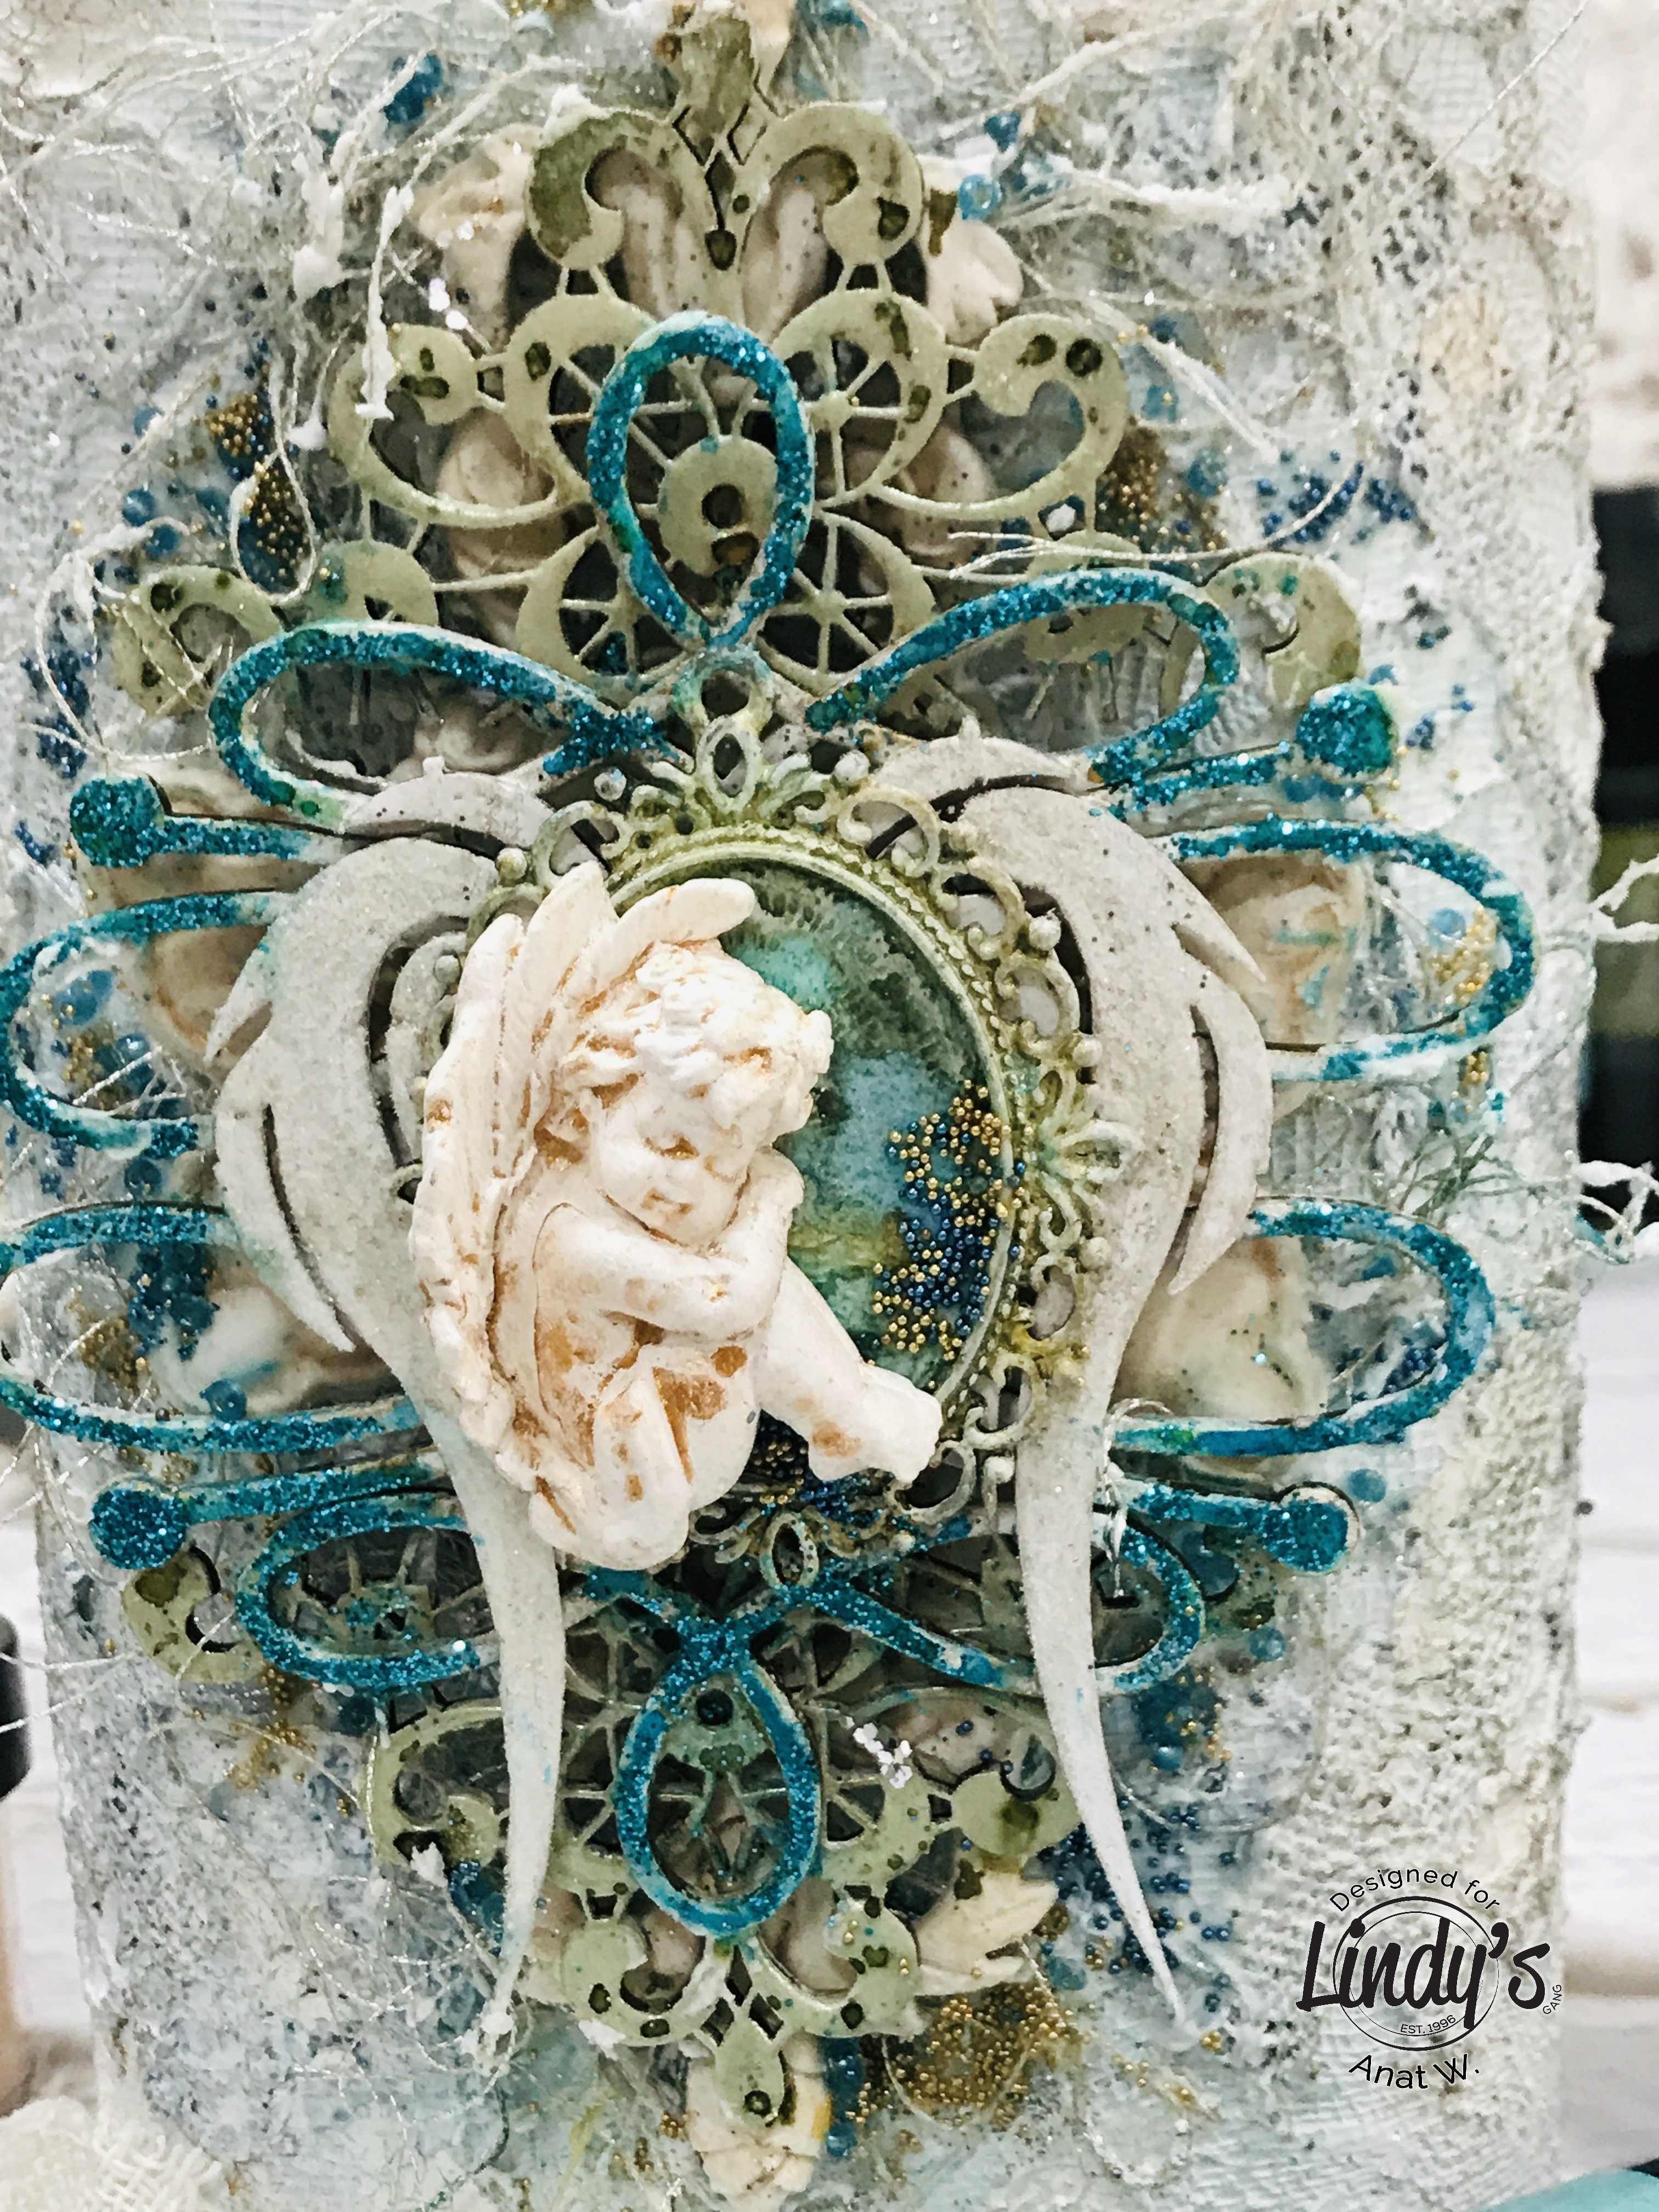
Now that every thing is colored and dry It's time to adhere all embellishments in the center of the tin.
When this was dry (I like to give it a night to dry) I added to the surface a bit of Medieval gold Spray with water only to make it less white and a lot shimmery. I Added teal glitter on some of the chipboards, white glitter on others and silver glitter around the cluster. I also addes gold and blue micro beads.

Let it dry and the piece is ready!
Here are some close-ups:


Lindy’s Products:
- Starbursts: Whale Watch Blue, Golden sleigh bells Spray, Sassy sapphire Spray and C'est la vie Cerise Spray
- Moon shadow: Treasure sland aqua Spray
- Glitz Spritz: Medieval gold Spray
- EPs: Purely White, and Reindeer moss green EP
- Finnabair White gesso and Heavy body gel, Dusty Attic chipboards, different toppings – microbeads, glitter and more.
Hope you’ve enjoyed this post!
Thank you for stopping by!
xoxo,
No comments:
Post a Comment