Showing posts with label technique. Show all posts

Aug 25, 2020

Lindy's Technique - Resist Backgrounds - 4 Mixed Media Tags

Hey Gang!
It’s Anat here with an easy tutorial creating a couple of Mixed Media Tags. In this tutorial I will show you 2 resist techniques with Lindy's Stamp Gang. The first Technique is Lindy's Squirts over texture paste – Black and White Backgrounds. The second Technique is Lindy's Sprays over Embossed design – Black and White Backgrounds.
All Tags have a minimal decoration composition - the background do all job of embellishing.


Basic Process

Watch the Tags step by step video here:


Here are the Tags before adding embellishments:


See also the ready tags and close-ups:


Lindy’s Products

Other products
  • Finnabair White heavy Gesso, Finnabair Black Gesso, Versamark embossing pad , Carabelle Stamp, Dusty Attic Lace Stencil

Thanks for stopping by!
xoxo

Jul 24, 2019

Bricks background with Lindy's - step by step

Hey gang!
Anat here and for today's post I’m going to show you how to make a bricks background for all sort of project.


Basic steps:

  1. I Primed the MDF heart with White gesso
  2. For the background color, mix in White gesso: Pretty in Pink Pink, Cowabunga Copper and Bodacious Blush Lindy’s magicals
  3. Add color to the paper die cut: Bodacious Blush, Cotton Candy Pink and Black Orchid Silver Lindy’s sprays
  4. I adhered bricks paper die cuts for the background
  5. Colored it with Lindy's: Cowabunga Copper magical, Aged Copper shaker and Black Orchid Silver Spray
  6. I embossed the chipboard embellishments with Lindy's Gilded Burgundy Brass EP
  7. Added to the chipboard Raspberry Lemonade Lindy’s EP
  8. Now that background and chipboards are ready it's time to assemble all together
  9. Enjoy the process!!
Watch the process here:


Lindy's products:

Other products:

  • White Heavy Gesso, Dusty Attic's Chipboards, Ciao Bella images, Art Stones, Fantasy die

Thanks for stopping by!
xoxo

Apr 29, 2019

Step by Step Mixed Media project with a patina technique

Hey friends!
 I’m so excited to be here with another step by step tutorial.
Today I’m going to show you how I made my project for the color Chanllenge of this month - April.
You wiil see how to create this Mixed Media project with a patina technique using gorgeous magicals and shakers.


Basic Process

  1. Prime the MDF base with white heavy Gesso
  2. Mix 3D Gloss Gel with: Aged Copper Shaker. Cover the base with the mixture.
  3. Take a Candle and rub it on the painted base
  4. Mix white heavy Gesso with: Mad hatter mint Green and Whale watch Blue Magicals. Cover the base with the mixture.
    Let it dry naturally! Don't use a heating gun! it will melt the candle
  5. Use fine sandpaper to sand the base randomly, imitating peeled paint.
  6. Mix Platinium Crackle Paste with: Mad hatter mint Green and Whale watch Blue Magicals
  7. Spread the mixture through a stencil
  8. Color chipboard elements with: Sunset Yellow Orange Embossing Powder
  9. Add to the chipboard elements: Geranium Coral Blush Embossing Powder
  10. Add to the chipboard Wings: Desert Moon Turquoise Embossing Powder
  11. Add White Crackle Paste
  12. Start building the composition using the main Image, embossed Chipboards and paper Flowers.
  13. Add to the project a mixture of 3D Gel and Art Stones.
  14. Color paper flowers and elements with Cape cod Coral Magical diluted with water
  15. Add Splats of Glory of the seas Gold Spray
  16. Color paper flowers and elements with Mad hatter mint Green Magical diluted with water
  17. Add to the elements White Heavy Gesso
  18. Add to the project Gold Glass Glitter
You can watch the video tutorial here:


Here are some more photos:


Lindy's Products

Magicals: Mad hatter mint Green, Whale watch Blue, Cape cod Coral
Shaker: Aged Copper 
Starburst Spray: Glory of the seas Gold
Embossing Powder: Sunset Yellow Orange, Geranium Coral Blush, Desert Moon Turquoise

Other products

Woddouts cloud MDF base, Prima's paper flowers,  Finnabair's: white heavy Gesso, white crackle paste, 3D gel, Soft Gel, Gold Glass Glitter, chipboards, paper die-cuts, candle, printed image

Hope I inspired to give this technique a try!

Thanks for stopping by!!
xoxo


Feb 4, 2019

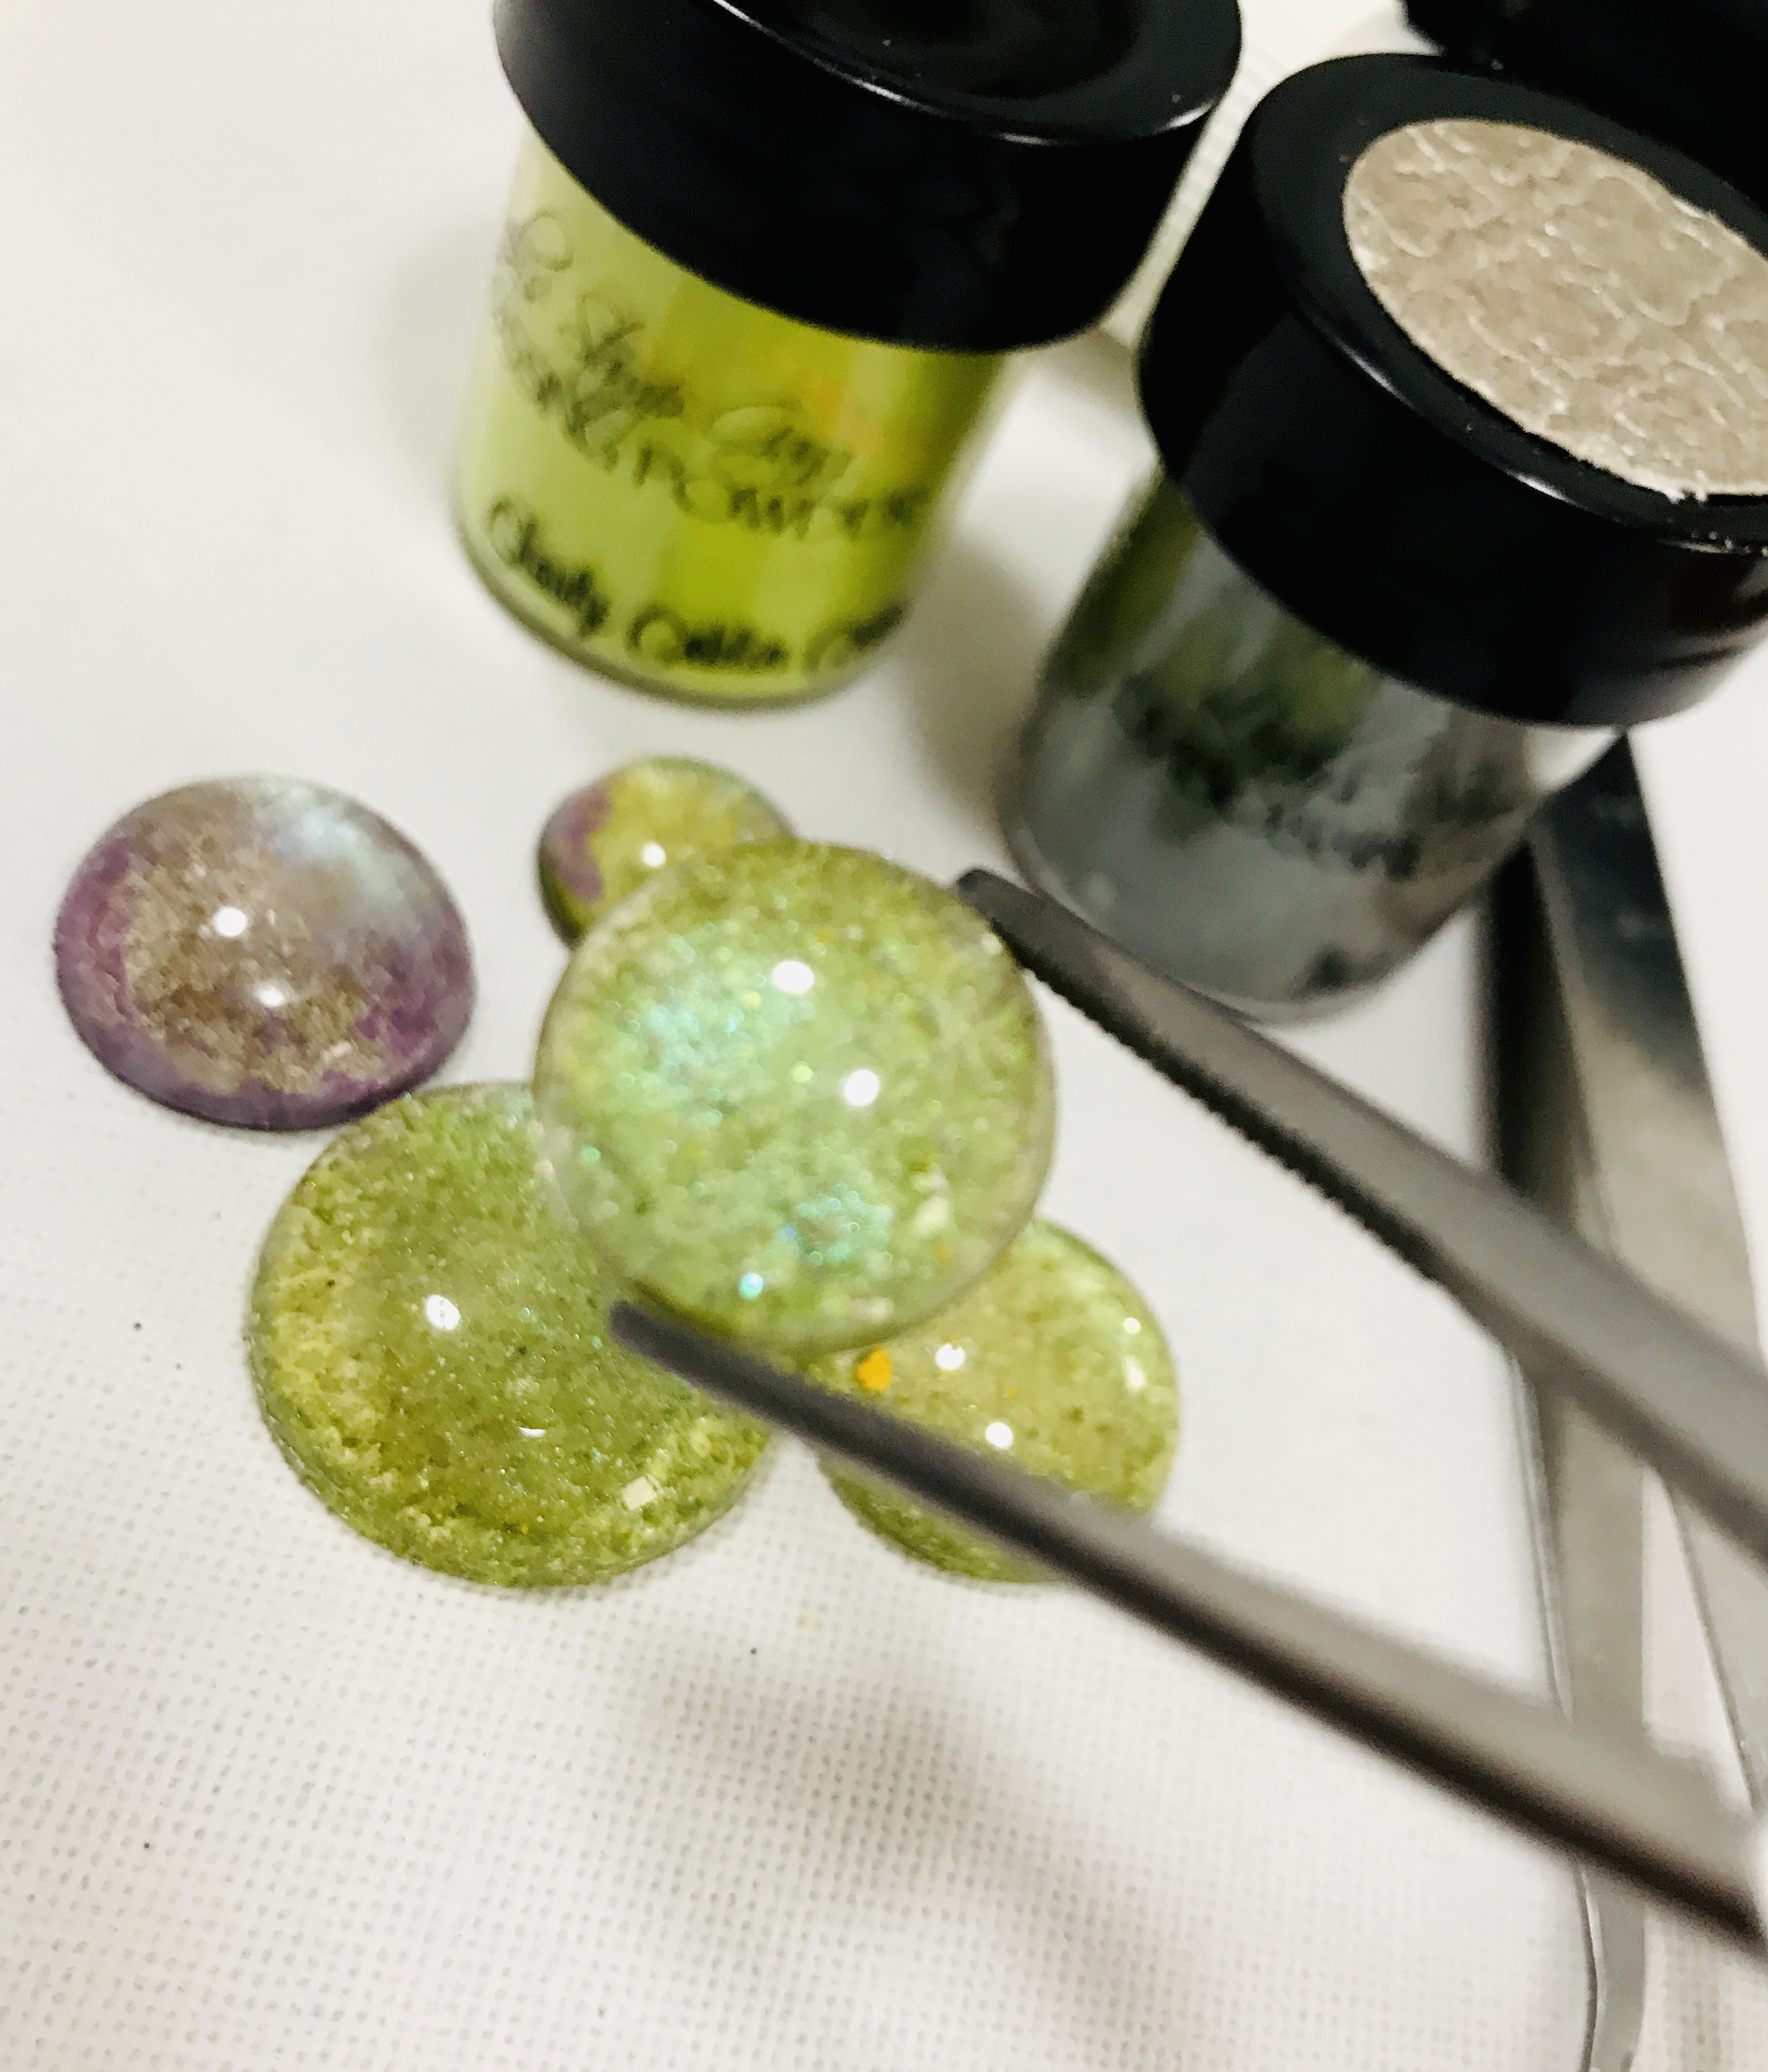
Video tutorial - How to Creat amazing Gems using Lindy's Embossing Powders

Hello dear  friends!
Here with you today to share my first video tutorial for Lindy's - Yay!
the video is a Lindy's technique: How to Creat amazing Gems using Lindy's Embossing Powders


In this tutorial I'm showing how to make the amazing gems I used in the project below, made for Lindy's January Challenge.


Lindy's embossing powders are two-toned powders and that's what gives the gems the unique Chameleon Bright and Shimmering look.
Some of Lindy's EP are transparent so if you use one on top of the other, like I did, you get more tones!
And you still can see underneath. You can see in the next photo the gems not only have the tones atributed by the embossing powder but also reflect the grungy colors of the spray on the project.


This give us the possibility to make a bunch in advance and use the same Gems in different project styles.

What you need is:  a good embossing pad or dabber, some pebbles and at least two of Lindy's Embossing Powders.

Link to process video: 


Lindy’s Products

As promissed in the video here's a list of the best EPs for this technique:
Hope you’ve enjoyed my video tutorial.
Thank you for stopping by!
xoxo