Showing posts with label sprays. Show all posts

Jun 1, 2018

Colorful Notebook for Lindys challenge

Hello dears,
The first day of every month some of the best Challenges starts, one of them is Lindy's.
For the DT inspirational project, I made this Notebook cover and had so much fun!!

Hope you like it!


This month the Color combo is so colorful and joyful I'm sure you won't resist it!

So, come and play along with us. Please todn't forget to read the rules carefully!

Nenhum texto alternativo automático disponível.

June challenge colors - 
Spray or Magical and EP
- Bells of Ireland Green /Ghouly Goblin Green
- Peony Scarlet Red /Pumpkin Fiesta
- Yellow Rose of Texas/ Sunset Yellow Orange
- Raspberry Lemonade/ Raspberry Lemonade
- Aloha Avocado / Orbit Olive
** COLOR OF THE MONTH Aloha Avocado ** - See in the store ))


Waiting for your entry!
Thanks for stopping by xoxo

May 24, 2018

Homedecor clock for Scrapiniec

Hello dears, 
Back today with a new DT inspirational project for amazing Scrapiniec. 
This time I'm sharing a Homedecor clock I've created as I needed one at my house.
Hope you like it and be inspired to make one for your own!


I took the gorgeous  Park Avenue Shadowbox, there are 2 sizes you can choose between, in this project I used the 15x15.
In the background I adhered a cardstock.

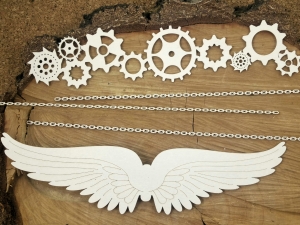
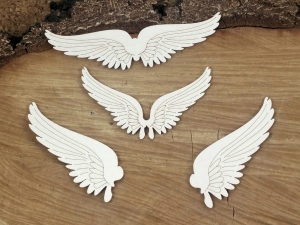
I also used the clock  from the same collection,  wings and Chain & cogs from the  Steampunk collection.


Thanks & hugs
xoxo

May 15, 2018

My Canvas for Fantasy - my new Design Team

Hello dears!
So excited  to announce today my new Design Team - Fantasy.


My first project is a Canvas with my photo using many  paper die-cuts made with Fantasy dies, exactly how I like it!


You can use Fantasy die-cuts in many ways not only as an embellishment.
We don't have to always use texture paste for the background. Here  I made the Background with one of my favorites dies. 

Hope you like it!


Thanks for stopping by xoxo

I used:


May 7, 2018

Shadow frame for Scrapiniec

Hello dears!
Here  today to show you a "shadow frame" I've created for Scrapiniec with a nostalgic photo of my Mother's youth.


In this project I used chipboards from 2 collections I love very much: Fantasma In the background and Doily Lace for the photo frame.

First I spread texture paste and crackel paste to give my project more texture.
Than I glued the background Chipboards and after it dried I colored it with 2 Shimmer sprays I use a lot, gave it a dry brush with white gold wax and white gesso.
The chipboard frame was colored the same way.

Hope you like it


Have a lovely day xoxo


I used:


May 2, 2018

Create and Inspire for Lindys

Hey dears,

I enjoyed so much creating with the new color combo of  Lindy's May challenge, I'm sure you'll do as well! It is so Bright and refreshing!

Nenhum texto alternativo automático disponível.


I wanted to feature how those colors match together so I've created  a Frame using almost all Sprays and Embossing Powders (list in the end of the post). 
First I made some stamping with Black Archival ink on a 300 g watercolor paper, than splashed with : Guten Tag Teal Shaker, Magnolia Magenta Gold Shaker and Spray, California Poppy Gold Spray.
I painted the Chipboard feather with White gesso and after it was dry colored it with: Guten Tag Teal Shaker, Magnolia Magenta Gold Shaker and California Poppy Gold Shaker.
I painted a wooden frame with white gesso, spread a little bit of white crackle paste and colored it with Guten Tag Teal Shaker.
Stamped and embossed 3 frames with:  Aurora Emethyst EP,  Poppin' Pink EP and  Sunset Yellow Orange EP.
Colored some paper die-cuts with California Poppy Gold Spray and others with  Hibiscus Rose and French Lilac Violet Sprays .
I embossed the "Create&Inspire" chipboard with Venus Violet Blue EP
Final step was to assemble everything together.

Some more photos:


Hope I've inspired you
xoxo

I used:


Apr 30, 2018

Clock Canvas for Lindys

Hello dears!
Sharing today a new Step by Step tutorial made for Lindy's Stamp Gang.
The Step by Step will guide you to create a Canvas where the background has a very important role and the elements on top will only complement it differntley from the projects you choose a Background to match the composition which will take place above it.


Let's start:


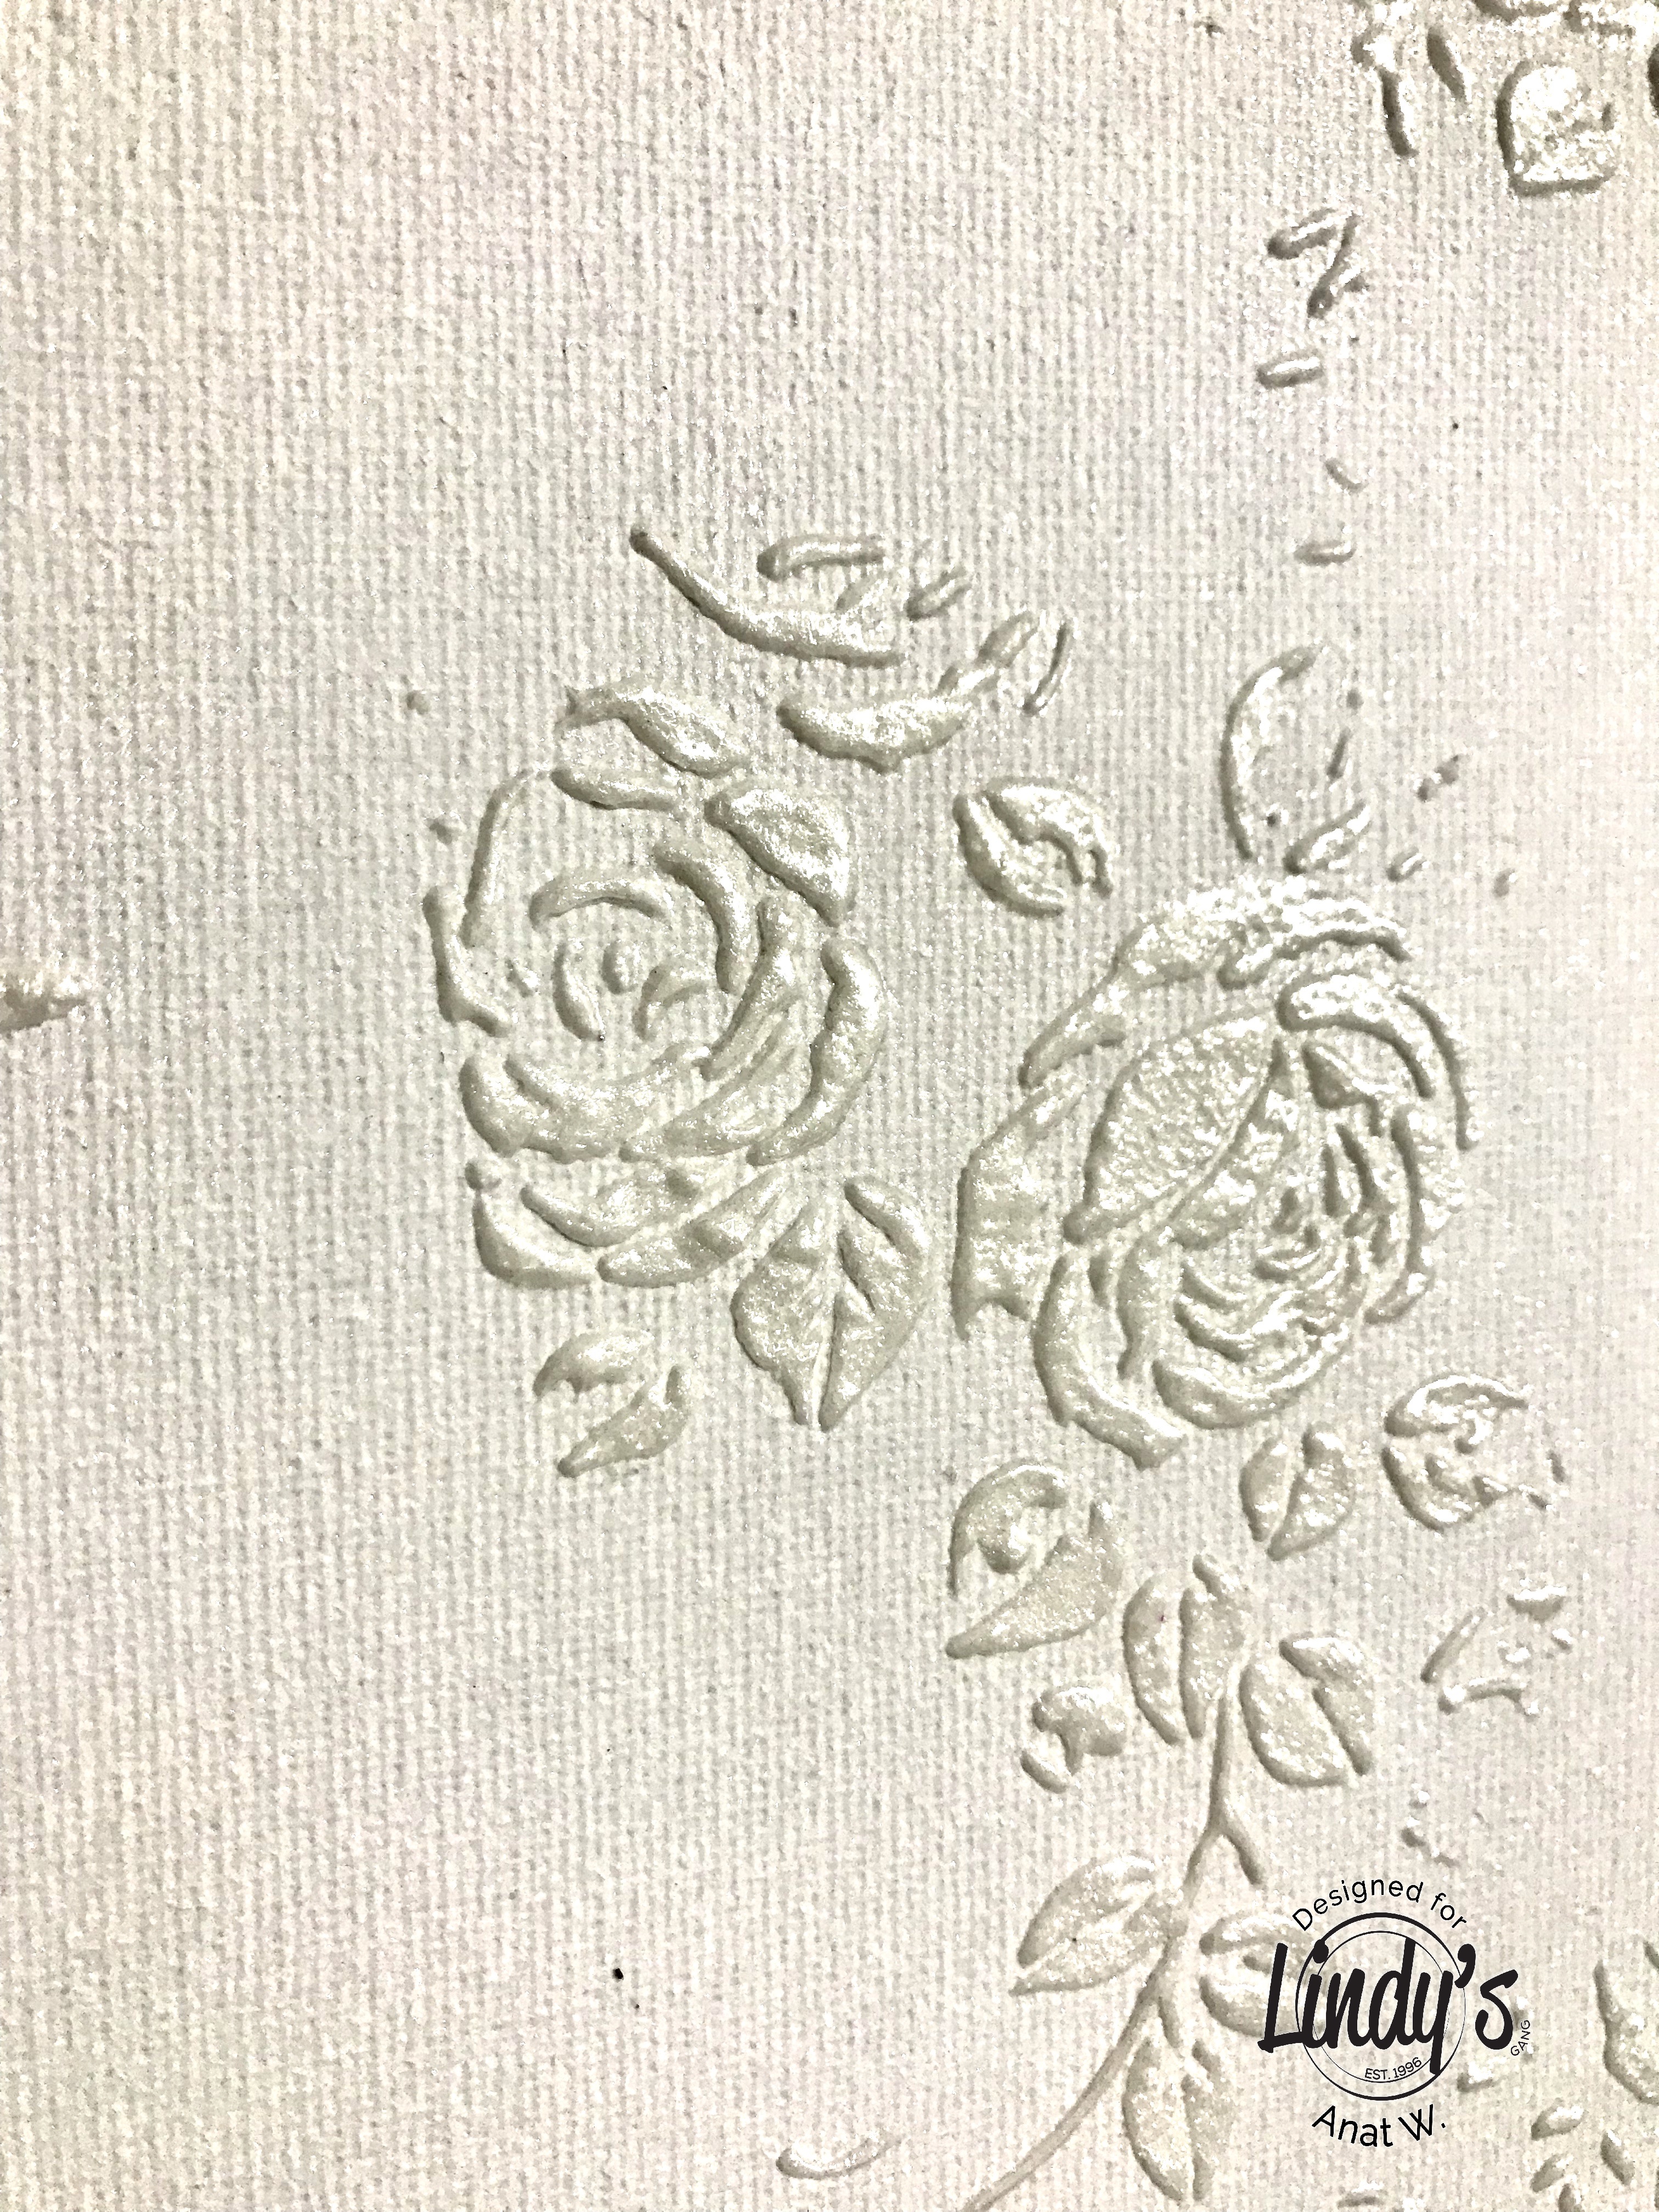
 First step: spread modeling paste through a stencil and before it is dry add Magic Moon Pearls EP and heat emboss it.


zoom:look how amazing it is


Adding color to all canvas with Guten tag teal Shaker and water. Sparkle on top some of the magical Shaker and add spritz of water. Play with the intensity of the color with the amount of water you're adding, acording to the tone you wish to acheive.


That's how it turned out...

*  Next step is: spread white crackle paste through a stencil (different from the first one), somehow this photo disappeared.

Make some stamping with Archival ink.


Add color with Yellow Rose of Texas and Alpine Ice Rose Sprays


That's how it looks

Look at the gorgeous Shimmer


Add white splashes with Sidewalk Chalk Flat Fabio Spray

 
Color the Chipboard Clock with Midnight Ruby EP


Add gold Splashes with Yellow Rose of Texas and Grub a Guy Gold Sparys. Add a glitter Brad to hold the clock hands.


I love the effect of the sprays on top of the EP!


Color some paper die-cuts with Grab a Guy Gold.

Add piece of crochet and glue the Clock on top, add some flowers, metal elements, lace flowers with Heavy body gel.


In order to bring every thing together we need to add some splashes on top of the Embellishments, especially the white ones. I used Alpine Ice Rose, Incandescent Copper and Frozen Jack Frost Sprays
Last step: add a sentiment
.


Lindys Products

Other Products
  • Canvas, Chipboard Clock, Embossing ink dubber, stamps, lace and crochet pieces, flowers, heavy body gel, modeling paste, White Crackle Paste, glitter brad, metal embellishments, paper die-cuts.
Hope you enjoyed the tutorial.
Thanks for stopping by xoxo