Showing posts with label embossing powder. Show all posts

May 30, 2018

Shabby Box Step by step for Lindys

Hey Gang!
A few months ago I made a Shabby Box, many crafters asked me to prepare a turorial for explaining how I made it, so here it is Step by Step.


First you need to prime the wooden box with white gesso.
Next spread graphite texture paste through a stencil.


Dry Brush with white gesso and spread some white crackle paste.
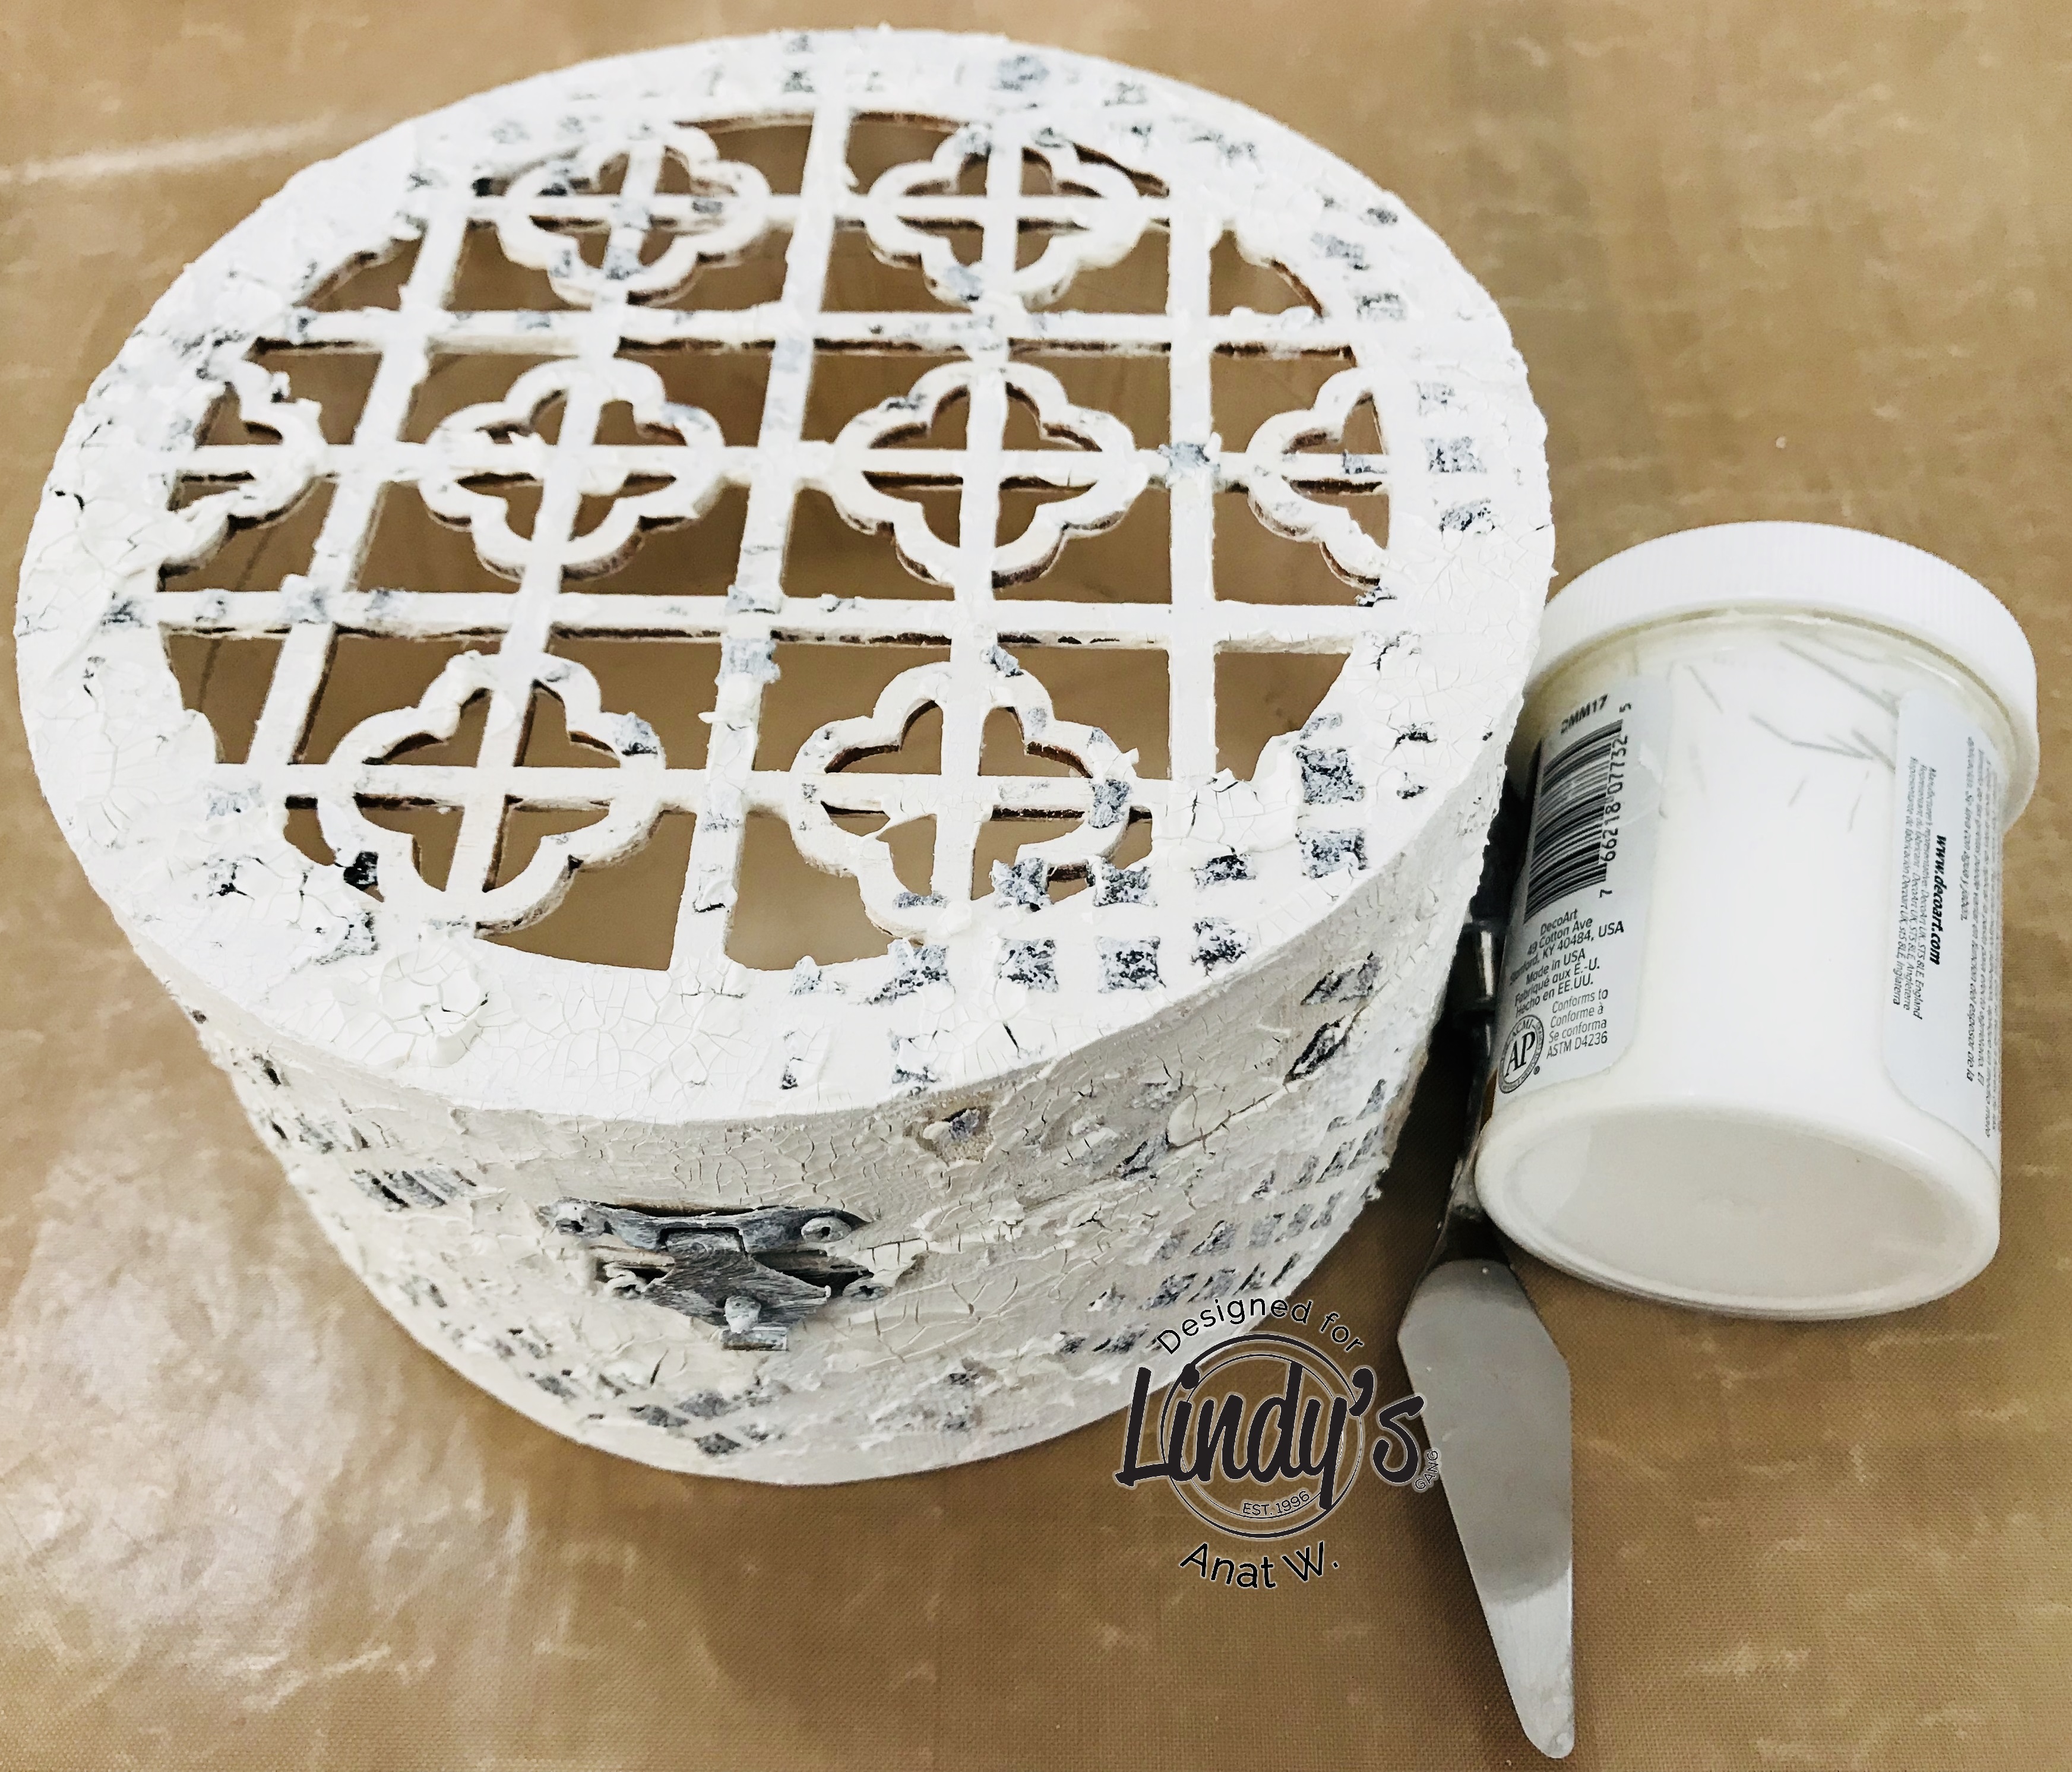

After the cracks appear the fun part starts: color the Box with Time Travel Teal and Cowabunga Copper Magical Shakers, diluated with a bit of water.


To get a Shabby and even look dry brush using white gesso. 


Time to decorate the lid with your favorite shabby embellishments.
I hot embossed a few Chibpoards with Imperial crown purple gold EP and Desert Moon Copper Teal EP .


As soon as everything is glued and dry, add splashes of Time Travel Teal and Cowabanga Copper Shimmer Sprays


To get a softer look add to the embellishments Spalshes of Frozen Jack Frost Magical Shaker diluated with water


Almost done... add glitter here and there and Voila!


Hope you like it! 

Lindy’s Products

Other products
  • Decoart White Crackler texture paste, Finnabair White heavy gesso, Prima Marketing flowers, metal embellishments and stencil, Scrapiniec Chipboards
Thank you so much for your attention! xoxo
Have a wonderful day,

Apr 30, 2018

Clock Canvas for Lindys

Hello dears!
Sharing today a new Step by Step tutorial made for Lindy's Stamp Gang.
The Step by Step will guide you to create a Canvas where the background has a very important role and the elements on top will only complement it differntley from the projects you choose a Background to match the composition which will take place above it.


Let's start:


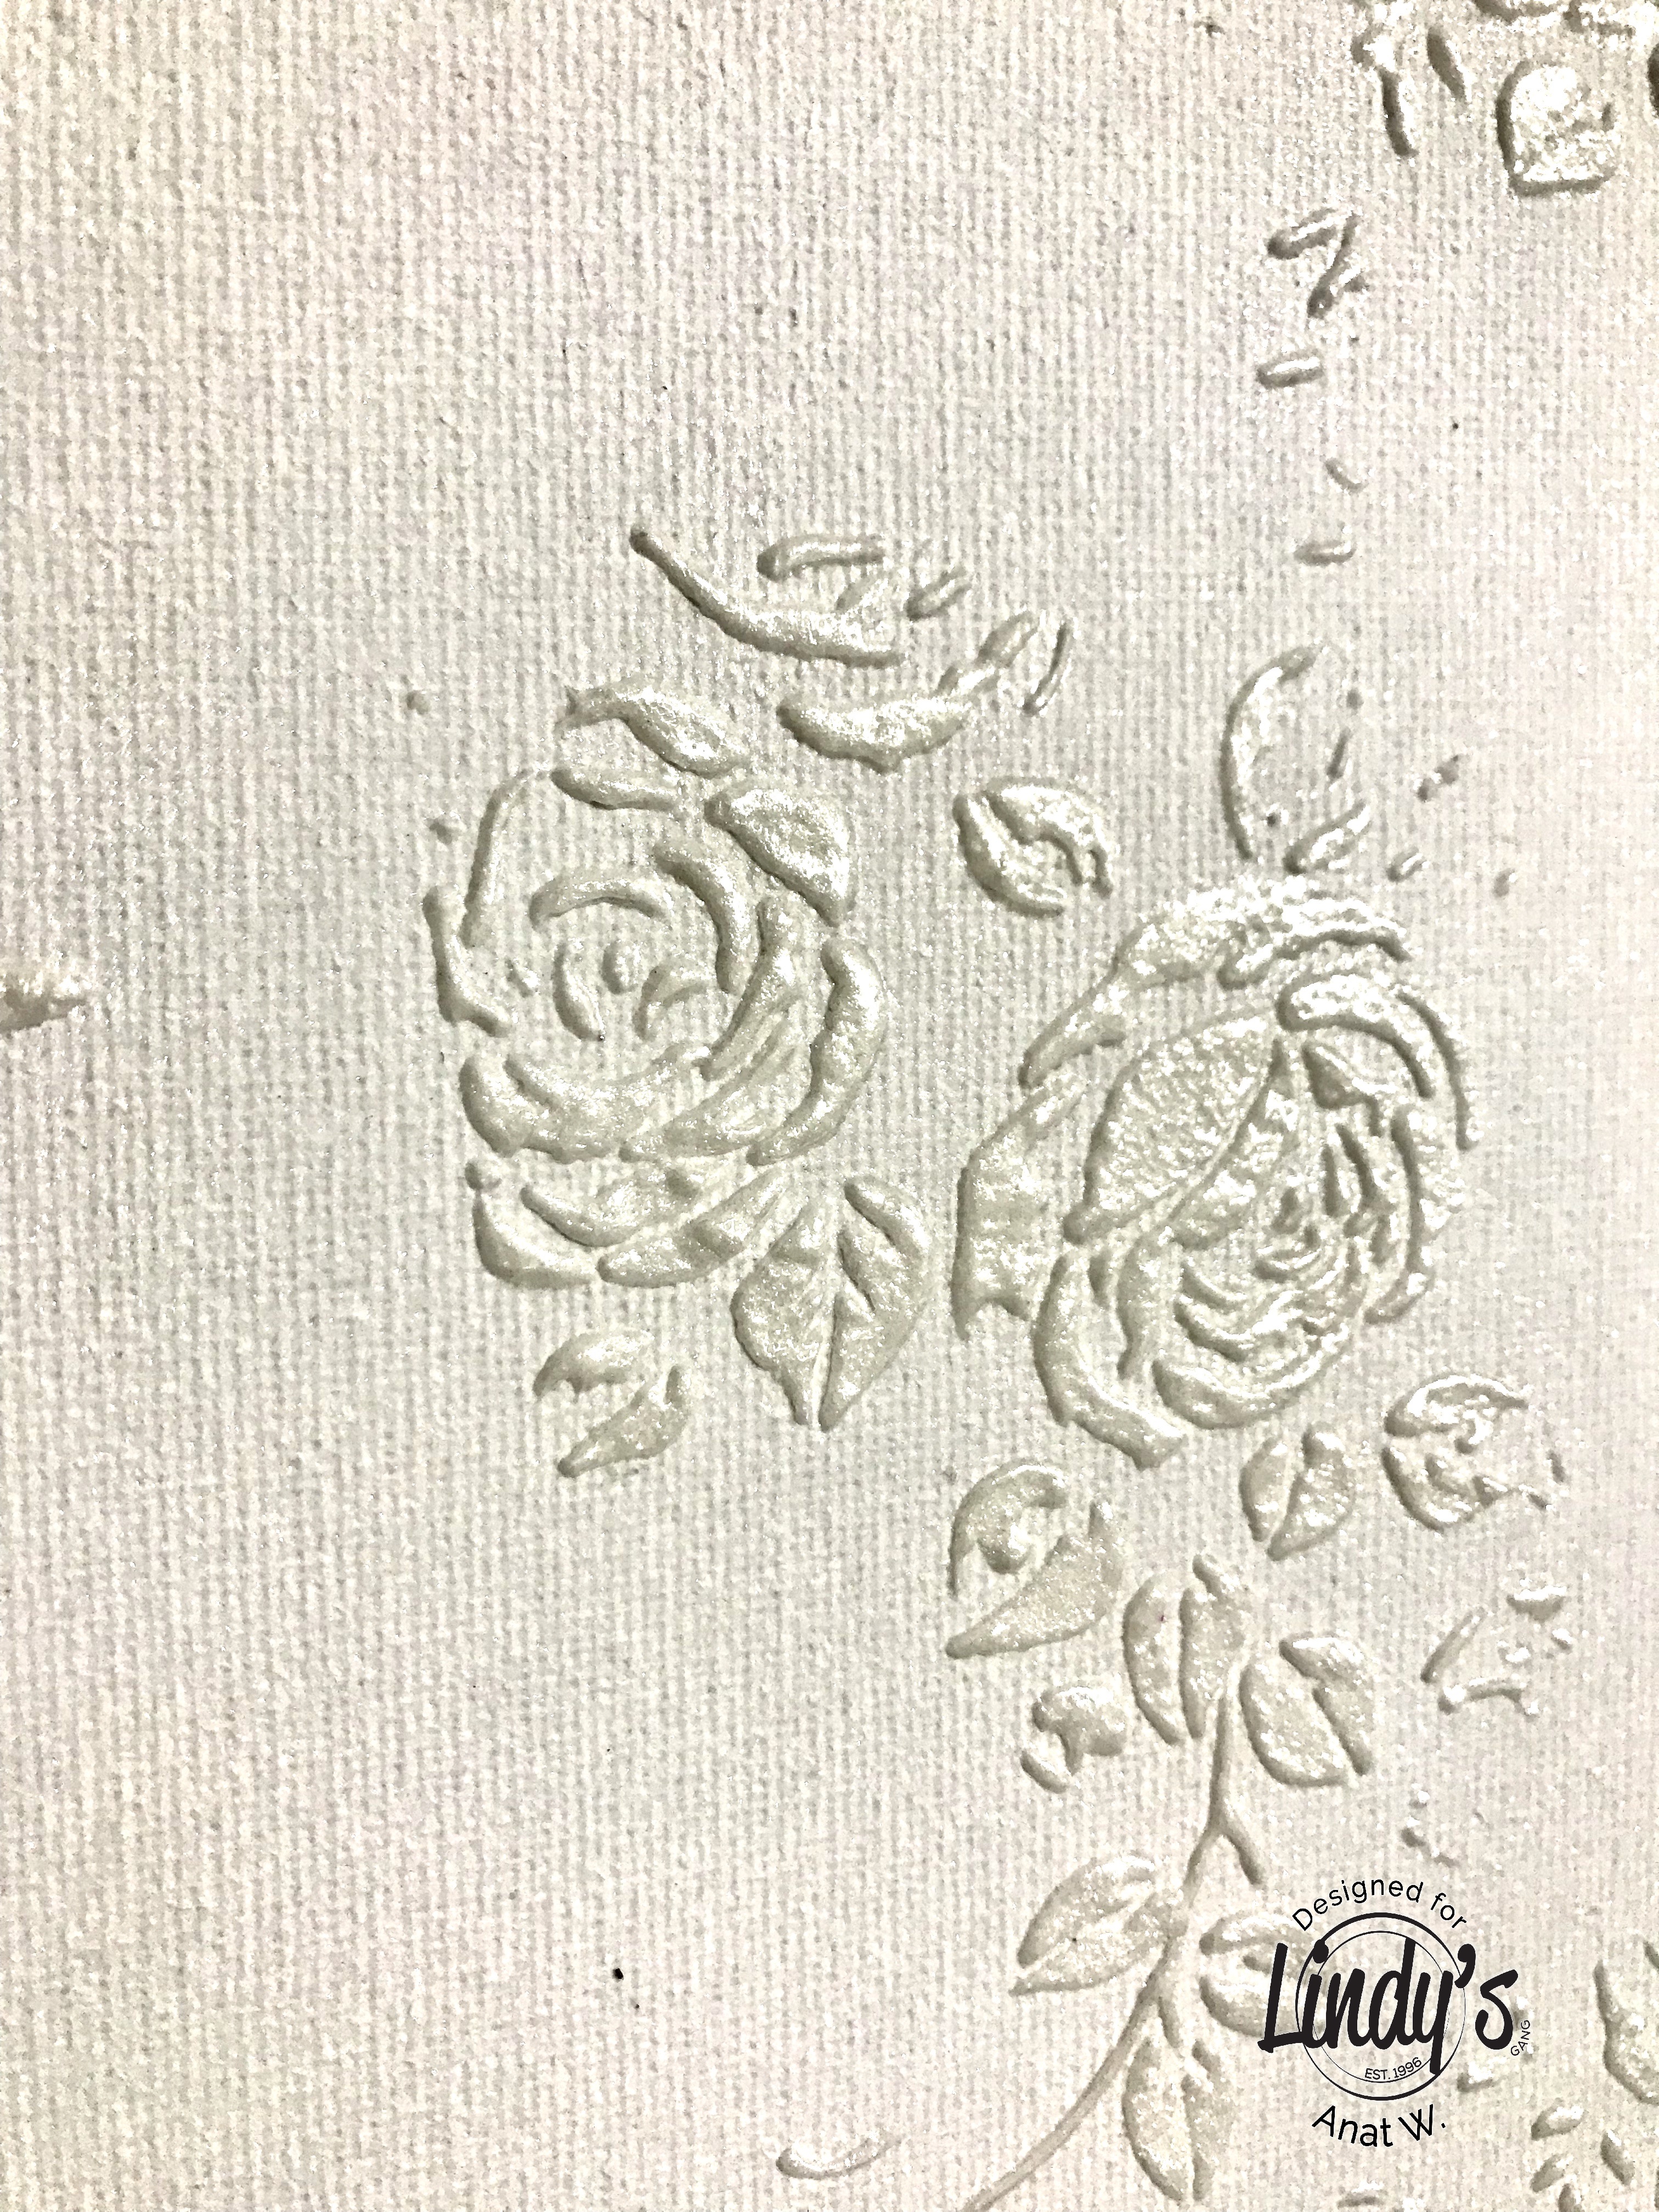
 First step: spread modeling paste through a stencil and before it is dry add Magic Moon Pearls EP and heat emboss it.


zoom:look how amazing it is


Adding color to all canvas with Guten tag teal Shaker and water. Sparkle on top some of the magical Shaker and add spritz of water. Play with the intensity of the color with the amount of water you're adding, acording to the tone you wish to acheive.


That's how it turned out...

*  Next step is: spread white crackle paste through a stencil (different from the first one), somehow this photo disappeared.

Make some stamping with Archival ink.


Add color with Yellow Rose of Texas and Alpine Ice Rose Sprays


That's how it looks

Look at the gorgeous Shimmer


Add white splashes with Sidewalk Chalk Flat Fabio Spray

 
Color the Chipboard Clock with Midnight Ruby EP


Add gold Splashes with Yellow Rose of Texas and Grub a Guy Gold Sparys. Add a glitter Brad to hold the clock hands.


I love the effect of the sprays on top of the EP!


Color some paper die-cuts with Grab a Guy Gold.

Add piece of crochet and glue the Clock on top, add some flowers, metal elements, lace flowers with Heavy body gel.


In order to bring every thing together we need to add some splashes on top of the Embellishments, especially the white ones. I used Alpine Ice Rose, Incandescent Copper and Frozen Jack Frost Sprays
Last step: add a sentiment
.


Lindys Products

Other Products
  • Canvas, Chipboard Clock, Embossing ink dubber, stamps, lace and crochet pieces, flowers, heavy body gel, modeling paste, White Crackle Paste, glitter brad, metal embellishments, paper die-cuts.
Hope you enjoyed the tutorial.
Thanks for stopping by xoxo

Apr 24, 2018

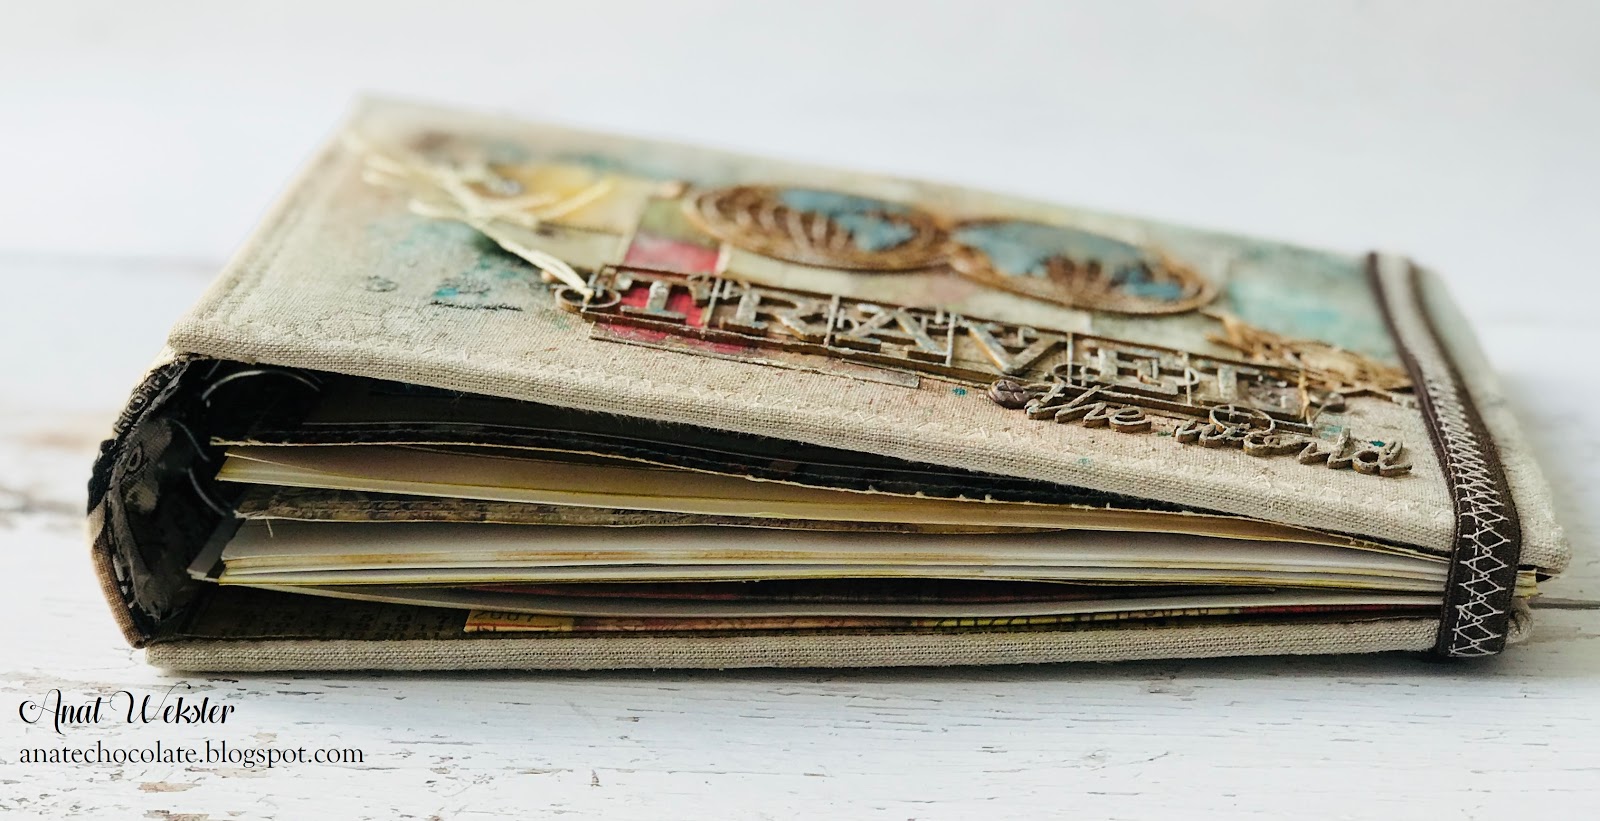
Travel book for Scrapiniec

Hello dears!
Here today to share with you my new project for Scrapiniec - a Travel Book.


When I received the Chipboards from the Travel the World collection I knew Immediately I want to create a book that have lots of pages to write on and others for Photos and pockets to keep notes, cards etc.


Here are some more photos, hope you'll like it


xoxo


I used:

IMG_4417_wm.png

IMG_4418_wm.png

IMG_4415_wm.png
IMG_4414_wm.png


Apr 19, 2018

Follow your dreams LO for Studio75

Hello dears!
I just can't stop creating with the Studio75 Cherry Blossom collection. I love it!!
This time I created a Page Layout with a photo I like very much.


I decided to use the cherry blossom 03 paper to build the composition on it and added a stripe from cherry blossom 02 paper to highlight the photo and composition. I spread clear gesso on top all papers. Inserted and glued lace fabric all along the edges of the black stripe paper. 
As usual I die cut paper embellisments using Studio75 papers, this time I used The bery copse 03/04 paper that it's color isn't only gorgeous but matches the photo perfectly. 
I've found at home a piece of fabric and lace similar to the one in the photo and glued it under the photo than I added flowers, and other embellishments. Made some splashes with matching color sprays.
To complete the LO I added a round sentiment from the collection.

Hope you like it. 


Don't forget to join us at the challenge!

Color palette

Until next time xoxo


I used:

Cherry Blossom 03

Cherry Blossom 02

Cherry Blossom 05

The Bery Copse 05/06

Klej magic z aplikatorem