Hello dears,
I'm so excite!! my first post for Lindy’s is Live in the blog.
I've created a page Layout with my daughter’s picture and a Step by Step photo tutorial of the creating process.
I really enjoyed the process and loved the result, hope you’ll feel the same.
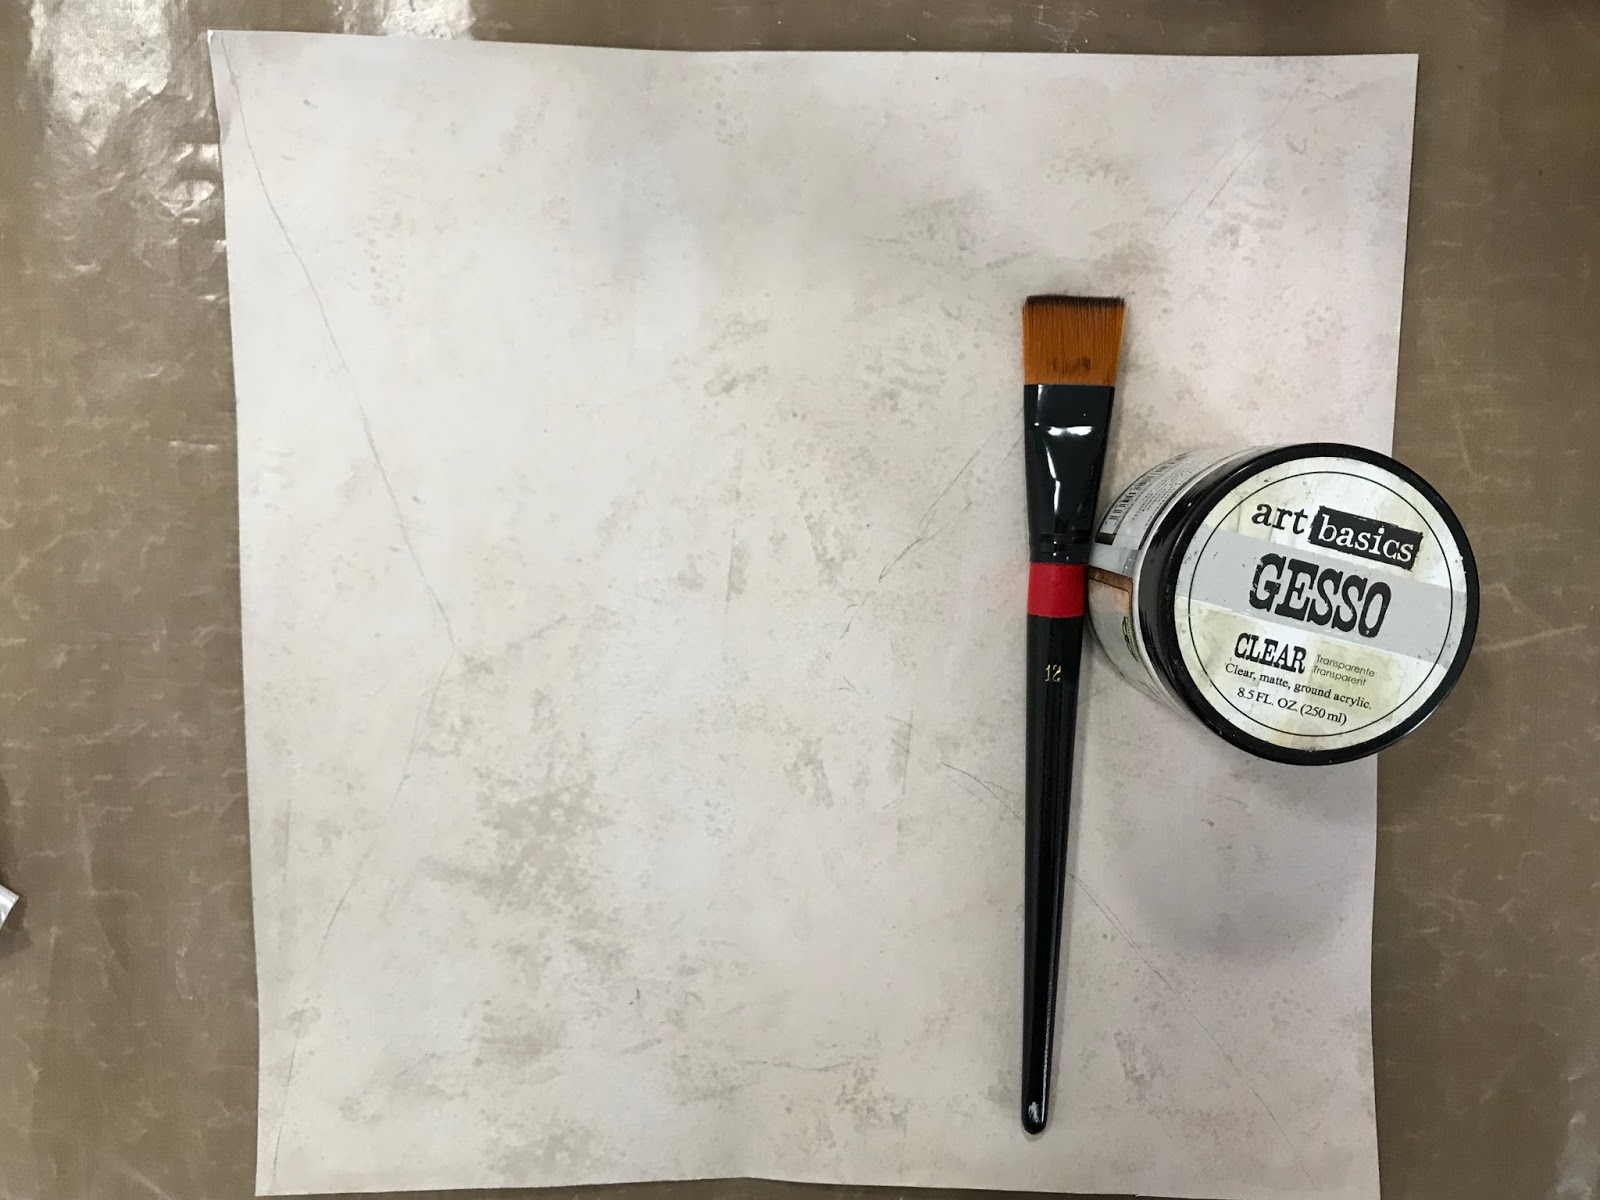
 |
| First step: spread clear gesso on the paper |
 |
| I Used Black archival ink to stamp around the area where the composition will take place |
 |
| Another way to add some texture is mixing modeling paste with Guten tag teal shaker and spreading it using a stencil |
 |
Time to adhere all items for the main composition starting with the embossed chipboards and colored cheese cloth.
It doesn't look good at this point so off to next step. |
 |
| All adhered |
 |
With gel meduim added micro beads and adeshive gems, the sentiment and finished my LO.
Thanks for much for stopping by
Here's some more photos: |


No comments:
Post a Comment